


11
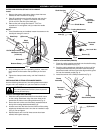
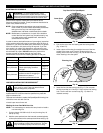
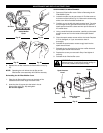
4. Remove any existing line from the inner reel before
cleaning. Remove any debris or grass from the knob,
spring, inner reel and foam seal. Wash the inner reel with
warm soapy water (Fig. 24).
Fig. 23
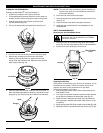
CLEANING THE SPEEDSPOOL
®
Cleaning the SpeedSpool
®
may be necessary if:
• A jammed or excessive line must be removed
• The SpeedSpool
®
becomes difficult to wind or does not
operate correctly when bumping the head on the ground.
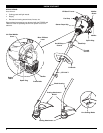
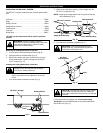
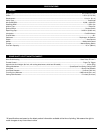
1. Hold the outer spool, and unscrew the bump knob
counterclockwise (Fig. 23).
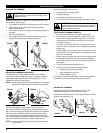
2. Pull out the bump knob, spring and foam seal (Fig. 21).
Shaft
Plunger
NOTE: The inner reel must be totally dry before reinstalling it
into the outer spool. Do not lubricate the inner reel or
outer spool assembly.
6. Place the inner reel into the outer spool.
7. Place the bump knob, spring and foam seal onto the inner
reel (Fig. 21).
8. Press the bump knob down and tighten clockwise.
9. Install new line as described in Line Installation for the
SpeedSpool
®
.
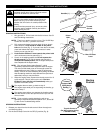
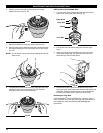
5. Clean the shaft and the inner surface of the outer spool. To
clean the shaft underneath the plunger, press down on the
plunger (Fig. 25). Remove any dirt or debris from the shaft.
Fig. 25
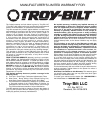
Inner Reel
Fig. 24
3. Pull the inner reel with existing line from the outer spool.
MAINTENANCE AND REPAIR INSTRUCTIONS
Cleaning the Air Filter
Clean and re-oil the air filter every 10 hours of operation. It is an
important item to maintain. Failure to maintain your air filter
properly can result in poor performance or can cause
permanent damage to your engine.
1. Remove air filter/muffler cover. Refer to Removing the Air
Filter/Muffler Cover.
2. Turn cover over and look inside to locate the air filter. Remove
the air filter from inside the air filter/muffler cover (Fig. 27).
3. Wash the filter in detergent and water (Fig. 28). Rinse the
filter thoroughly. Squeeze out excess water. Allow it to dry
completely.
4. Apply enough clean SAE 30 oil to lightly coat the filter (Fig. 29).
5. Squeeze the filter to spread and remove excess oil (Fig. 30).
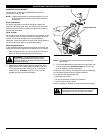
AIR FILTER MAINTENANCE
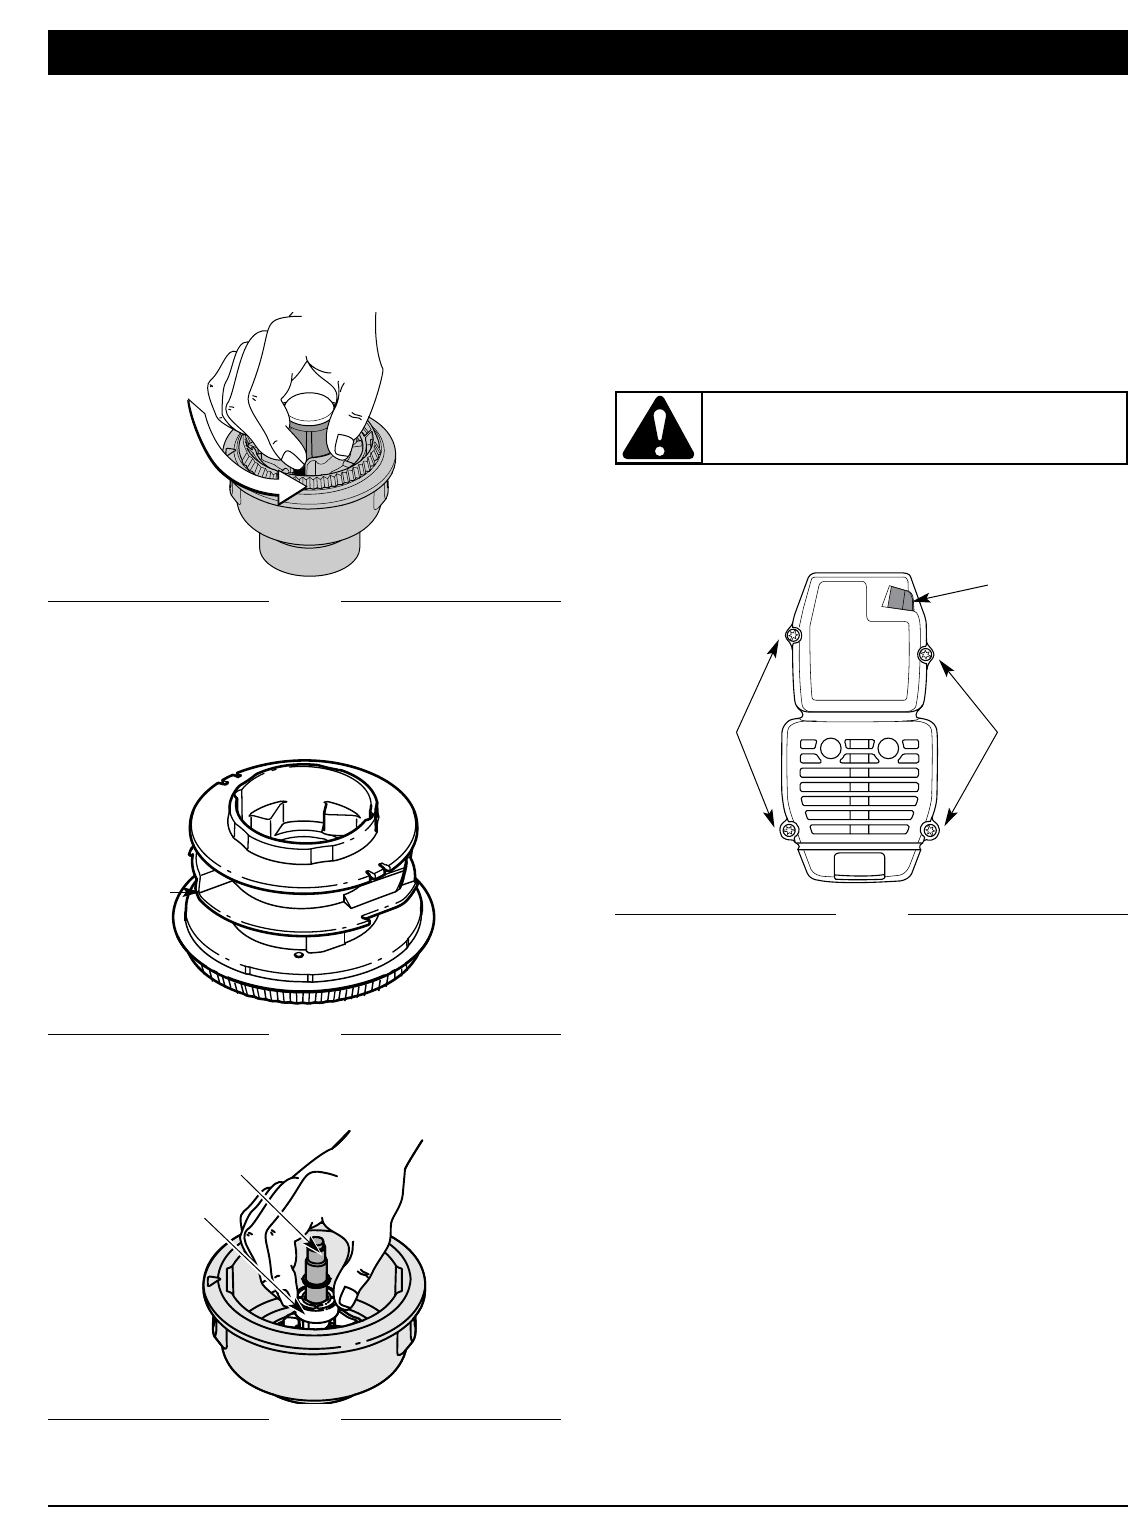
Removing the Air Filter/Muffler Cover
1. Remove the four (4) screws securing the air filter/muffler
cover (Fig. 26). Use a flat blade or T20 Torx bit screwdriver.
2. Pull the cover from the engine. Do not force.
Screws
Screws
Fig. 26
Blue EZ-Start
Lever
WARNING: To avoid serious personal injury,
always turn your unit off and allow it to cool before
you clean or service it.