


Section 4: Operation
24
POWER COMPOSTING
Power composting means tilling under
and burying in the soil all manner of
organic matter such as crop residues,
leaves, grass clippings and cover crops.
This material will decompose during the
non-growing season and add important
natural nutrients to the soil.
Begin by composting crop residues
such as leftover vines, stalks, stems
and roots. Power compost these crop
residues as soon as they finish bearing.
The sooner this is done, the better, as
tender green matter is easier to till under.
Use the deepest depth regulator setting
possible without causing the engine to
labor or the tiller to jump ahead.
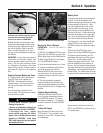
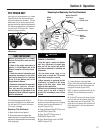
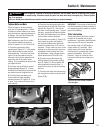
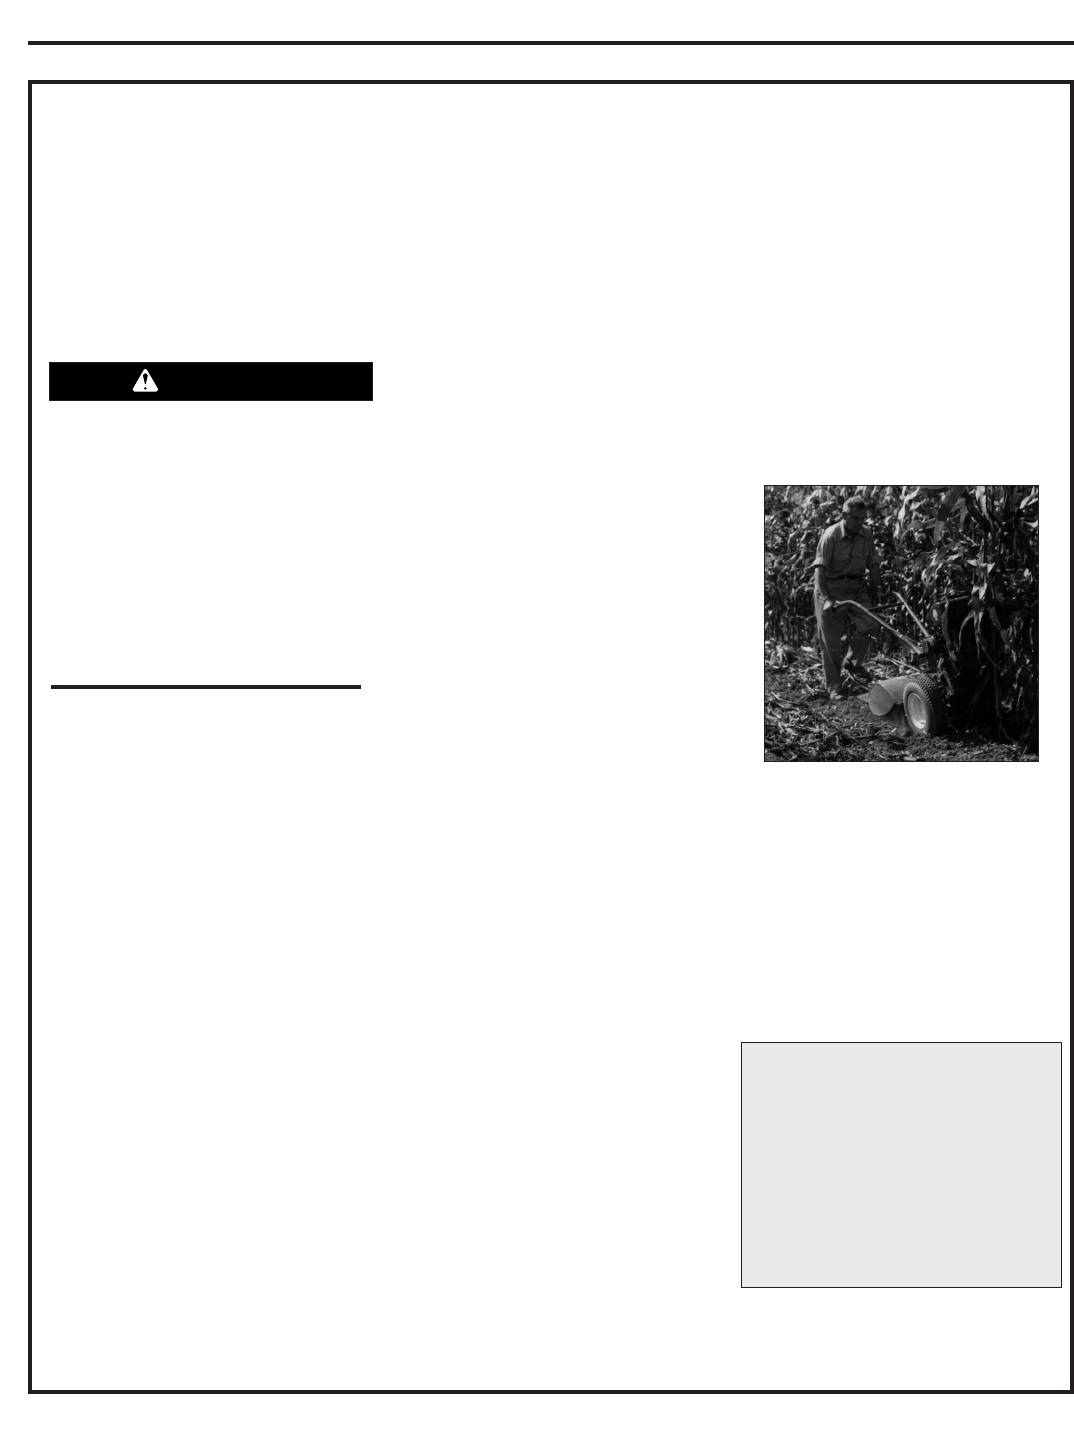
Standing cornstalks of reasonable height
can be power composted (Figure 4-
20). Pushing over (but not uprooting)
cornstalks will often make it easier for
your tiller to chop up the stalks. Keep
the tines clear of excessive tangling by
“fishtailing” or frequently using reverse.
Make several passes, then return a few
days later to finish off any remaining
stubble.
After tilling under crop residues, add
more organic matter such as leaves,
grass clippings and even kitchen scraps.
When tilled into the soil, this organic
matter will decompose and add even
more important nutrients to the soil.
After power composting, you may want
to plant a “green manure” cover crop to
protect the soil during the off-season.
Grow a crop of clover, alfalfa, buckwheat,
peas, beans, rye grass, grain, or kale
and then till it into the soil prior to the
planting season.
Wide-Row Planting
The wide-row planting technique is
spreading seeds anywhere from 10
inches to 2 feet wide or more. As a
result, you can grow anywhere from 3 to
4 times (or more) produce in the same
space that is normally set aside for an
area that has narrow, single rows.
Wide-row planting automatically shades
the ground which keeps weed growth
down and also holds moisture in the
soil. And of course, harvesting is much
easier – everything is right at hand to be
picked. Preparing wide rows is easy —
after you prepare the seedbed and mark
off the rows with string, hand-broadcast
the seeds as if seeding a lawn (not quite
as much as lawn seed). Cover with soil
and tamp the area firmly with a hoe.
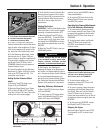
Tilling Under Corn
After corn is harvested, the stalks should
be tilled into the soil while still green.
Dry plants are more difficult to till under,
and the roots break loose too easily.
IMPORTANT:
Do not pull the roots out
by hand or cut the stalks before tilling.
Stalks that are firmly anchored by their
roots are much easier for the tines to
chop, cut, and work under.
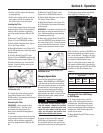
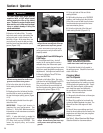
1. As you move forward into a row of
stalks, aim the tiller so that the stalks go
between the left wheel and the transmis-
sion case (Figure 4-19). Do not use the
right wheel because damage could occur
to the air cleaner, carburetor or throttle
linkage.
2. Each new pass should overlap the
previous pass by one-half the width of
the tiller.
3. Till as deeply as possible. Pull the
Depth Regulator all the way UP and
engage the lowest notch for deep tilling.
Use either LOW or HIGH belt range and
SLOW wheel speed gear position.
Let the tilled-in stalks decompose for a
week or so. Then till in the remaining
residue as deep as possible.
Soil Enrichment Idea
Trench Composting — Trench com
-
posting is easy with the optional
Hiller-Furrower Attachment (Section
5). Dig a trench, put in all kinds of
organic matter, and cover with soil.
Earthworms and microbes will break it
down quickly.
Figure 4-20: Tilling under corn
stalks.
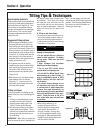
Tilling Tips
&
Techniques
When power composting, do not keep
the Depth Regulator Lever at a deep
setting if the tiller jumps or bucks.
If jumping or bucking occurs, move
the Depth Regulator Lever down to
one of the shallower settings and
then slowly increase the tilling depth
on later passes.
Failure to comply could result in loss
of tiller control, property damage or
personal injury.
WARNING