


23
IMPORTANT: If removing the battery for any reason,
disconnect the NEGATIVE (Black) wire from it’s terminal
first, followed by the POSITIVE (Red) wire. When re-
installing the battery, always connect the POSITIVE
(Red) wire its terminal first, followed by the NEGATIVE
(Black) wire. Be certain that the wires are connected to
the correct terminals; reversing them could change the
polarity and cause damage to your engine’s alternating
system.
IMPORTANT:
1. Battery wires must be connected to the correct
terminals. Reversing them could change the polarity
and damage engine’s alternating system.
2. Do not jump-start a damaged battery.
3. When storing the battery, disconnect the negative
terminal and store with full charge.
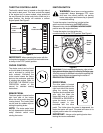
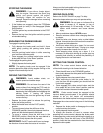
CHARGING
If the unit has not been put into use for an extended
period of time, charge the battery with an automotive-
type 12-volt charger for a minimum of one hour at six
amps.
WARNING: Batteries give off an explosive
gas while charging. Charge battery in a well
ventilated area and keep away from an open
flame or pilot light as on a water heater, space
heater, furnace, clothes dryer or other gas
appliances.
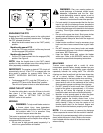
JUMP STARTING
WARNING: When removing or installing the
battery, follow these instructions to prevent the
screwdriver from shorting against the frame.
IMPORTANT: Never jump your tractor’s dead battery
with the battery of a running vehicle.
• Connect end of one jumper cable to the positive
terminal of the good battery, then the other end to
the positive terminal of the dead battery.
• Connect the other jumper cable to the negative
terminal of the good battery, then to the frame of the
unit with the dead battery.
WARNING: Failure to use this procedure
could cause sparking, and the gas in either
battery could explode.
WARNING: Do not use the tractor battery to
start other vehicles.
Cleaning the battery
Keep the terminals and the top of the battery clean and
free from corrosion. Clean the battery with baking soda
and water or a commercial battery cleaner. If nece-
ssary, scrape the battery terminals with a wire brush to
remove deposits. Coat terminals and exposed wiring
with grease or petroleum jelly to prevent corrosion.
CAUTION: Do not allow any cleaning solution to get
inside the battery.
BATTERY FAILURES
Some common causes for battery failure are:
• incorrect initial activation
• undercharging
• overcharging
• corroded connections
•freezing
These failures are NOT covered by your tractor’s
warranty.
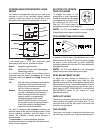
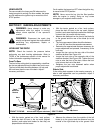
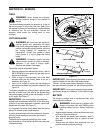
FUSES
Two fuses are installed in your tractor’s wiring harness
to protect the tractor’s electrical system from damage
caused by excessive amperage.
If the electrical system does not function, or your
tractor’s engine will not crank, first check to be certain
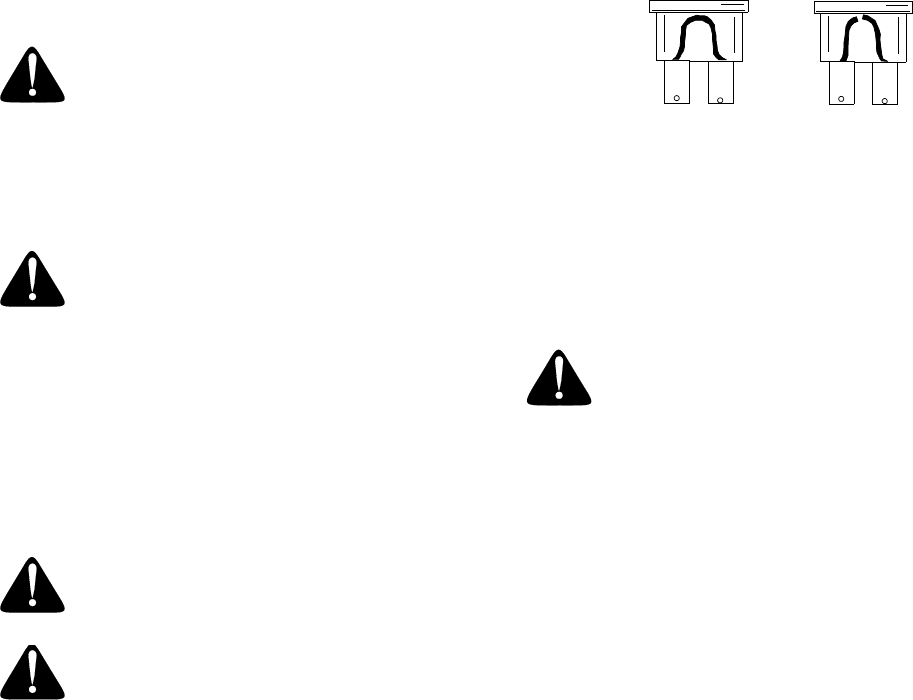
that the fuse has not blown. See Figure 18.
Figure 18
One can be found under the hood mounted behind the
top of the dash panel on the support bar.
The other can be found under the seat mounted to the
inside of the tractor frame next to the battery tray. Pull
the fuse out and inspect it to determine if it is good or
blown.
WARNING: Always use a fuse with the
same amperage capacity for replacement.
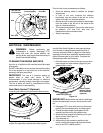
CUTTING DECK REMOVAL
To properly remove the cutting deck, proceed as
follows:
• Place the PTO/Blade Engage knob (or lever) in the
disengaged (Blade Stop) position and engage the
parking brake.
• Lower the deck by moving the deck lift lever into the
bottom notch on the right fender.
• Remove the PTO belt from around the electric PTO
clutch and from around the PTO idler pulley(s).
NOTE: The deck belt on the deck does NOT need to
be removed in order to remove the deck.
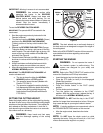
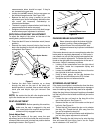
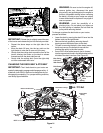
• Looking at the cutting deck from the left side of the
tractor, locate the deck support pin on the rear left
side of the deck.
• Pull the deck support pin outward to release the
deck from the deck lift arm. See Figure 19.
GOOD
BAD