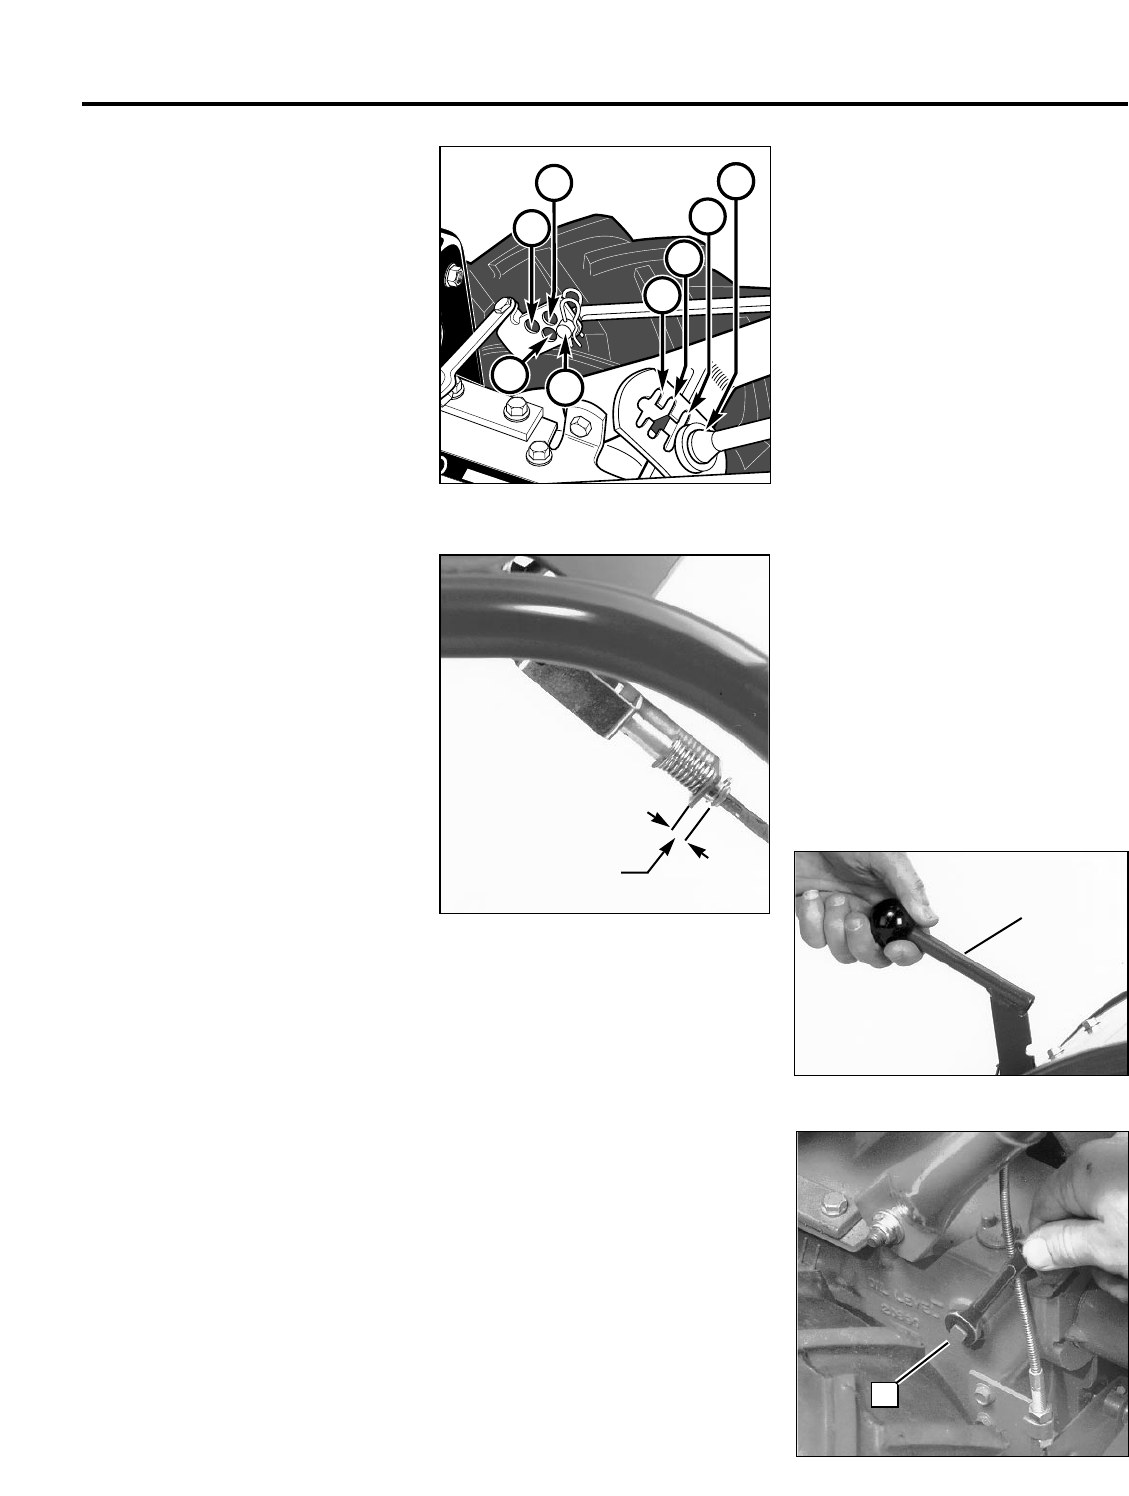
IMPORTANT: If the handlebar height is
changed, the hole position of the Forward
Clutch rod must be changed accordingly.
Changing the handlebar height changes
the tension on the Forward Clutch rod –
this tension must be adjusted by relocat-
ing the rod in the appropriate hole in the
clutch swivel plate.
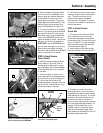
4. Select the proper hole in the clutch
swivel plate and insert the Forward Clutch
rod with the tip facing inward (see Figure
2-8). Secure the rod by inserting a
second hairpin cotter through the hole
near the tip of the rod.
5. Check for correct tension on the
Forward Clutch rod as follows:
(a) Two interconnected Forward Clutch
paddles hang beneath the handlebar
grips. Lift and hold the right-side
paddle against the handlebar grip.
(b) While squeezing the paddle, measure
the gap between the E-ring and the
lower end of the clutch rod bracket
(see Figure 2-9). The gap should be
3/16"-to-5/16". NOTE: A stack of five
pennies is approximately 5/16" thick.
(c) If the gap is incorrect:
(1) First check that the Forward Clutch
rod is in the correct hole in the
clutch swivel plate. If not, reposi-
tion the rod and repeat Step 5b.
(2) If the Forward Clutch rod is in the
correct hole and the gap is incor-
rect, you will need to adjust the
length of the Forward Clutch rod.
To do this, first release the
Forward Clutch paddle and then
disconnect the rod from the clutch
swivel plate.
If the gap is more than 5/16", rotate
the rod counterclockwise (as
viewed from the front of tiller) to
decrease the gap. Reinstall the rod
in the correct clutch swivel plate
hole, secure it with the hairpin
cotter, and repeat Steps 5a and 5b.
If the gap is less than 3/16", rotate
the rod clockwise (as viewed from
the front of tiller) to increase the
gap. Reinstall the rod in the correct
clutch swivel plate hole, secure it
with the hairpin cotter, and repeat
Steps 5a and 5b.
STEP 5: Check Gear Oil
Level in Transmission
The transmission was filled with gear oil
at the factory. However, be sure to check
the oil level at this time to make certain it
is correct.
IMPORTANT: Do not operate the tiller if
the gear oil level is low. Doing so will
result in severe damage to the transmis-
sion components.
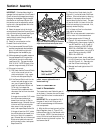
1. With the tiller on level ground, pull the
Depth Regulator Lever (L, Figure 2-10)
back and then slide it to the second notch
from the top. NOTE: If the lever does not
move, lift the tine hood flap and look for a
plastic tie securing the lever in place. Cut
and remove the tie.
8
Section 2: Assembly
SERIAL NUMB
1
3
2
4
2
3
4
1
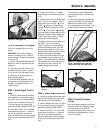
Figure 2-8: Numbered settings for handlebar
height slots and clutch swivel plate holes.
Figure 2-9: While squeezing Forward Clutch
paddle, measure gap between end of
bracket and E-ring.
Gap should be
3/16"-to-5/16"
2. Remove the oil level check plug (M,
Figure 2-11) on the left-side of the trans-
mission. (Due to dried paint on the plug
threads, it may require some force to
remove the plug the first time.) The gear
oil level is correct if oil starts to flow out
of the hole as the plug is removed. If so,
securely reinstall the plug.
3. If oil does not flow from the check
hole, add oil as follows:
NOTE: Do not use automatic transmission
fluid or motor oil in the transmission.
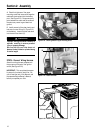
(a) Clean area around oil fill hole (N,
Figure 2-12) and unscrew oil fill plug.
(b) If adding only a few ounces of gear oil,
use API rated GL-4 or GL-5 gear oil
having a viscosity of SAE 140, SAE
85W-140 or SAE 80W-90. If refilling
an empty transmission, use only GL-4
gear oil having a viscosity of SAE
85W-140 or SAE 140.
(c) Using a clean funnel, slowly add gear
oil until it flows from the oil level check
hole (M, Figure 2-11). Securely rein-
stall the oil level check plug (M).
(d) Reinstall and hand-tighten the oil fill
plug (N).
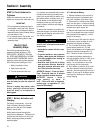
Figure 2-10: Put lever in second notch.
Figure 2-11: Gear oil level check plug.
L
M


