10
Section 2: Assembly
STEP 10: Check Hardware for
Tightness
Inspect the hardware on the unit and
tighten any loose screws, bolts and nuts.
IMPORTANT:
• This completes the assembly steps for
the standard (recoil) start tiller. Be sure
to read the rest of this Manual, and the
separate Engine Owner’s Manual, before
you operate your tiller.
• If you have an electric start model, con-
tinue with the following electric start
assembly steps.
Electric Start
Assembly Steps
The following steps explain how to
prepare and install the battery. FOR
YOUR SAFETY, CAREFULLY FOLLOW
ALL STEPS AND OBSERVE ALL ACCOM-
PANYING SAFETY MESSAGES. Before
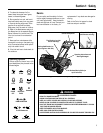
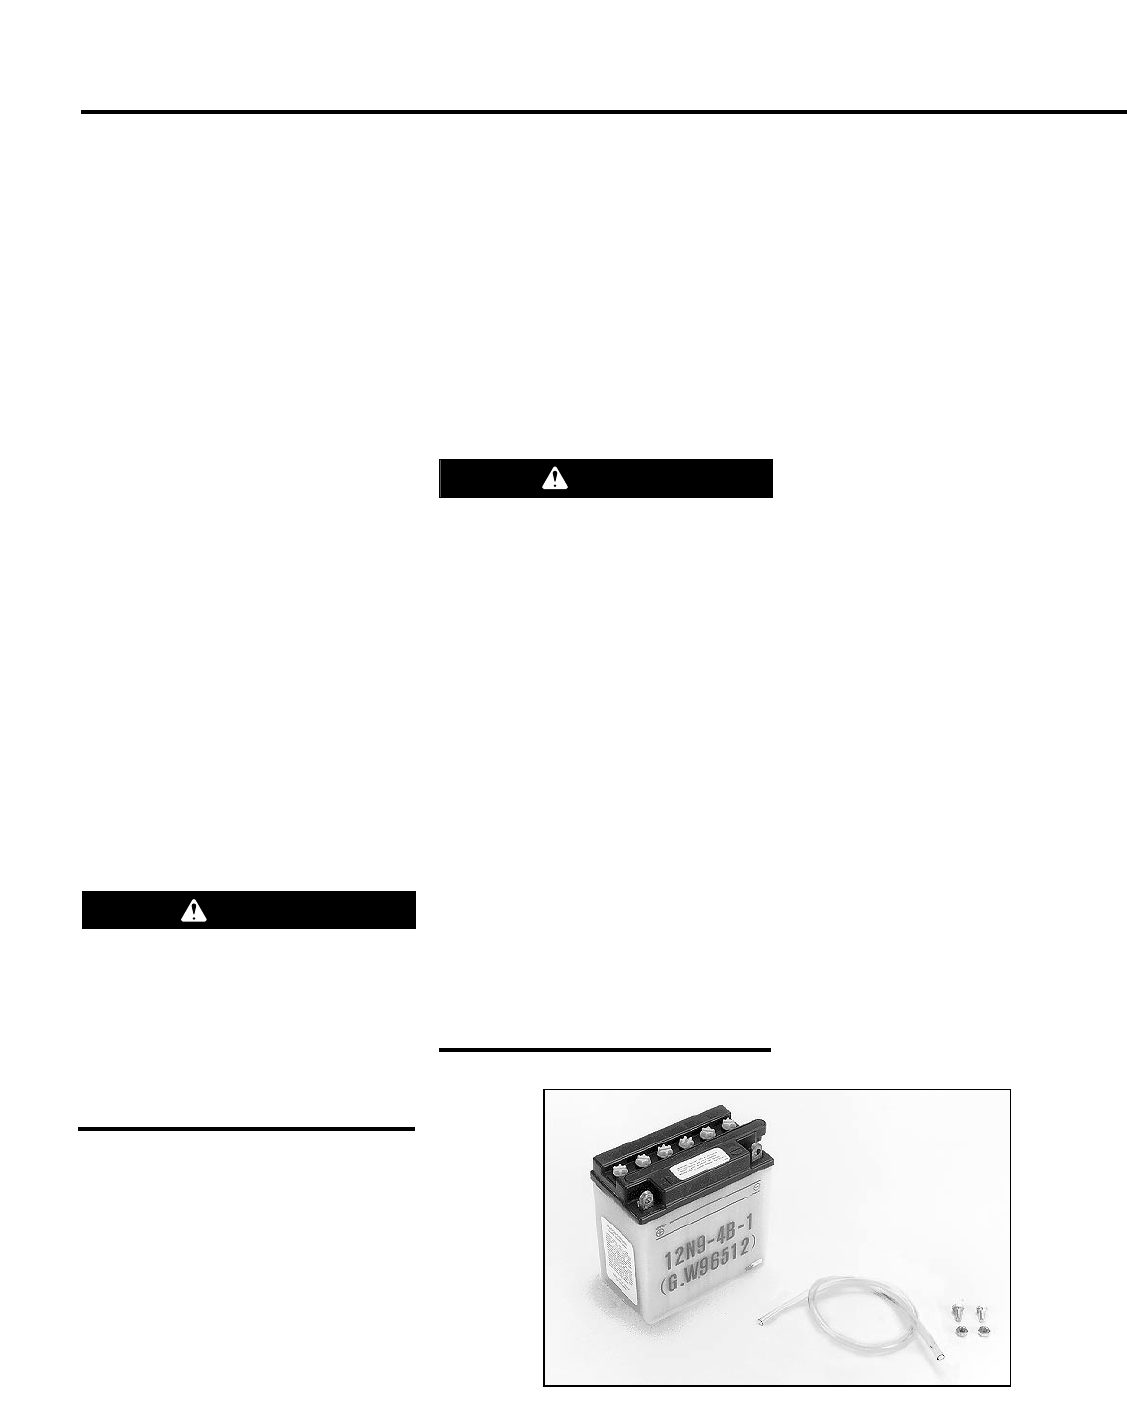
beginning, check that you have received
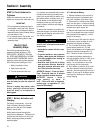
the following items (see Figure 2-16):
1. Battery (installed on tiller)
2. Clear plastic vent tube
3. Two hex screws and hex nuts
STEP 1: Battery Activation and
Charging
The battery is shipped dry. It must be
filled with battery electrolyte (battery
grade sulfuric acid) and fully charged
before it can be used.
Adding electrolyte and charging the
battery can be dangerous. The electrolyte
contains acid that can burn or blind you.
Battery charging produces potentially
explosive gases.
It is strongly recommended that you have
the battery serviced by a trained profes-
sional (your authorized tiller dealer, a reli-
able service station, a battery store, etc.).
Do not attempt to activate and charge
the battery unless you are fully experi-
enced in battery activation and charging
procedures.
To ensure that the battery is properly acti-
vated and charged, you should review the
activating and charging instructions with
your battery technician.
A. To Activate the Battery:
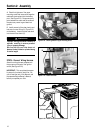
1. Remove the battery from the tiller by
removing the screws, lockwashers and
nuts from the battery hold-down clamp.
2. Place battery on a level surface, safely
away from any spark- or flame-producing
sources such as stoves, heaters, electrical
switches, pilot lights, dryers, etc.
3. Remove and discard the short sealing
tube (if so equipped) that covers the vent
fitting located on the negative (-) side of
the top of the battery.
4. Remove the six filler caps from the top
of the battery. Leave the caps off while
activating and charging the battery.
5. Put on protective clothing, rubber
gloves and eye protection. For best
results, the temperature of the battery and
electrolyte should be between 60
o
F to
80
o
F. Carefully fill each of the six cells
with electrolyte (battery grade sulfuric
acid with a specific gravity of 1.265) up to
the UPPER LEVEL line printed on the
battery. Do not add water or any other
liquid during this initial activation.
6. Allow battery to stand for 30 minutes
and then recheck the electrolyte level in
each cell. Add more electrolyte solution if
needed. Do not overfill the battery as this
could result in flooding from the cells
during charging.
Figure 2-16
1
2
3
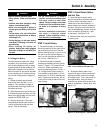
Remove metal jewelry before working
near the battery or near the electrical
system.
Failure to comply may cause a short
circuit, resulting in electrical burns,
electrical shock, or an explosion of
battery gases.
WARNING
Battery electrolyte is a sulfuric acid
solution that is poisonous and causes
severe burns.
• Avoid spills or contact with skin, eyes,
clothing.
• To prevent accidents, wear protective
clothes, rubber gloves and shield eyes
with safety goggles when working on
or near the battery.
• Neutralize acid spills with a baking
soda and water solution. Neutralize
electrolyte container with same solu-
tion. Then rinse with clear water.
ANTIDOTE: External – Flush with water.
Eyes – Flush with water for 15 minutes
and get immediate medical attention.
ANTIDOTE: Internal – Drink a
large quantity of water or
milk. Follow with milk of magnesia,
beaten eggs, or vegetable oil. Call
physician immediately.
DANGER


