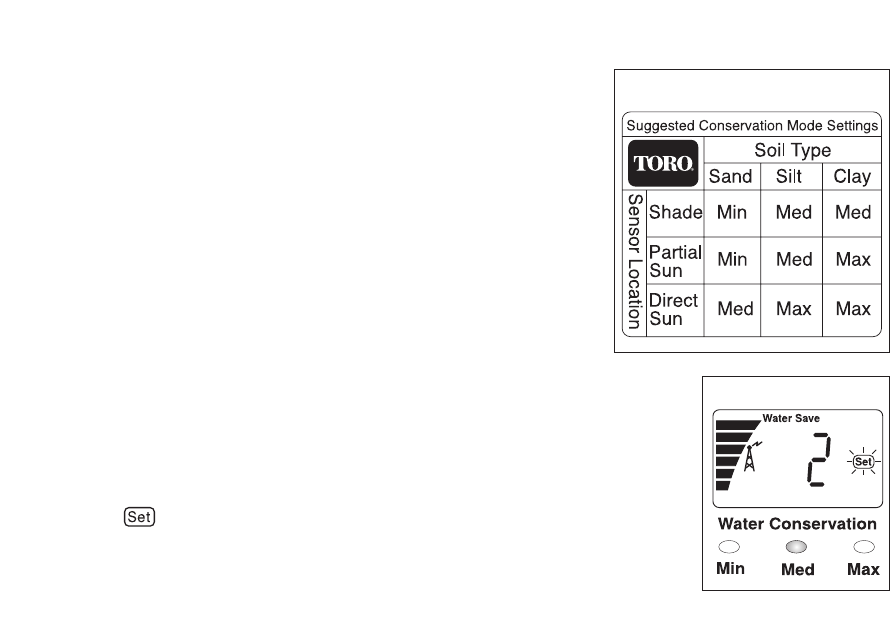
Water Conservation Feature – By simply choosing the Minimum, Medium or Maximum
conservation level that corresponds to your landscape’s soil type and the sensor location, a dry-out
period, adjusted for actual rainfall duration, is inserted after the
sensor system resets to delay the resumption of automatic watering.
Each Water Conservation level represents a baseline value that
is automatically adjusted to compensate for rainfall duration.
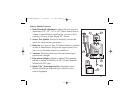
Min (display number 1) – sets baseline at no days of delay.
Med (display number 2) – sets baseline at one day of delay.
Max (display number 3) – sets baseline at two days of delay.
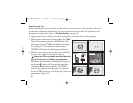
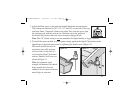
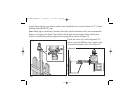
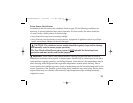
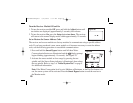
To assist in choosing which conservation setting to use, review
the chart in Figure 18. First select the landscape soil type. Now,
drop down to the row that best describes the sun/shade coverage
of the sensor location. The level indicated where the two conditions meet is
the suggested starting point. That’s all there is to it!
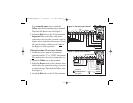
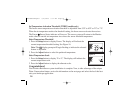
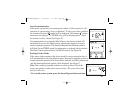
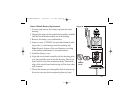
1. Press the Setup button to display Water Save. The display will indicate
the current water conservation level setting and the corresponding level
indicator will be illuminated. See Figure 19.
Note: The display prompt will begin flashing to indicate the selected
feature is adjustable.
2. Press the Adjust button to select level 1, 2 or 3.
15
Figure 19
Figure 18
RainSensorAlpha7 3/10/2005 3:31 PM Page 15


