


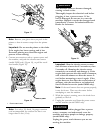
Note: Ensure that a gap of 1/16 to 1/8 inch (2 to
3 mm) exists between the control bar and the handle
(Figure 8).
Important: The control cable must contain some
slack when you disengage the control bar for the
rotor blades to stop properly.
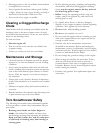
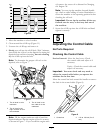
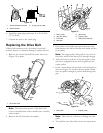
Adjusting the Control Cable
1. Slide up the spring cover and unhook the spring
from the adjuster link (
Figure 9).
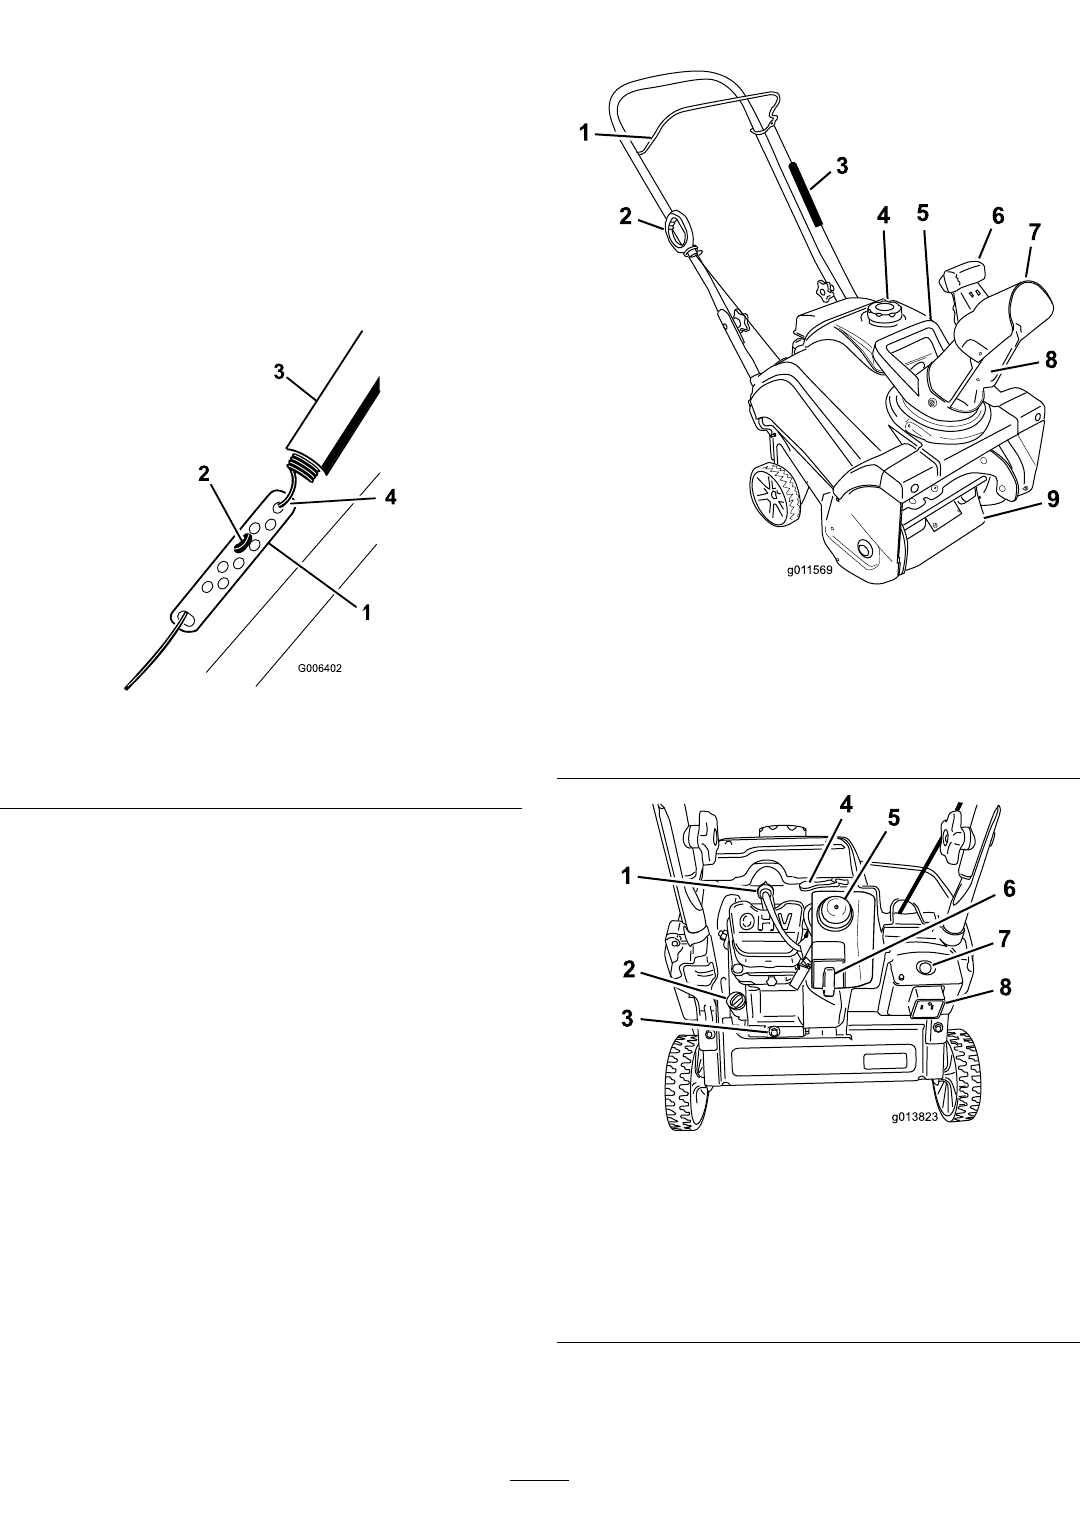
Figure 9
1. Adjuster link
3. Spring cover
2. Z-tting
4. Unhook the spring here.
Note: You can pull up the adjuster link and cable to
make unhooking the spring easier.
2. Move the Z-tting to a higher or lower hole on the
adjuster link as needed to obtain the 1/16-inch to
1/8-inch (2 mm to 3 mm) gap between the control
bar and the handle (
Figure 9).
Note: Moving the Z-tting higher decreases the
gap between the control bar and the handle; moving
it lower increases the gap.
3. Hook the spring to the adjuster link and slide the
spring cover over the adjuster link.
4. Check the adjustment; refer to Checking the Control
Cable.
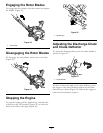
Note: The belt may slip (squeal) in wet conditions;
to dry out the drive system, start the rotor and run
it without a load for 30 seconds.
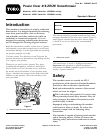
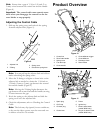
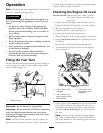
Product Overview
Figure 10
1. Control bar 6. Chute deector trigger
2. Recoil start handle
7. Chute deector
3. Spring cover
8. Discharge chute
4. Fuel tank cap 9. Rotor blades
5. Chute handle
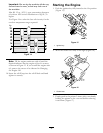
Figure 11
1. Spark plug
5. Primer
2. Oil ll cap
6. Ignition key
3. Oil drain plug
7. Electric-start button
(model 38282 only)
4. Choke lever 8. Plug-in for electric start
(model 38282 only)
8