


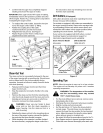
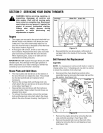


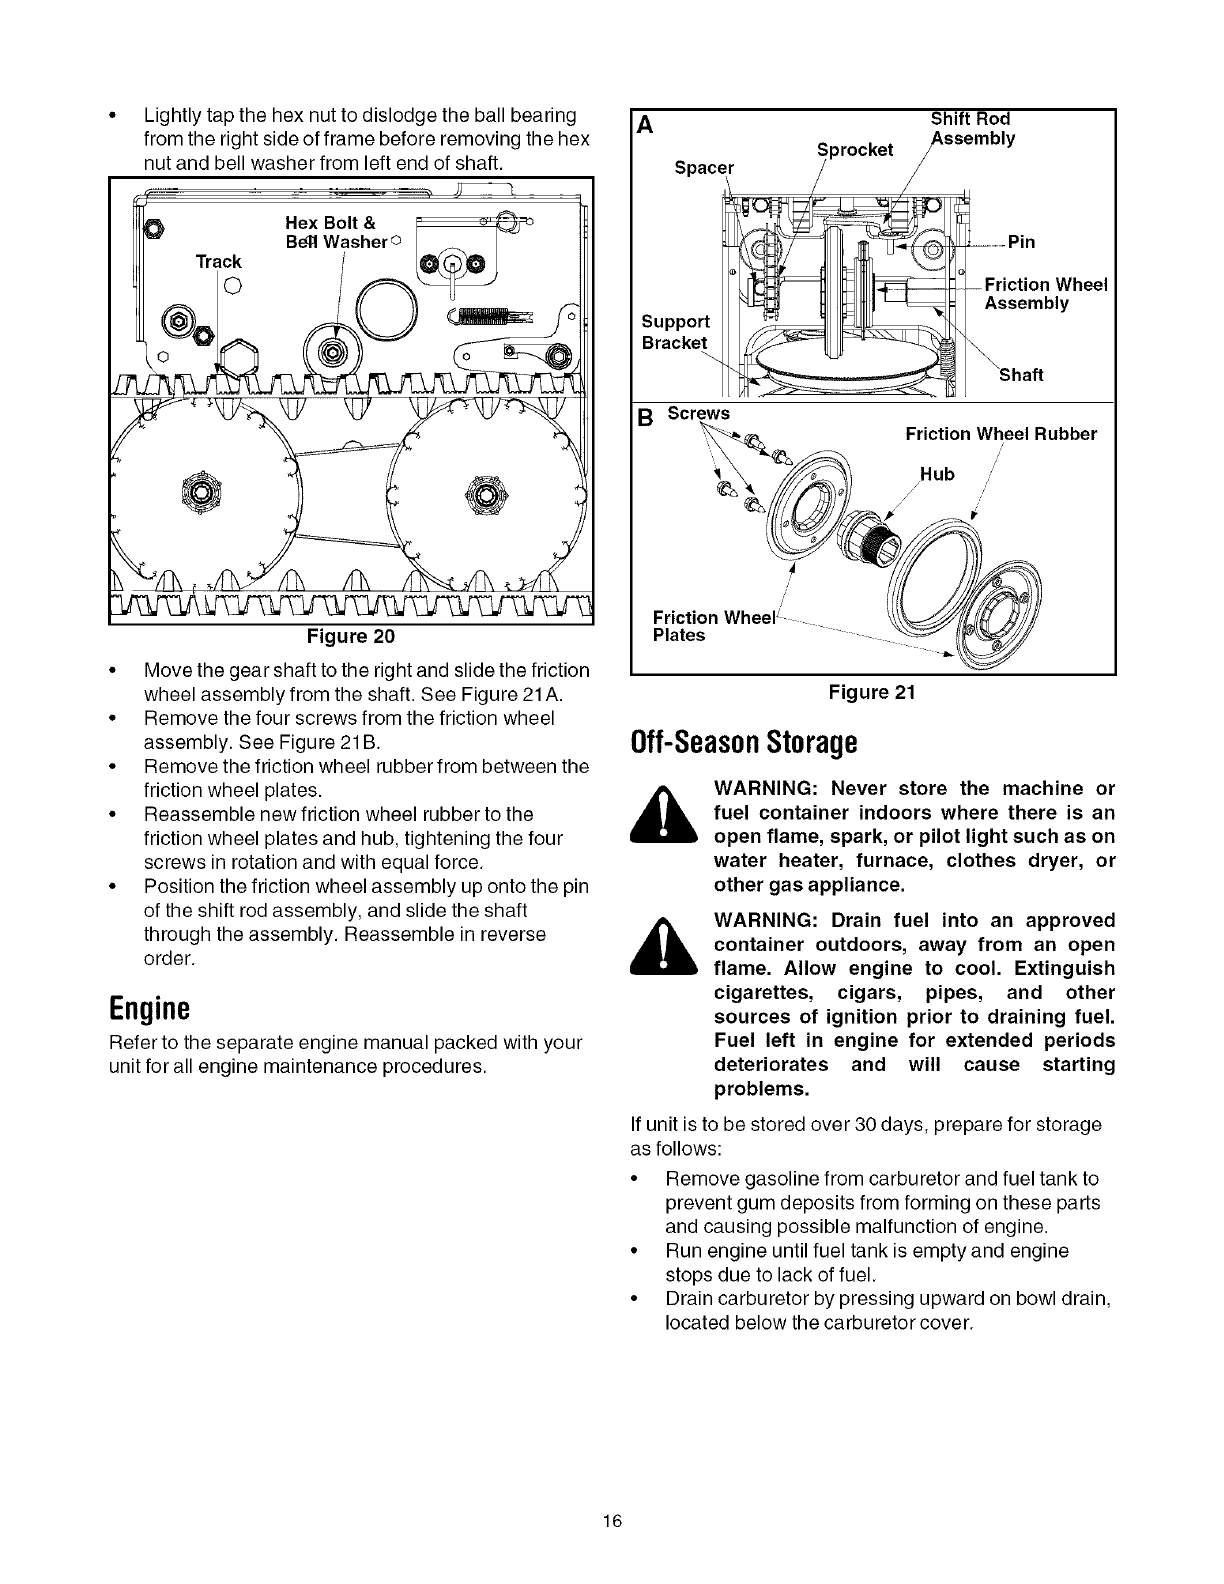
• Lightly tap the hex nut to dislodge the ball bearing
from the right side of frame before removing the hex
nut and bell washer from left end of shaft.
Track
O
Figure 20
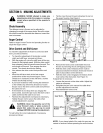
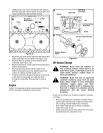
• Move the gear shaft to the right and slide the friction
wheel assembly from the shaft. See Figure 21A.
• Remove the four screws from the friction wheel
assembly. See Figure 21B.
• Remove the friction wheel rubber from between the
friction wheel plates.
• Reassemble new friction wheel rubber to the
friction wheel plates and hub, tightening the four
screws in rotation and with equal force.
• Position the friction wheel assembly up onto the pin
of the shift rod assembly, and slide the shaft
through the assembly. Reassemble in reverse
order.
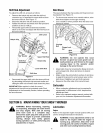
Engine
Refer to the separate engine manual packed with your
unit for all engine maintenance procedures.
A
Spacer
_procket
Shift Rod
Assembly
Assembly
B Screws
Friction Wheel Rubber
/
/,
/'
Hub ..'
,/
/'
/
/
Friction Wheel z
Plates
Figure 21
0ff-Seas0nStorage
WARNING: Never store the machine or
fuel container indoors where there is an
open flame, spark, or pilot light such as on
water heater, furnace, clothes dryer, or
other gas appliance.
,_ WARNING: Drain fuel into an approved
container outdoors, away from an open
flame. Allow engine to cool. Extinguish
cigarettes, cigars, pipes, and other
sources of ignition prior to draining fuel.
Fuel left in engine for extended periods
deteriorates and will cause starting
problems.
If unit is to be stored over 30 days, prepare for storage
as follows:
• Remove gasoline from carburetor and fuel tank to
prevent gum deposits from forming on these parts
and causing possible malfunction of engine.
• Run engine until fuel tank is empty and engine
stops due to lack of fuel.
• Drain carburetor by pressing upward on bowl drain,
located below the carburetor cover.
16