


22
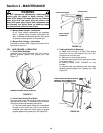
Section 4 - ADJUSTMENTS & REPAIR
WARNING
DO NOT attempt any adjustments, maintenance or
service with the engine or blade running. STOP
blade. STOP engine. Set brake. Remove key. Remove
spark plug wire from spark plug and secure wire
away from spark plug. Engine and components can
be extremely hot. Avoid burns by allowing engine
and components sufficient time to cool. Never
attempt to service or charge the battery while it is
installed on the YARD CRUISER. Shield the positive
terminal with terminal cover located on battery harness.
This prevents metal from touching the positive
terminal, which could cause sparks. Cables must be
connected to battery terminals in the proper position as
shown. If battery is removed, DO NOT operate engine
without insulating Positive + battery cable terminal with
electrical tape, or sparking from the battery cables can
result.
4.4 BATTERY
4.4.1. BATTERY REMOVAL
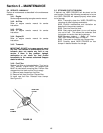
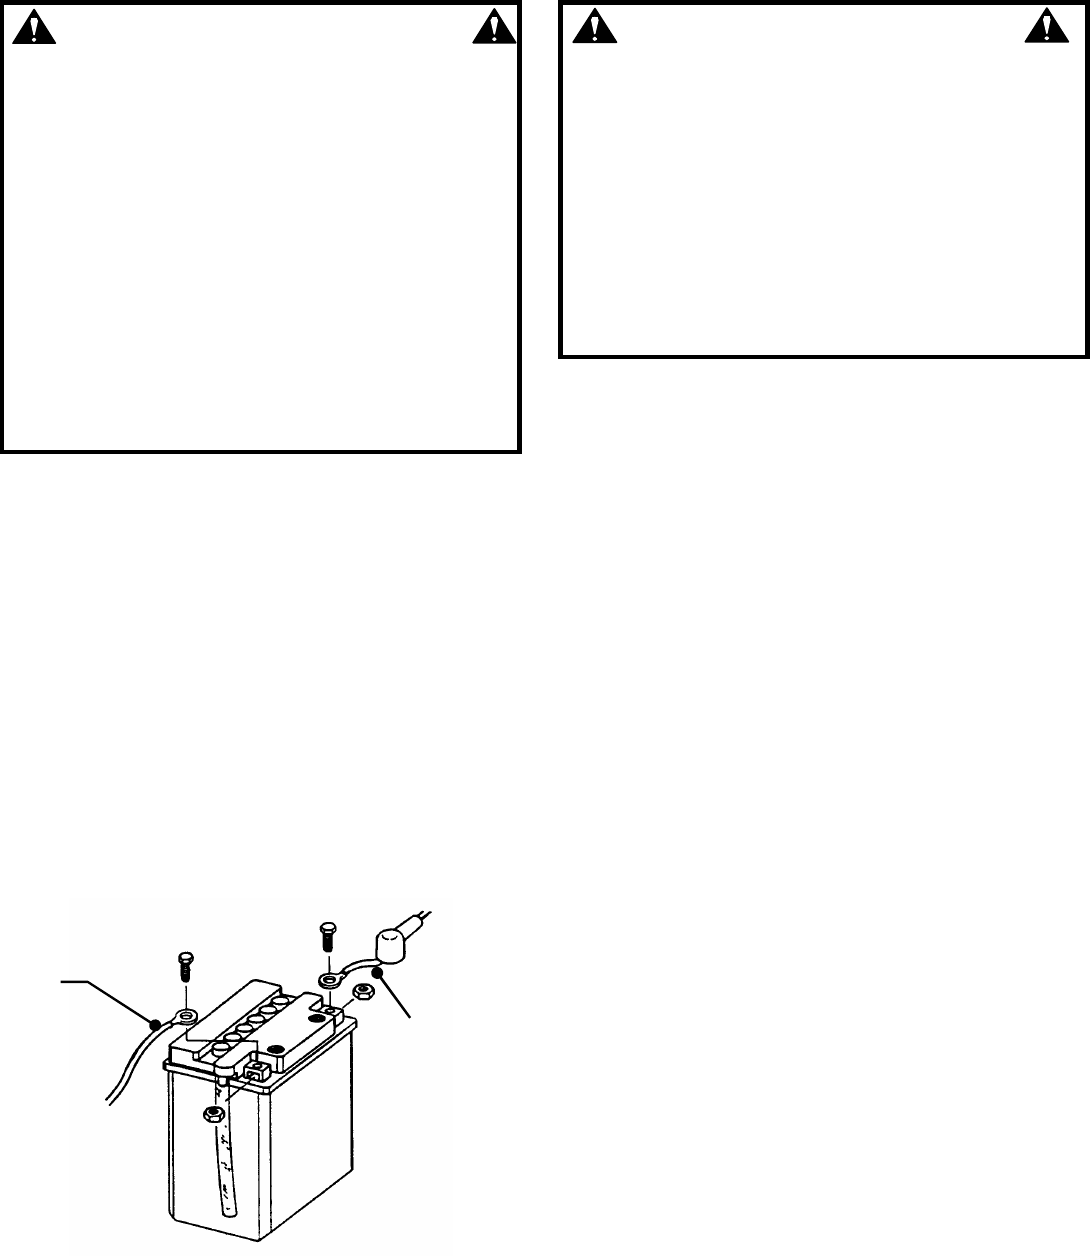
1. Tilt seat up to gain access to battery.
2. Observe and note cable positions on battery.
See Figure 4.14.
3. Disconnect cables from battery terminals,
disconnecting BLACK (Negative) cable first.
Disconnect RED (Positive) battery cable. Slide
battery from battery cradle.
4. Retain mounting bolts and nuts for future use.
4.4.2. BATTERY INSTALLATION
1. Slide battery into battery cradle.
2. Connect cables to battery terminals. Connect
RED (Positive) cable first. Connect BLACK
(Negative) cable. See Figure 4.14.
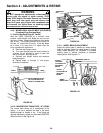
3. Place the positive (+) terminal insulator over
positive terminal and cable. See Figure 4.15.
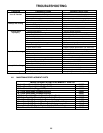
FIGURE 4.14
WARNING
The electrolyte (acid) produces a highly explosive
gas. Keep all sparks, flame and fire away from area
when charging battery or when handling electrolyte
or battery. Electrolyte (acid) is a highly corrosive
liquid. Wear eye protection. Wash affected areas
immediately after having eye or skin contact with
electrolyte (acid). Battery acid is corrosive. Rinse
empty acid containers with water and mutilate before
discarding. If acid is spilled on battery, bench, or
clothing, etc., Flush with clear water and neutralize
with baking soda. DO NOT attempt to charge battery
while installed on the YARD CRUISER. DO NOT use
“BOOST” chargers on the battery.
4.4.3. BATTERY SERVICE
1. Remove battery. See Section on Battery
Removal
2. Place battery in a well ventilated area on a level
surface.
3. Using distilled water, refill cells as required to
cover cell plates. Fluid level in battery can be seen
through the cell case.
4. With cell caps removed, connect battery charger
to battery terminals. Red to positive (+) terminal
and black to negative (-) terminal.
5. Slow charge battery at 1 amp for 10 hours.
6. If battery will not accept charge or is partially
charged after 10 hours of charging at 1 amp,
replace with new battery, Part Number 6-0753.
4.4.4. BATTERY STORAGE
If YARD CRUISER is to be stored out of season on
its rear bumper, it is recommended the battery be
removed, charged and stored.
1. Remove battery. (Refer to Section ”BATTERY
REMOVAL”).
2. Perform battery service.
3. Bring battery to full charge, if required.
4. Store battery in an area away from the YARD
CRUISER on a wood surface. DO NOT STORE
BATTERY ON A CONCRETE SURFACE.
4.4.5. NEW BATTERY PREPARATION
1. Remove battery from carton.
2. Place battery in a well ventilated area on a level
non-concrete surface.
3. Remove battery cell caps. Fill cells as required
with electrolyte (purchased separately) to proper
level. Fill to 3/16” above cell plates. Filling battery
with electrolyte will bring the battery to 80% charged
state.
4. With cell caps removed, connect battery charger to
battery terminals; RED to positive (+) and BLACK to
negative (-) terminal.
BLACK
NEGATIVE (-)
CABLE
RED
POSITIVE (+)
CABLE