


16
Initial Setup & Assembly
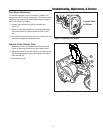
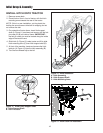
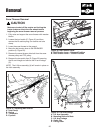
Figure 13. Hitch Latch Pin Installation
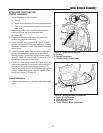
Figure 12. Hitch Installation
A. Hitch Assembly
B. Hitch Support Shaft
C. Hitch Mounting Arms
C
A
D
B
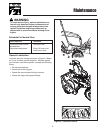
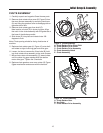
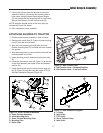
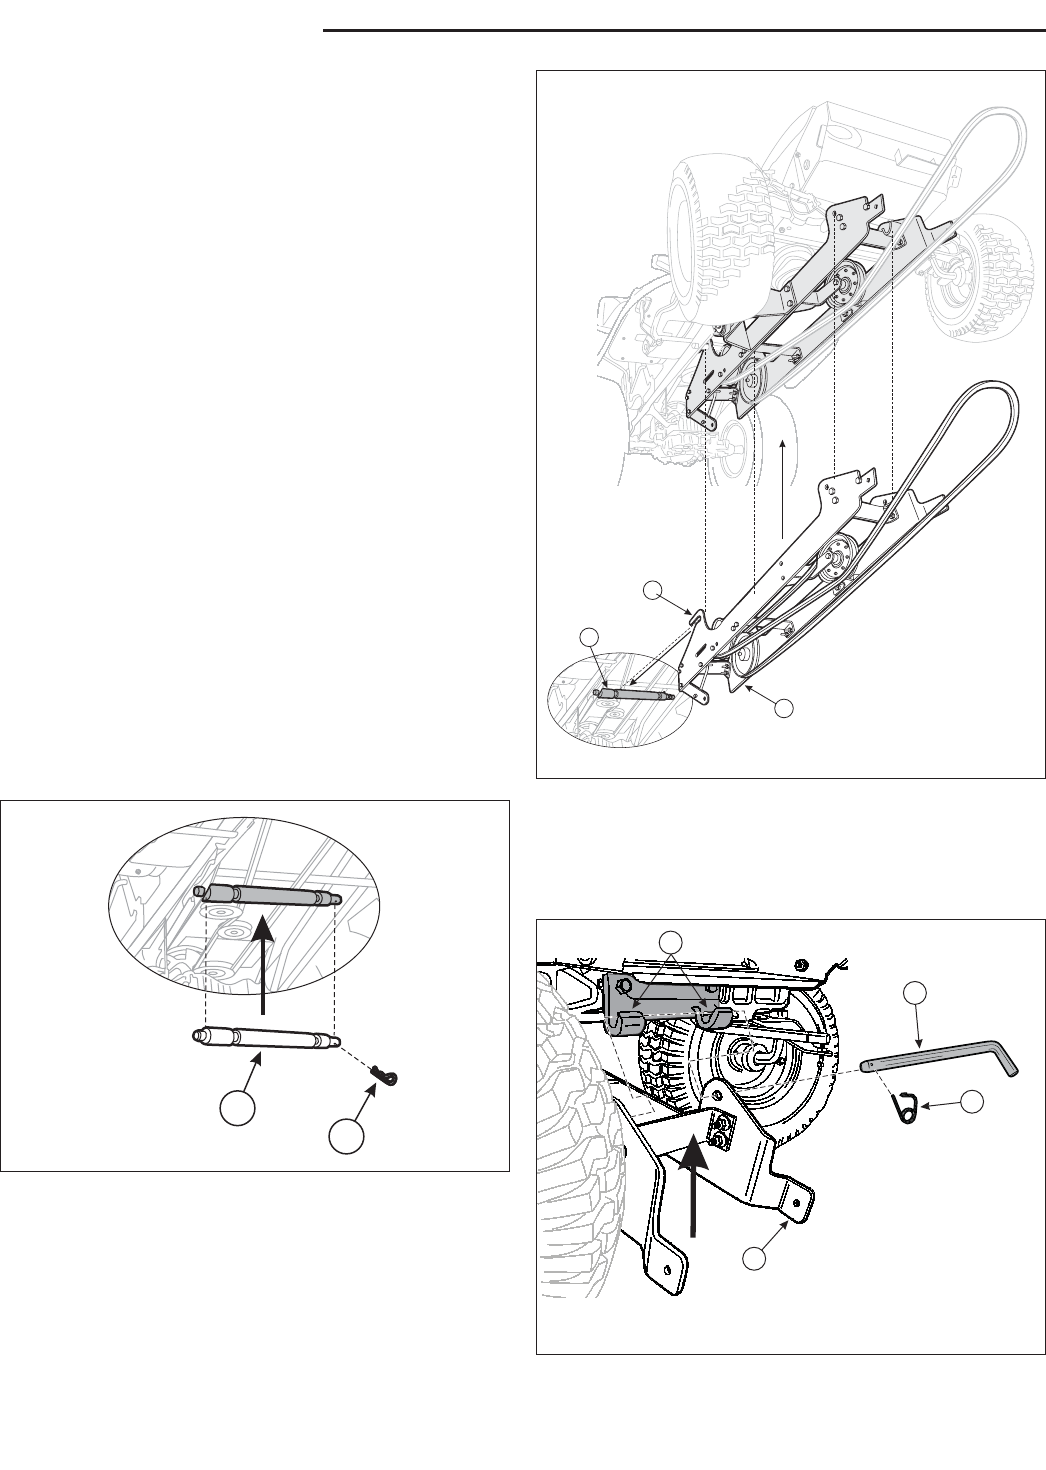
Figure 11. Install Hitch Support Shaft
A. Hitch Support Shaft
B. Hair Pin Cotter
A
B
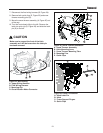
INSTALL HITCH ONTO TRACTOR
1. Remove mower deck.
2. Place hitch on floor in front of tractor, with the hitch
mounting arms towards the rear of the tractor.
NOTE: If this is a new installation, cut the plastic ties
holding the snow thrower drive belt for shipping, but do
not remove the belt.
3. On underside of tractor frame, insert hitch support
shaft (A, Figure 11) as shown and secure, with the hair
pin cotter pin (B) on inside of frame. IMPORTANT –
the hair pin cotter pin must be located along the inside
edge of the tractor frame.
4. Slide hitch (A, Figure 12) under tractor and lift to slide
hitch mounting arms (C) over hitch support shaft (B).
5. At front of the machine, locate and remove the hitch
latch pin (A, Figure 13) from the hitch assembly (B).
6. Turn the front wheels fully to the left.
C
A
B