


20
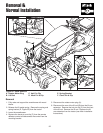
Initial Setup & Assembly
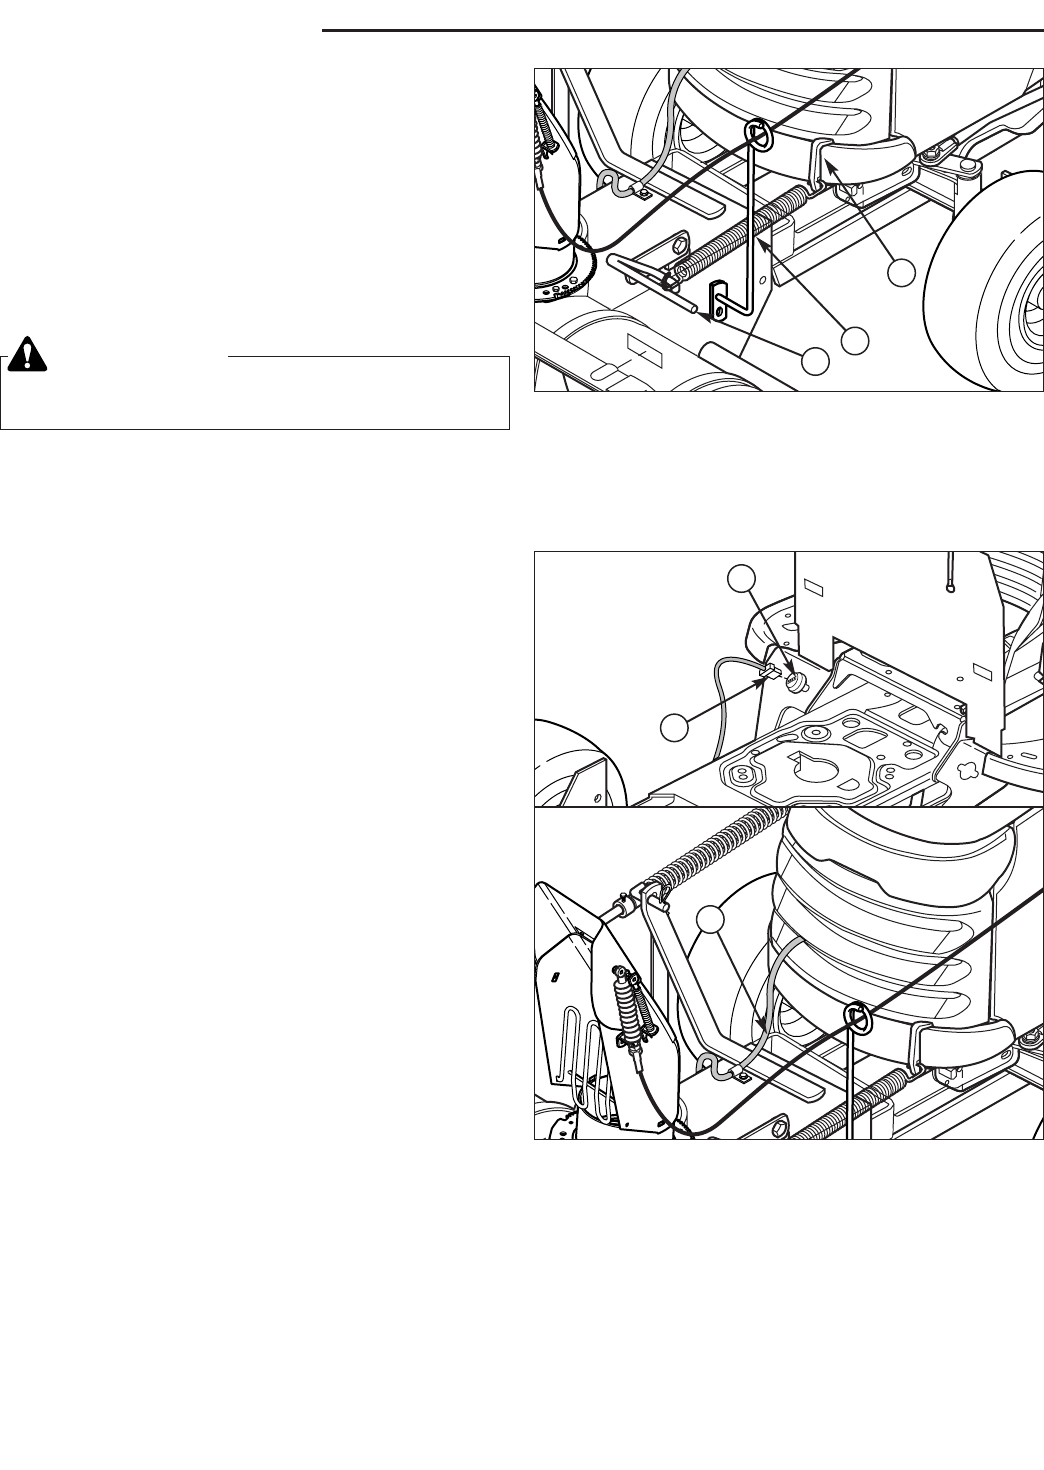
INSTALL ASSIST SPRING
4. Lift the snowthrower up fully and support with wood
blocks.
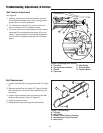
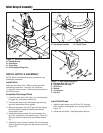
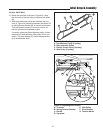
5. Assemble the lift assist spring (B, Figure 21) and
spring bracket (C). Install the spring assist bracket
(C) in the front bumper. Be sure the spring notch is
in the lower position.
6. Rotate the assist spring lever (A) backwards. Hook
the spring (A) on the lever (C) and rotate the lever
forwards.
7. Lower the snowthrower.
NOTE: If necessary, perform the lift rod adjustments
found in the Troubleshooting, Adjustments, & Repair
section.
CONNECT ELECTRICAL HARNESS
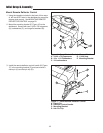
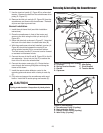
8. Route the wire harness through the bottom opening
in the grille and along the frame rail to the accessory
plug (B, Figure 22). Connect the chute rotator har-
ness plug (A, Figure 22) to the tractor plug (B). Make
certain it will not be caught in the front axle pivot.
Secure with the wire clips provided.
CAUTION
Spring under tension. Keep clear of pinch points.
A
B
C
Figure 21. Lift Assist Spring
A. Assist Spring Lever C. Spring Bracket
B. Assist Spring
A
B
Figure 22. Rotator Motor Electrical Connection
A. Rotator Motor Harness & Plug
B. Tractor Plug
A