


MAINTENANCE AND REPAIR INSTRUCTIONS
24
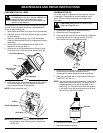
ACCESSORIES/REPLACEMENT PARTS
4-Cycle Oil . . . . . . . . . . . . . . . . . . . . . . . . . . . . . 181786
Oil Fill Plug / Dipstick . . . . . . . . . . . . . . . . . . . . . 182378
Spark Plug . . . . . . . . . . . . . . . . . . . . . . . . . . . . . . 180852
Spark Arrestor Screen . . . . . . . . . . . . . . . . . . . . . 180890
Replacement Line Cartridge . . . . . . . . . . . . . . . . 181460
Inner Reel Spring . . . . . . . . . . . . . . . . . . . . . . . . 181465
Bump Head Knob Assembly . . . . . . . . . . . . . . . . 181468
Fuel Cap . . . . . . . . . . . . . . . . . . . . . . . . . . . . . . . 181083
Shoulder Harness . . . . . . . . . . . . . . . . . . . . . . . . 682075
Click-Link Coupler . . . . . . . . . . . . . . . . . . . . . . . 181616
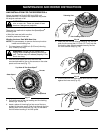
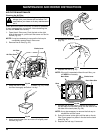
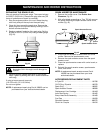
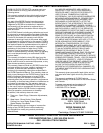
0.025 in.
(0.655 mm.)
REPLACING THE SPARK PLUG
Use only genuine Ryobi spark plugs. The correct air gap
is 0.025 in. (0.655 mm.). Remove the plug after every 50
hours of operation and check its condition.
1. Stop the engine and allow it to cool. Grasp the plug
wire firmly and pull the cap from the spark plug.
2. Clean dirt from around the spark plug. Remove the
spark plug from the cylinder head by turning a 5/8 in.
socket counterclockwise.
3. Replace cracked, fouled or dirty spark plug. Set the
air gap at 0.025 in. (0.655 mm.) using a feeler gauge
(Fig. 44).
Fig. 44
CAUTION: Do not sand blast, scrape, or clean
electrodes. Grit in the engine could damage the
cylinder.
4. Install a correctly gaped spark plug in the cylinder
head. Tighten by turning the 5/8 in. socket clockwise
until snug.
If using a torque wrench torque to;
110-120 in.•lb. (12.3-13.5 N•m).
Do not over tighten.
NOTE: A replacement spark plug Part # 180852 can be
purchased from your local authorized dealer.
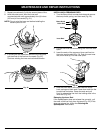
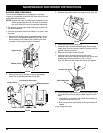
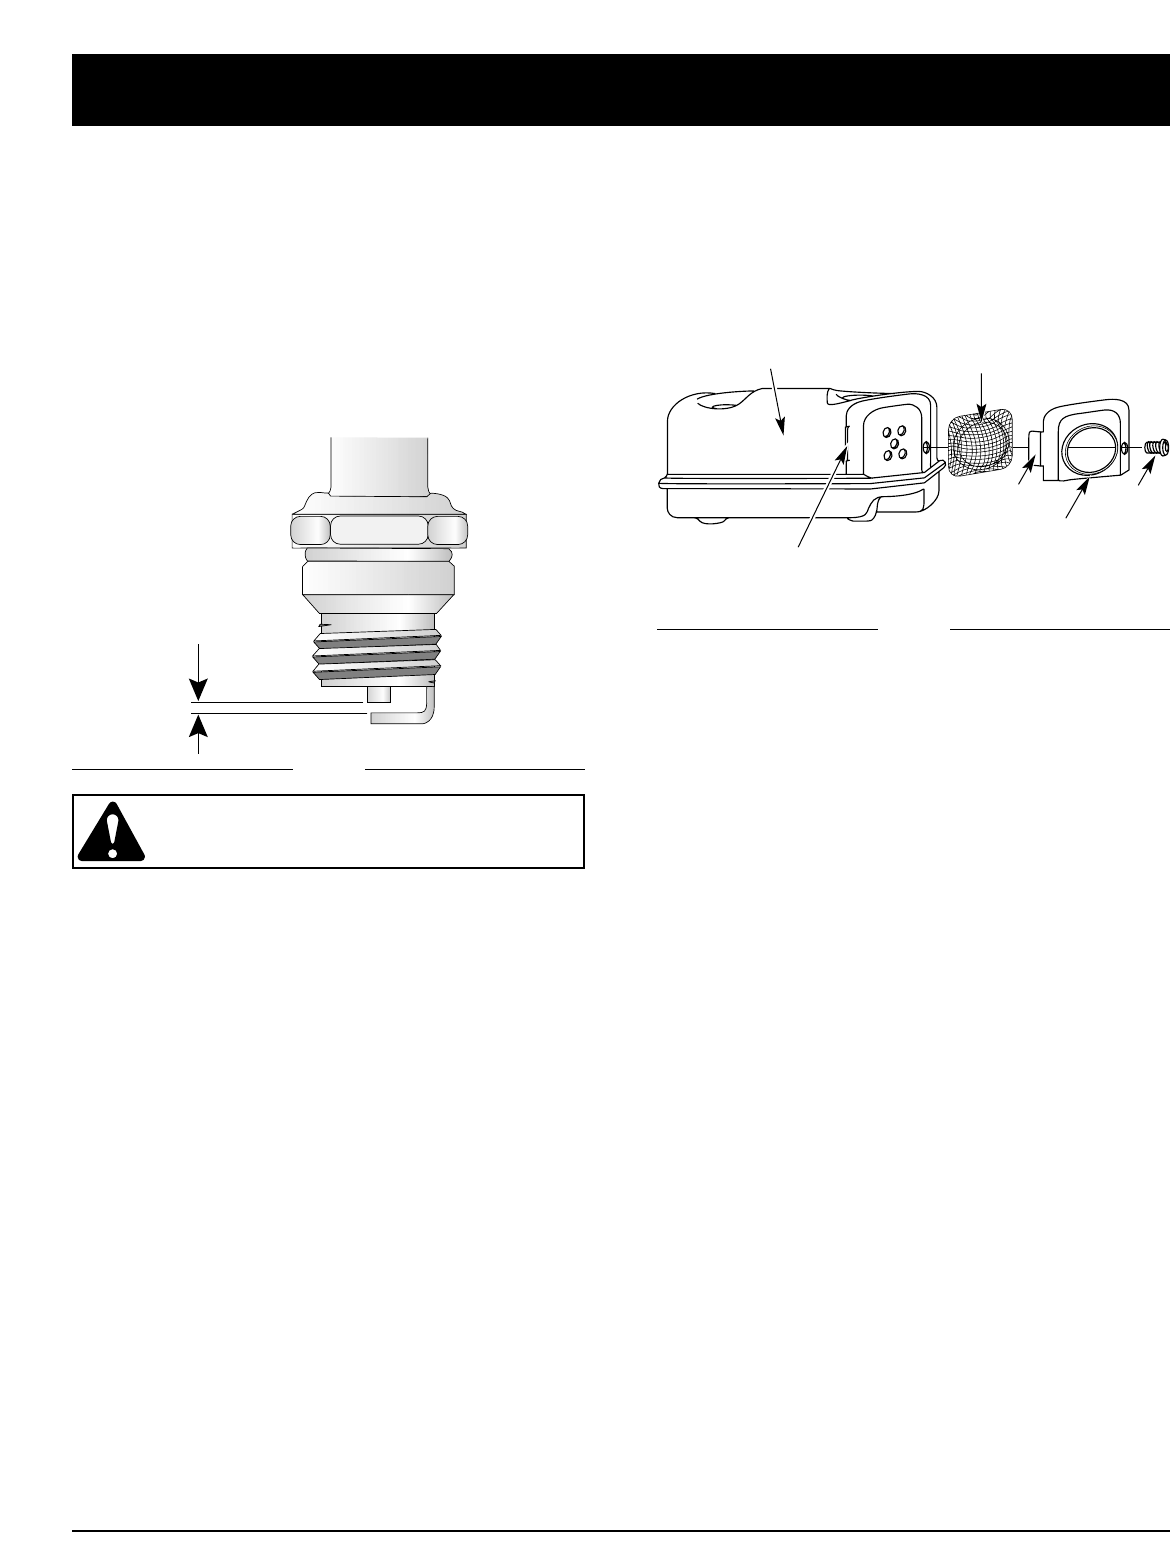
Fig. 45
Muffler
Spark Arrestor Screen
Spark Arrestor Cover
Screw
Tab
Slot
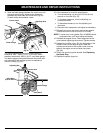
SPARK ARRESTOR MAINTENANCE
1. Remove the muffler cover. See Rocker Arm
Clearance, Pg. 22.
2. With a flat blade screwdriver or Torx T20 bit, remove
the screw attaching the spark arrestor cover to the
muffler (Fig. 45).
3. Pull the tab on the spark arrestor cover out of the
muffler. Remove the spark arrestor cover.
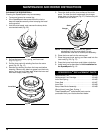
4. Remove the spark arrestor screen from the spark
arrestor cover.
5. Clean the spark arrestor screen with a wire brush, or
replace.
6. Reinstall the spark arrestor screen, spark arrestor
cover, and screw.
NOTE: A replacement spark arrestor screen Part #
180890 can be purchased from your local
authorized dealer.