


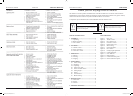


Rover Mowers Limited Model 45 Rover Mowers Limited Model 45
OPERATION
ADJUSTMENTS
TMTM TMTM
3.1 STARTING
1. Disengage the ‘Cutter drive lever’. Figure 4
2. Move the ‘Choke control lever’ located on the
engine to the choke position.
3. Move the throttle control lever to the fast
position. Figure 2.
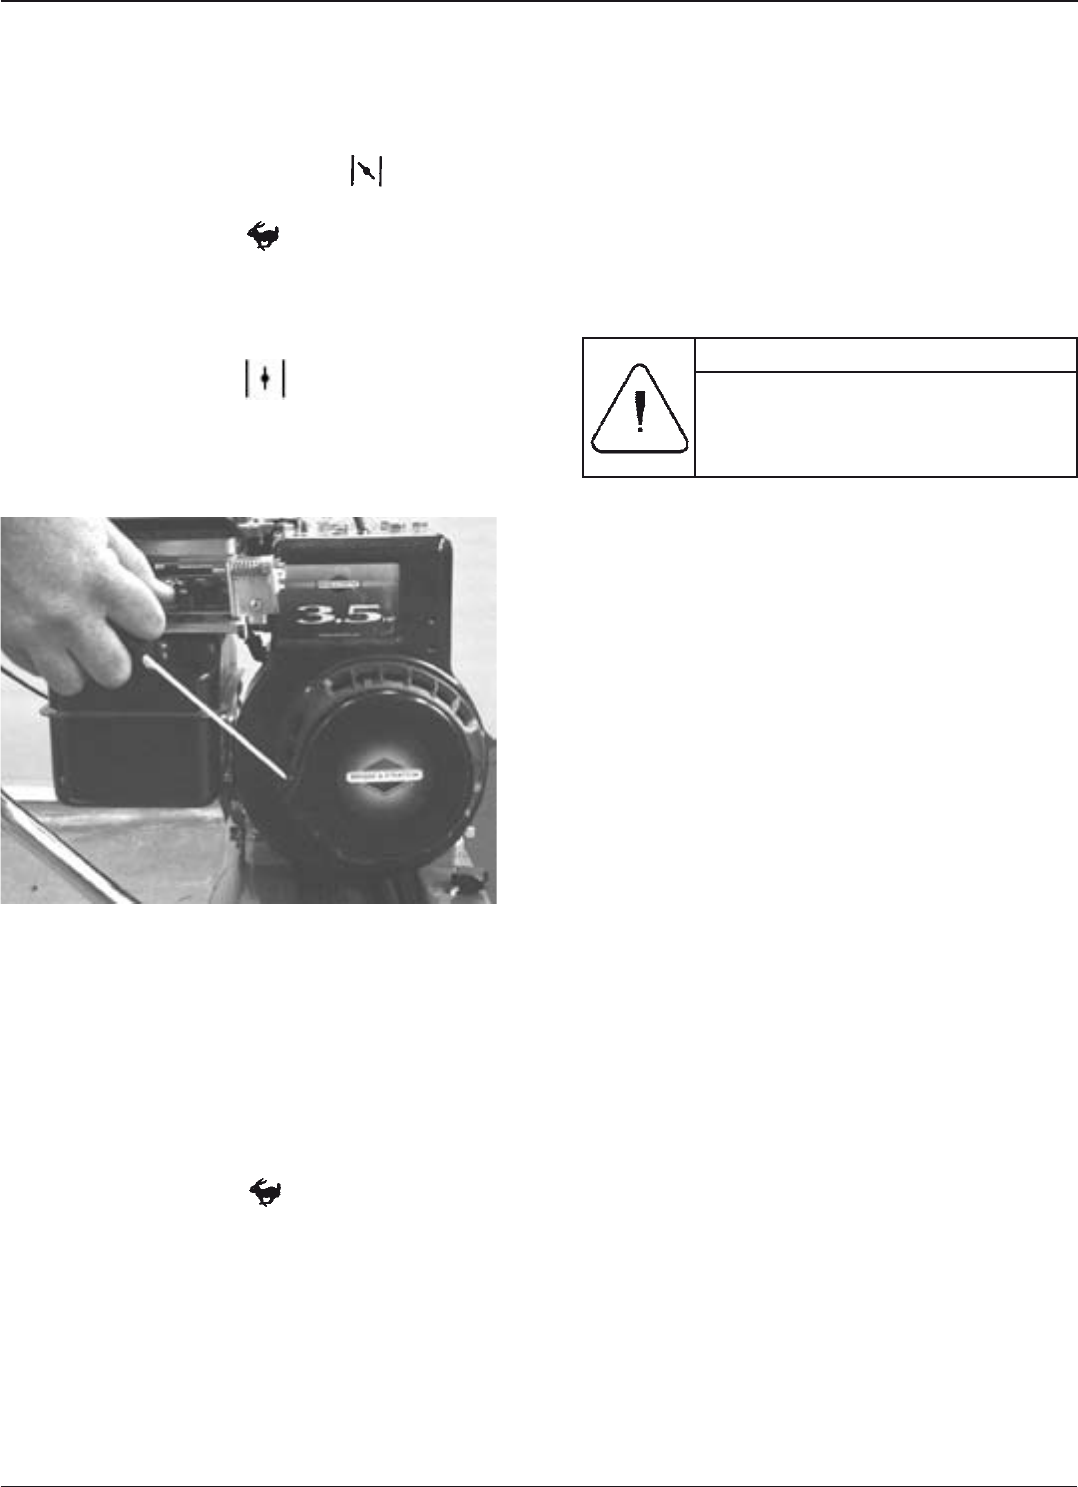
4. Grasp the engine starter cord and pull rapidly
to start the engine. Figure 5.
5. When started move the choke control lever to
the run position.
Figure 5. Engine starter cord.
3.2 MOWING
1. Start the engine as per section 3.1.
2. Move the throttle control lever to the fast
position. Figure 2.
3. Move the cutter drive lever to the engaged
position Figure 4.
4. Slowly squeeze the clutch control lever. This
engages the rear roller drive and moves the
mower forward Figure 3.
5. To gain optimum power from engine it should
be run at maximum speed.
3.3 STOPPING
1. Release the drive clutch lever to disengage
the rear roller drive. Figure 3.
2. Move the throttle control lever to the slow
position. Figure 2.
3. Disengage the cutter drive lever. Figure 4.
3
WARNING
Before making any adjustments, the engine
must be stopped and the spark plug lead
removed, to prevent the engine accidentally
starting.
4.1 CUTTING SETTING
With use it will become necessary to adjust the cut-
ter closer to the bottom blade. The cutter is correct-
ly set when it LIGHTLY touches the bottom blade
along its FULL length. Hard bearing or uneven set-
ting causes excessive or uneven wear to the cutting
edges, and places undue load on the engine.
4.1.1 CHECKING THE CUTTER SETTING
1. Drain the petrol from the fuel tank.
2. Remove the spark plug lead from the spark
plug.
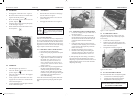
3. Tilt the mower back on the rear roller and
support the lower handle bars 250mm off
the ground. Note: If the mower is to be
tilted back any further than this the oil
must be drained from the engine sump to
avoid possible carburettor and air cleaner
damage. Figure. 6.
4. Hold a narrow strip of newspaper between
the cutter and the bottom blade while
carefully rotating the cutter by hand. The
setting is correct if the paper is cut when
tested at several points along the full length
of the blade. The cutter must be free to
rotate without binding.
Lower the mower back to the ground, refuel with
petrol and replace the spark plug lead onto spark
plug.
Figure 6. Mower tilting.
4.1.2 ADJUSTING THE CUTTER SETTING
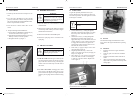
1. Loosentheclampingnuts(A)onbothsidesof
the mower Figure 7.
2. To set the cutter closer to the bottom blade,
turntheadjustingscrews(B)onbothsidesof
the mower anti-clockwise until the cutter just
contacts the bottom blade at both ends.
Figure 7.
3. If the cutter bears down too hard on the bot
-
tom blade, turn the adjusting screws clockwise
at least one turn, then repeat Step 2 until the
blade is set correctly.
4. Retighentheclampingnuts(A)Figure7.
5. Retest the cutter setting. After resetting the
cutter, the cutter drive chain will need to be
checked and adjusted. Refer to section 4.2.
If, after adjusting the cutter setting, a satisfactory
cut cannot be achieved, the blades may require
sharpening or replacement. Return the mower to an
authorised Rover Mower service dealer for blade
sharpening and setting.
Figure 7. Cutter adjustment.
4.2 CUTTER DRIVE CHAIN
After adjusting the cutter setting or after pro-
longed use, the cutter drive chain may require
re-tensioning.
1. Loosenthelocknut(C)Figure8.
2. Slide the nylon chain adjuster against the
chain to allow 6mm of up and down move-
ment of the chain Figure 8.
3. Re-tightenthelocknut(C)Figure8.
Figure 8. Drive chains.
4.3 CLUTCH AND DRUM CHAINS
The clutch and drum chains are adjusted together.
1. Loosenthetwolocknuts(D)Figure8.
2. Slide the large chain sprocket upwards.
3. Retightenthelocknuts(D)Figure8.
NOTE - CORRECTLY TENSIONED
CHAINS SHOULD BE SLIGHTLY SLACK,
NOT TIGHTLY STRETCHED.
4
A
D
D
2892 Reel Mower IMPOSED.indd 6 9/11/2005 9:12:52 AM