


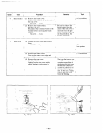
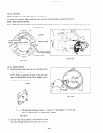
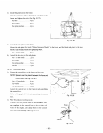

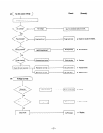
2> Install the generator in the frame.
Lift the generator with a chain b!ock. install it in the
Dame. and tighten the nuts. (See Fig. 10-29.)
8Qnuts. . _ . . . . . . . .4pcs.
SQ washers . . . . . . . .-I pcs.
8~
spring washers . . . .-I PCS.
Fig. lo-29
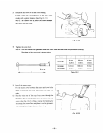
3) Attach the side plates to the frame.
&fount the side plate that reads “Robin Generator Model” to the front, and the blank side plate to the rear.
NOTE: Use the black bolts for tightening them.
50 x 13 mm bolts . . .8 PCS.
4) Attach thcr box stay to the side plates.
6ox 15mmbolts . . . .Ipcs.
60 washer . . _ .Z PCS.
6o spring washer . _ . .2 PCS.
6onut . . . . . . . . .2 pcs.
10
11
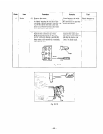
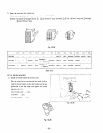
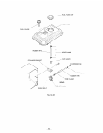
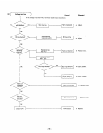
-3-7 CONTROL BOX
Fasten the control box to the frame and box stay.
NOTE: Spacers must be placed between the frame and
controi box. (See Fig. 10-30.)
68 x 15 mm bolts . .3 pcs.
6~
washer . . . . .4 pcs.
6~ spring washer . . . 4 pcs.
Attach the control box to the frame in sub-assembling
the control box.
Refer to Paragraph 10-4 for sub-assembling the control
box.
I
I
-’
Fig. IO-30
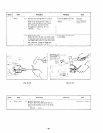
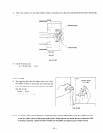
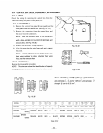
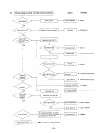
2) NYre the primary exciting crrcuit.
Connect the two yellow wires of the automatic volt-
age regulator in the control box to the exciting coil
wires
of
the en-tie, and clamp them to the control
box with cord bushings. t&e Fig. 10-3 1:)
INSERT
Fig. lo-31
- 52 -