www.desatech.com
10
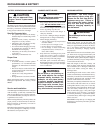
Use proper extension cord with this mower. Use
only a polarized (i.e., one blade is wider than
the other), UL listed extension cord marked for
outdoor use. The cord must be marked with suffi x
W or W-A following the cord type designation.
Example: SJTW-A or SJTW.
Use proper sized cord with this mower. Cord
must be heavy enough to carry current needed.
An undersized cord will cause voltage drop
at mower. The mower will lose power and
overheat. Follow cord size requirements listed
on page 11.
Keep cord away from cutting area. Make sure
cord does not catch on branches during cutting.
Inspect cord often. Replace damaged cords.
1. Use only three-wire outdoor extension
cords that have three-prong grounding-
type plugs and three-pole receptacles that
accept the mower’s plug
.
2. Make sure your extension cord is in good
condition. Cord insulation must be intact
with no cracks or deterioration. Plug con-
nectors must be undamaged. When using
an extension cord, be sure to use one heavy
enough to carry the current your mower
will draw. An undersized extension cord
will cause a drop in line voltage resulting
in loss of power and overheating.
OPERATING MOWER
Safety Checks
Perform the following safety checks before
operating mower each time.
• Check that the blade is attached securely.
• Make sure all knobs, bolts, attachments,
and covers are in place and securely
attached.
• Inspect for any visible damage to the
blade or deck and remove any accu-
mulation of dirt, dust, or dried grass
clippings.
• Attach either the rear bagger, the mulch-
ing plug, or the optional side discharge
chute. See Attaching Mulcing Plug or
Read Bagger.
• Set the mower to the desired cutting
height (see Adjusting Wheel Height
).
• Be sure the battery is fully charged.
• Before starting mower, push it to the
lawn area to be mowed.
Power Selection Dial
This Remington brand mower is designed to
operate from a rechargeable battery or 110
volt outlet. To select the power source desired,
follow the instructions below.
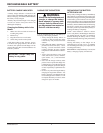
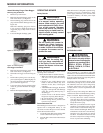
1. Locate the upper deck power selection dial
on the control board (see Figure 12).
2. Turn the dial to the selection desired (see
Figure 13).
MOWER INFORMATION
Note: This mower is designed to operate using
the battery even if it is connected to a 110V
power supply. When the power selection dial
is turned to “Battery”, the 110V power input
is switched off.
EXTENSION CORDS
Figure 12- Power Selection Dial
Figure 13 - Turn Dial
Read and understand this own-
er’s manual before operating
mower. Make certain you read
and understand all Safety Warn-
ings of this manual. Improper
use of this mower can result in
severe injury or death from fi re,
electric shock, or body contact
with moving parts.
WARNING
Do not modify this mower to
bypass the safety features.
These features are designed
to make it diffi cult for children
to operate the mower and to
protect the user.
WARNING
Do not insert the safety key
until you have completed all
of the Safety Checks and have
moved the mower to the area
being mowed.
WARNING
Attach Mulching Plug or Rear Bagger
Mulching Plug Installation
1. Remove key from mower.
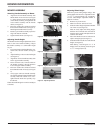
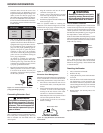
2. Raise the hinged discharge guard on the
back of the mower (see Figure 9).
3. Insert mulching plug until the end of the
plug is fl ush with the discharge hole. (see
Figure 10).
Note: The mulching plug uses friction
to stay in place. It might be necessary to
wiggle the plug to fully install it and to
remove it.
4. Lower the hinged discharge guard.
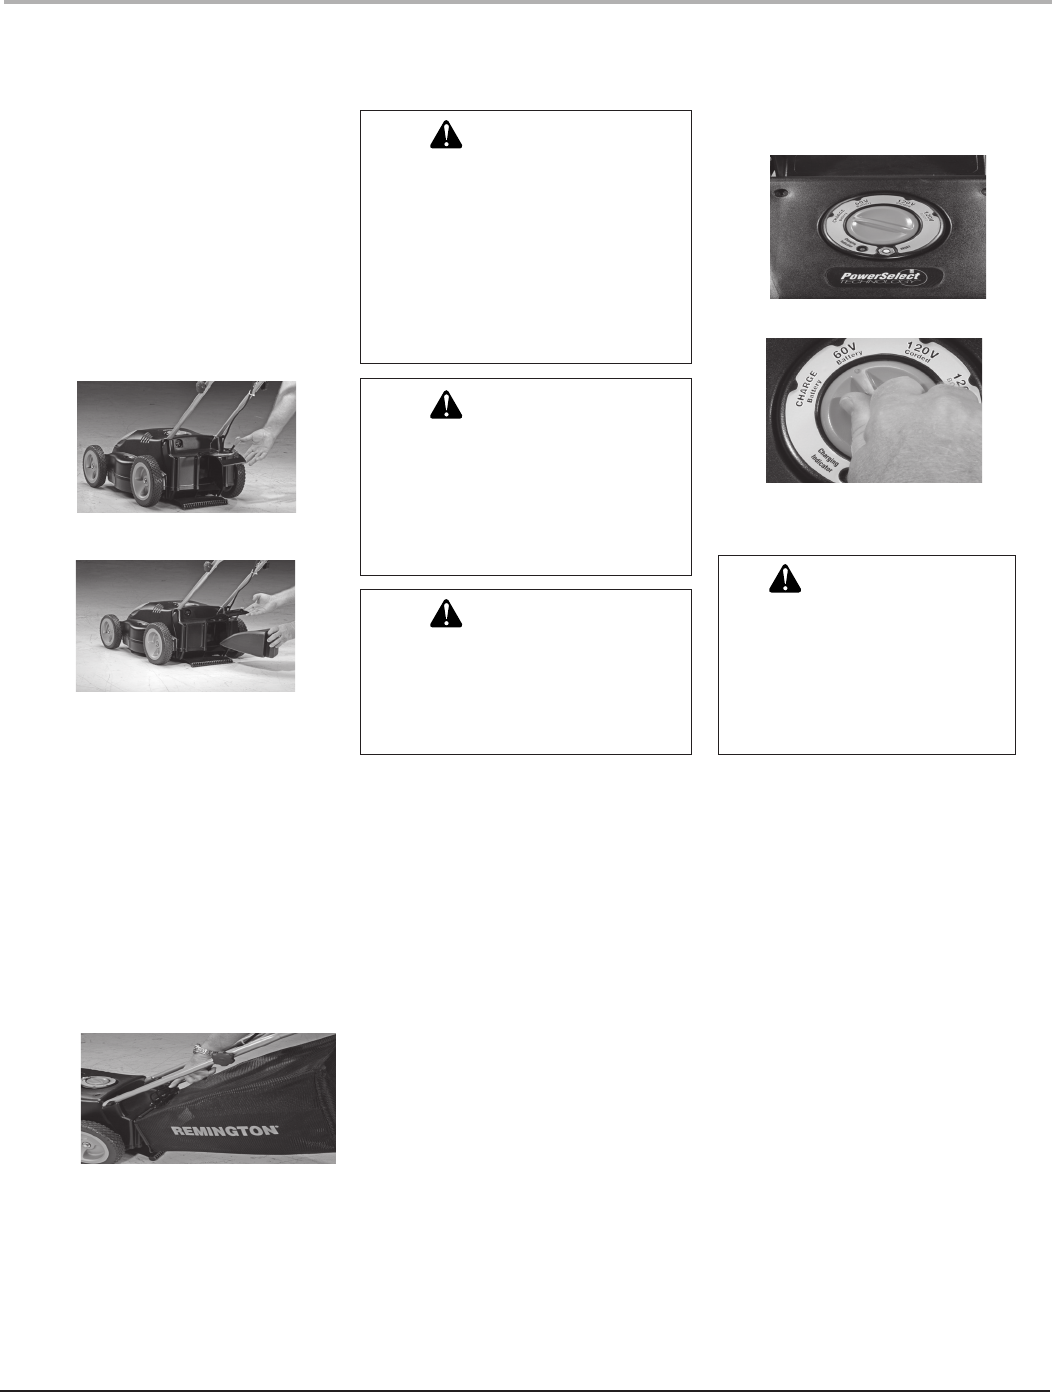
Figure 9 - Discharge Guard
Figure 10 - Mulching Plug
Rear Bagger Installation
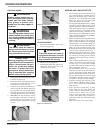
1. Raise the hinged discharge guard on the
back of the mower (see Figure 9).
2. Orient the rear bagger as shown in Figure
11.
3. Position the top front groove over the sup-
port rod (see Figure 11). Note: Slightly tilt
rear of bag upward to place the rear bagger
groove onto the support rod.
4. Lower rear of bag. Gravity and the weight
of the cut grass will hold the rear bagger
in place.
5. Release the hinged discharge guard.
Figure 11 - Rear Bagger
To reduce the risk of elec-
tric shock, use only with an
extension cord intended for
outdoor use, such as SW-A,
SOW-A, STW-A, STOW-A,
SJW-A, SJOW-A, SJTW-A,
or SJTOW-A.
WARNING


