17
SERVICE AND ADJUSTMENTS
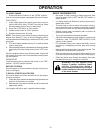
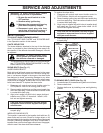
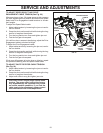
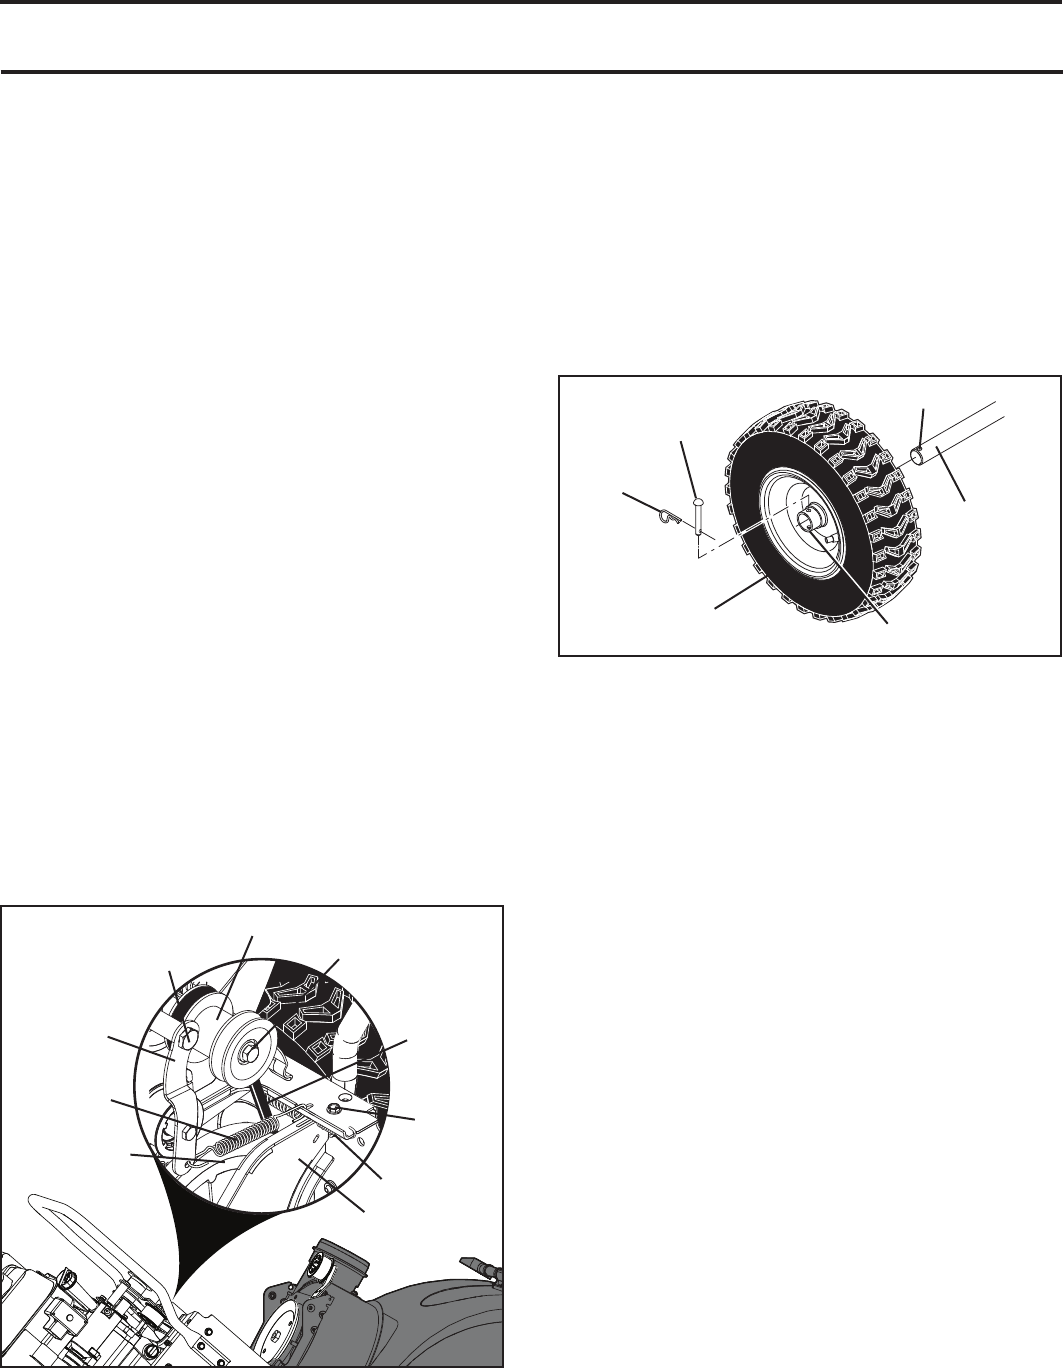
TO REMOVE WHEELS (See Fig. 22)
• Remove the wheel pin and retainer pin and remove
wheel from axle.
NOTE: To seal punctures or prevent flat tires due to slow
leaks, tire sealant may be purchased from your local parts
dealer. Tire sealant also prevents tire dry rot and cor ro sion.
AXLE
WHEEL PIN (INSTALL
IN OUTER HOLE OF
AXLE ONLY)
OUTER HOLE
WHEEL HUB
WHEEL
RETAINER
PIN
FIG. 22
ENGINE
SEE ENGINE MANUAL
CARBURETOR
Your carburetor is not adjustable. Engine performance
should not be affected at altitudes up to 2,134 meters. If
your engine does not operate properly due to suspected
carburetor problems, take your snow thrower to a service
center/department.
ENGINE SPEED
Never tamper with the engine governor, which is factory set
for proper engine speed. Overspeeding the engine above
the factory high speed setting can be dangerous and will
void the warranty. If you think the engine-governed high
speed needs adjusting, contact a service center/depart-
ment, which has the proper equipment and experience to
make any necessary ad just ments.
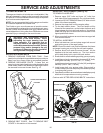
FIG. 21
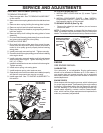
DRIVE BELT REPLACEMENT (See Fig. 21)
TO REMOVE DRIVE BELT
1. Remove auger belt. See “TO REMOVE AUGER BELT”
in this section.
2. Remove tensioner spring attached to drive belt tensioner
arm.
3. Remove return spring holding the swing plate in place.
4. Remove arm bolt and drive belt tensioner arm.
5. Remove pulley bolt and washer, engine pulley, and drive
belt from engine.
6. Remove the top bolt holding the swing plate to frame
assembly.
7. Pivot and hold the swing plate away from snow thrower
and remove drive belt from drive pulley.
TO INSTALL DRIVE BELT
1. Pivot and hold swing plate away from snow thrower.
Place drive belt onto drive pulley. Ensure drive belt is
routed in drive pulley groove properly before lowering
swing plate.
2. Install previously removed top bolt. Tighten securely.
3. Place drive belt into engine pulley groove before installing
onto engine shaft.
4. Install previously removed washer and bolt and secure
engine pulley onto engine. Tighten securely (30-35 Ft.
Lbs. / 41-47 Nm).
5. Install drive belt tensioner arm and arm bolt onto engine.
Tighten securely.
6. Install return spring onto swing plate.
7. Install tensioner spring onto tensioner arm.
8. Operate all controls to ensure belts are installed properly
and that all components are moving correctly.
9. Install auger belt. See “TO INSTALL AUGER BELT” in
this section.
AFTER REPLACING BELT(S)
1. INSTALL BELT COVER and two (2) screws. Tighten
securely.
2. INSTALL DISCHARGE CHUTE – See “INSTALL
DISCHARGE CHUTE / CHUTE ROTATER HEAD” in
the Assembly section of this manual.
DRIVE PULLEY
ENGINE PULLEY
ARM BOLT
DRIVE BELT
TENSIONER
ARM
TENSIONER
SPRING
DRIVE
BELT
SWING
PLATE
TOP
BOLT
RETURN
SPRING
PULLEY BOLT
AND WASHER


