


59
10. CHECKS AND ADJUSTMENTS
• Checks and adjustments should be performed before and during measurement.
• The instrument should be checked after long storage and transportation.
• The checks should be performed in the following order.
[Cautions on CHECKS AND ADJUSTMENTS]
• When adjustment is completed, be sure that adjusting screws are completely
tightened.When finishing turning adjusting screws, be sure that screws are turned in a
direction for tightening.
• Repeat check after adjustment, and check if the instrument has been adjusted properly.
• When adjustment is completed, be sure that adjusting screws are completely
tightened.When finishing turning adjusting screws, be sure that screws are turned in a
direction for tightening.
• Repeat check after adjustment, and check if the instrument has been adjusted properly.
10.1 Electronic vial
[Checks]
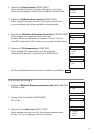
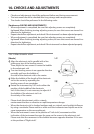
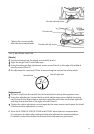
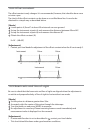
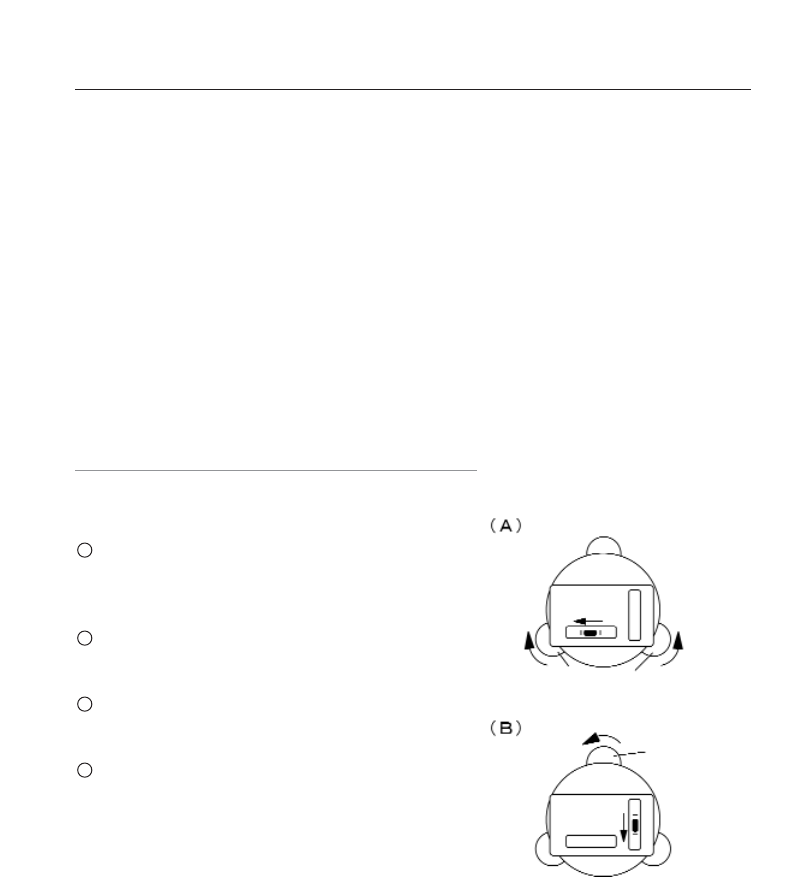
Align the electronic vial in parallel with a line
joining any two of the leveling screws.
Then, adjust the two screws to center the bubble
in the eelectronic vial.
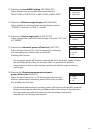
Turn two leveling screws in an opposite direction
mutually and have the bubble of
the side of the electronic vial to the center.
Make the bubble of the length of the electronic
vial to the center by operating the
leveling screw of one remainder.
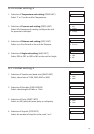
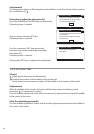
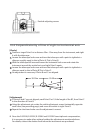
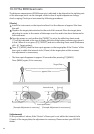
Rotate the instrument by 180° and confirm the
position of the bubble of the electronic
vial. At this time, it is not necessary to adjust it if
the bubble of the electronic vial is in
the vicinity of the center.
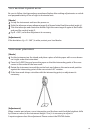
• Please check the electronic vial in a steady
environment that has no vibration or rapid temperature change.
• When the electronic vial is checked outdoors and on a tripod, avoid sunlight influence
by using a sunshade.Please wait for a while until the instrument and tripod are at the
same temperature as the surrounding air.
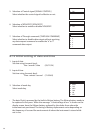
• When the instrument is seen at the position of “Left circle”, movement and the
inclination of the instrument become the same on the screen in the electronic vial.
Please note that the movement of the bubble becomes opposite direction if it is seen
at the position of “Right circle”.
4
3
2
1
Leveling screws
Leveling screws