


recommended to use Alkaline batteries, which ensure the most
stable performance.
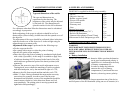
b. Testing of operation in a daytime
During the bright time of the day:
Turn on the on/off switch (9). The lens cap (6) must be on. Direct
the device at an object placed within 10-20 m from the viewer.
Turn the focus knob (10) and eye-piece (3) try to achieve
the
sharpest image on the screen of the image tube.
NOTE: The device won’t burn out even if it is exposed to a bright
light. The automatic shut-off system will make the screen dark.
After replacing the device into dark environment the tube will
recover in few seconds.
CAUTION!
The device is not supposed to be directed at a bright source of light:
bright lamps, the sun, welding and etc – it may result in the
reduction of the light gain of the device. In order to avoid the
fatigue of photo-cathode it is not allowed to leave the active device
motionless in the excessively bright environment (dawn, dusk,
daylight, etc.) during more than 30 minutes.
c. Operation at night
AT MOON LIGHT: Take off the lens cover (6). Turn on the
device-using switch (9). Turn the eyepiece (3) adjust to achieve the
best shape of the reticle. The reticle brightness can be adjusted by
switch (8). Then obtain the most clear-cut image of the object
focusing with knob (10). Repeat the steps of focusing if necessary.
AT INSUFFICIENT AMBIENT ILLUMINATION: use the
Infra/Red illuminator activated by rotating switch (9). Select one of
three positions of the switch for different IR power settings (10, 25
or 75 mW). If brightness of the screen is decreasing, replace the
batteries.
It’s recommended to take out the batteries during long periods of
non-operation.
Do not forget to switch the device off after end of work!
8
(for example, .375 H&H Mag) your eye should be situated at the
distance of 2-5cm from the edge of the Eyepiece Guard. The device
should be located in the position which allows comfortable
observation without stretching forward;
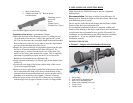
• Place inserts (4, 5) in the apertures of the rail (2). The insert (4) is
placed with a pimple looking downwards in the nearest front slot
of the rifle rail. If there is no such a slot, it’s recommended to
make it at a gunsmith workshop.. It is recommended to place the
inserts at the maximum possible distance from each other;
• Place clamps (6) and clamp screws (7) in the inserts (4, 5).
Tighten screws (7) in order to obtain hard fixation. When
necessary the excessive front part of the rail (3) can be removed.
Installation is completed and the device is ready for use as a
hunting scope.
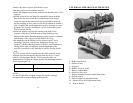
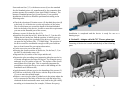
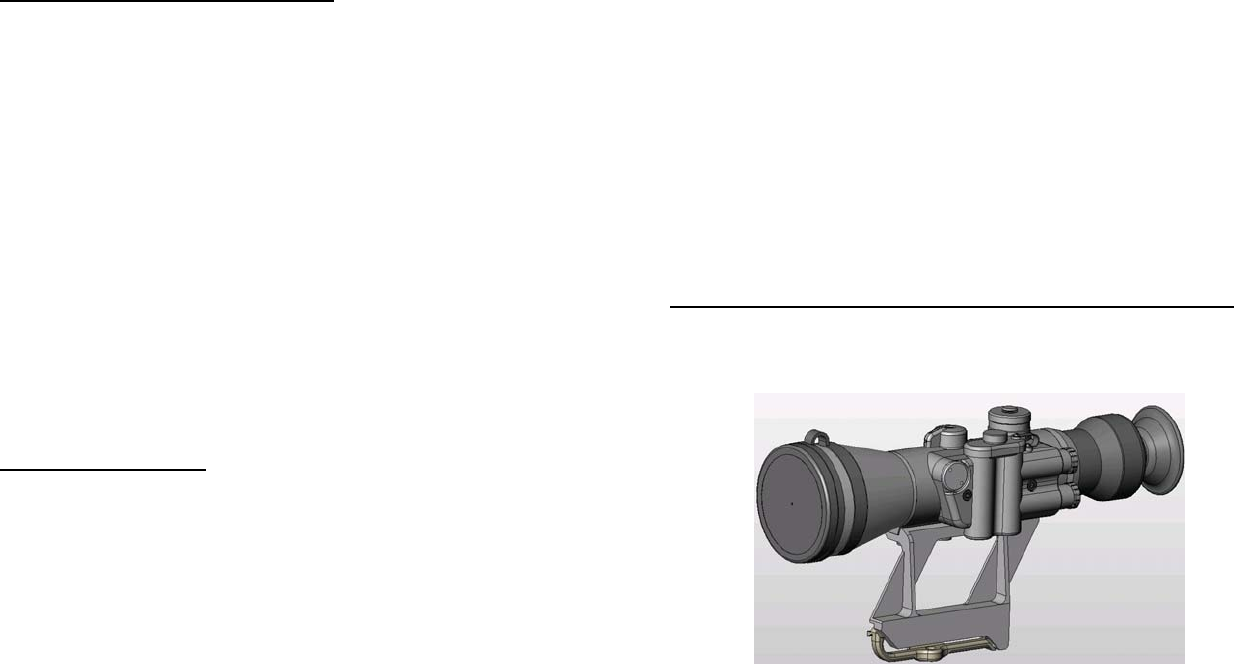
c. Variant III – side rail for East European (Warsaw Pact) rifles.
Side rail can be used for the installation of DN482/483 on a hunting
rifle with side rail. The appearance of the device with a side rail is
shown below:
It is recommended to contact NEWCON OPTIK for installation of
the side rail.
ATTENTION! In case if you use other type of binding, to
eliminate the phenomenon of shooting point displacement, device
binding should be advised with Newcon Optik, because usually
such displacement is caused by unqualified installation.
13