


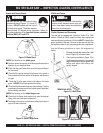

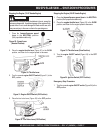

PAGE 26 — MQ SP2 SLAB SAW — PARTS & OPERATION MANUAL — REV. #7 (09/08/06)
DO NOT attempt to operate the saw until the Safety, General
Information and Inspection sections have been read and
understood. Depending on engine manufacturer, operating
steps may vary. See engine operating manual.
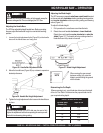
MQ SP2 SLAB SAW — ELECTRIC START-UP (20HP HONDA ENGINE)
1. Ensure the diamond blade has been mounted correctly and
that it is raised above the surface you are about to saw.
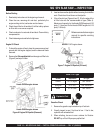
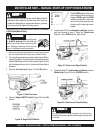
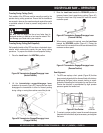
2. For wet cutting operations, ensure the water tank is filled to
capacity (5 gallons). Connect the water tank hose to the water
system brass fitting on the rear of the console (Figure 18) and
test for adequate water flow to the diamond blade before
operation.
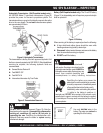
3. If operating the SP2 slab saw in
cold weather conditions
,
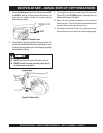
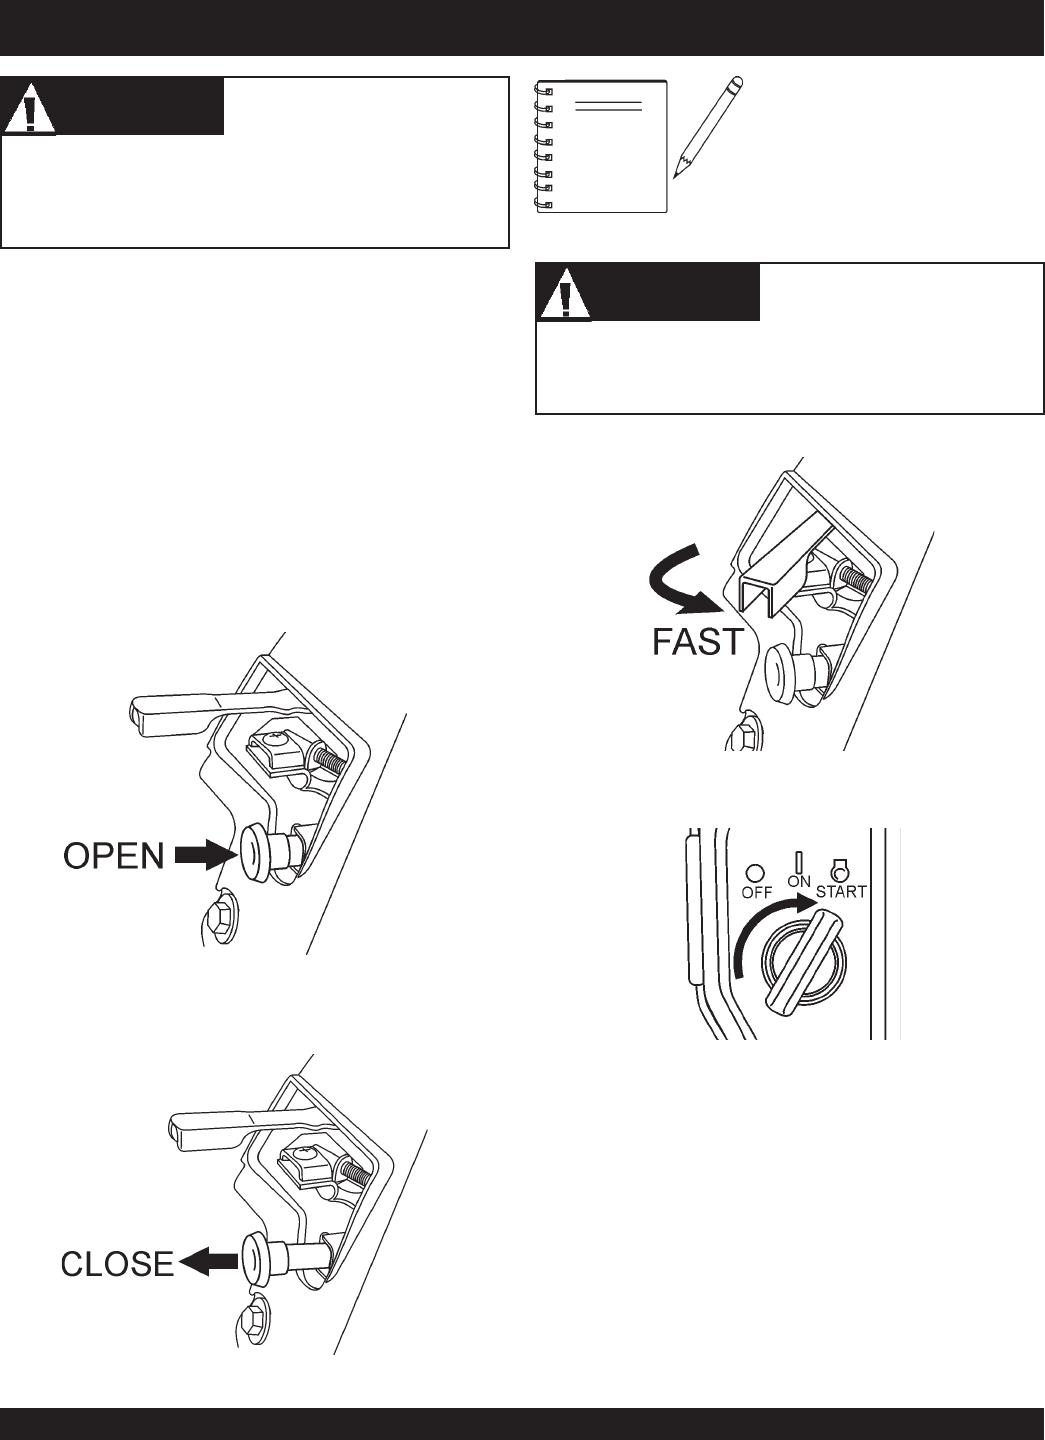
skip this step and proceed to step 4. Place the
Choke Lever
(Figure 25) in the
OPEN
position. Skip to step 5.
The CLOSED position of the choke
lever enriches the fuel mixture for
starting a COLD engine. The OPEN
position provides the correct fuel
mixture for normal operation after
starting, and for restarting a warm
engine.
NOTE
4. If operating the SP2 in
cold weather conditions
, place the
Choke Lever
(Figure 22) in the CLOSED position.
Figure 25. Choke Lever (Open Position)
Figure 26. Choke Lever (Closed Position)
The engine governor speed has been set at the factory.
Changing the governor speed could damage the blade and/
or the saw.
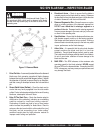
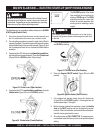
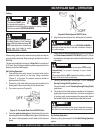
5. Place the
throttle lever
(Figure 27) halfway between FAST
and SLOW for starting.
Figure 27. Throttle Lever (Fast Position)
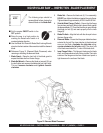
6. Place the
Engine ON/OFF switch
(Figure 28) in the ON
position.
Figure 28. Ignition Switch (Start Position)
The following start-up procedure makes reference to a HONDA
20 HP Engine (Electric Start)
CAUTICAUTI
CAUTICAUTI
CAUTION
CAUTICAUTI
CAUTICAUTI
CAUTION
7. If the engine has started, slowly return the choke lever
(Figure 26) to the CLOSED position. If the engine has not
started repeat steps 1 through 6.
8. Before the saw is placed into operation, place the
throttle
lever
in the FAST position and run the engine for several
minutes. Check for fuel leaks, and noises that would associ-
ate with a loose guard and/or covers.
9. All cutting is done at FULL THROTTLE. Your engine gover-
nor has been set at the factory to ensure an optimum speed
setting.