8
OPERATING INSTRUCTIONS
CONNECT THE CORD
1. Ensure the cord is NOT plugged into a receptacle
before this procedure.
2.
Make a loop with 8
″ - 10″ (20 - 25cm) of the end of the
extension cord.
3.
Place the loop into the slot (A) under the rear handle
and lock into place on the cord retainer (B) as shown
in Figure 1.
4. Plug the extension cord into the electrical receptacle
in the snow thrower handle.
5. Plug the extension cord into a receptacle ONLY when
you are ready to operate the snow thrower.
ADJUST SHAFT LENGTH
1. Loosen the adjustment ring (A) by rotating the ring
clockwise.
2. Adjust the shaft to a height that is comfortable to you.
3. Tighten the adjustment ring (A) by rotating the ring (A)
counter clockwise. (Fig. 2)
POSITIONING THE ASSIST HANDLE
1. Loosen the knob (A) on the assist handle (B). (Fig. 3)
2. Adjust the assist handle to an angle that is comfort-
able to you.
3. Tighten the knob on the assist handle.
STARTING AND STOPPING
To start the snow thrower, push the button (A) on the side
of the handle grip and squeeze the trigger (B). To stop the
product, release the trigger. (Fig. 4)
NOTE: When properly started, the safety button will stay
engaged when holding the trigger. When the trigger is
released, the unit stops and the safety button will disen-
gage.
Fig. 1
A
B
Fig. 2
A
Fig. 3
A
B
Fig. 4
A
B
7
RULES FOR SAFE OPERATION
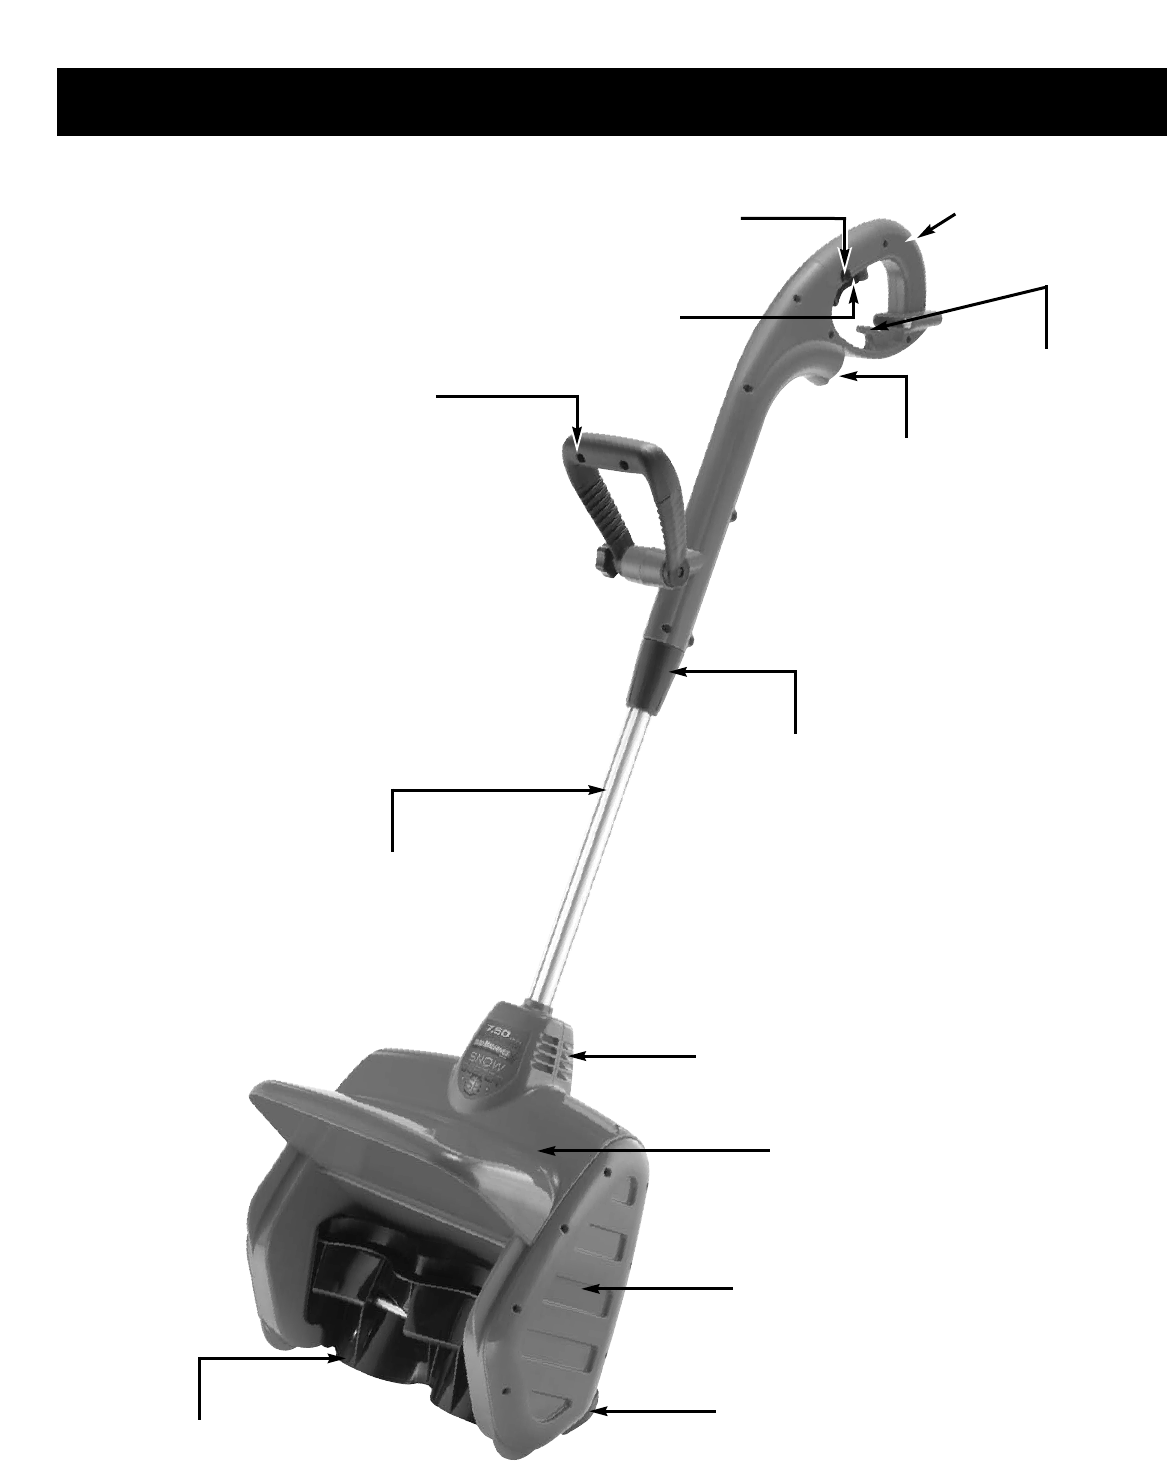
REAR
HANDLE
LOCK-OFF
BUTTON
PLUG FOR
EXTENSION CORD
CORD RETAINER
ASSIST
HANDLE
ADJUSTABLE
SHAFT
ADJUSTMENT RING
ON/OFF TRIGGER
AIR OPENINGS
MO
TOR HOUSING
SCRAPER
ROTOR
BEL
T CASE CO
VER


