


8
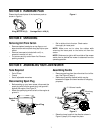
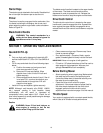
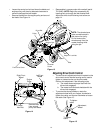
• Raise the upper handle in the direction shown in
Figure 3 (step 3). Tighten the wing nuts which are
already on the handle. See Figure 4.
Figure 4
NOTE: Make sure to route the cables inside the lower
handle. Also do not crimp the cables while lifting the
handle up.
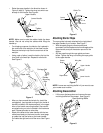
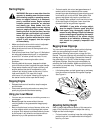
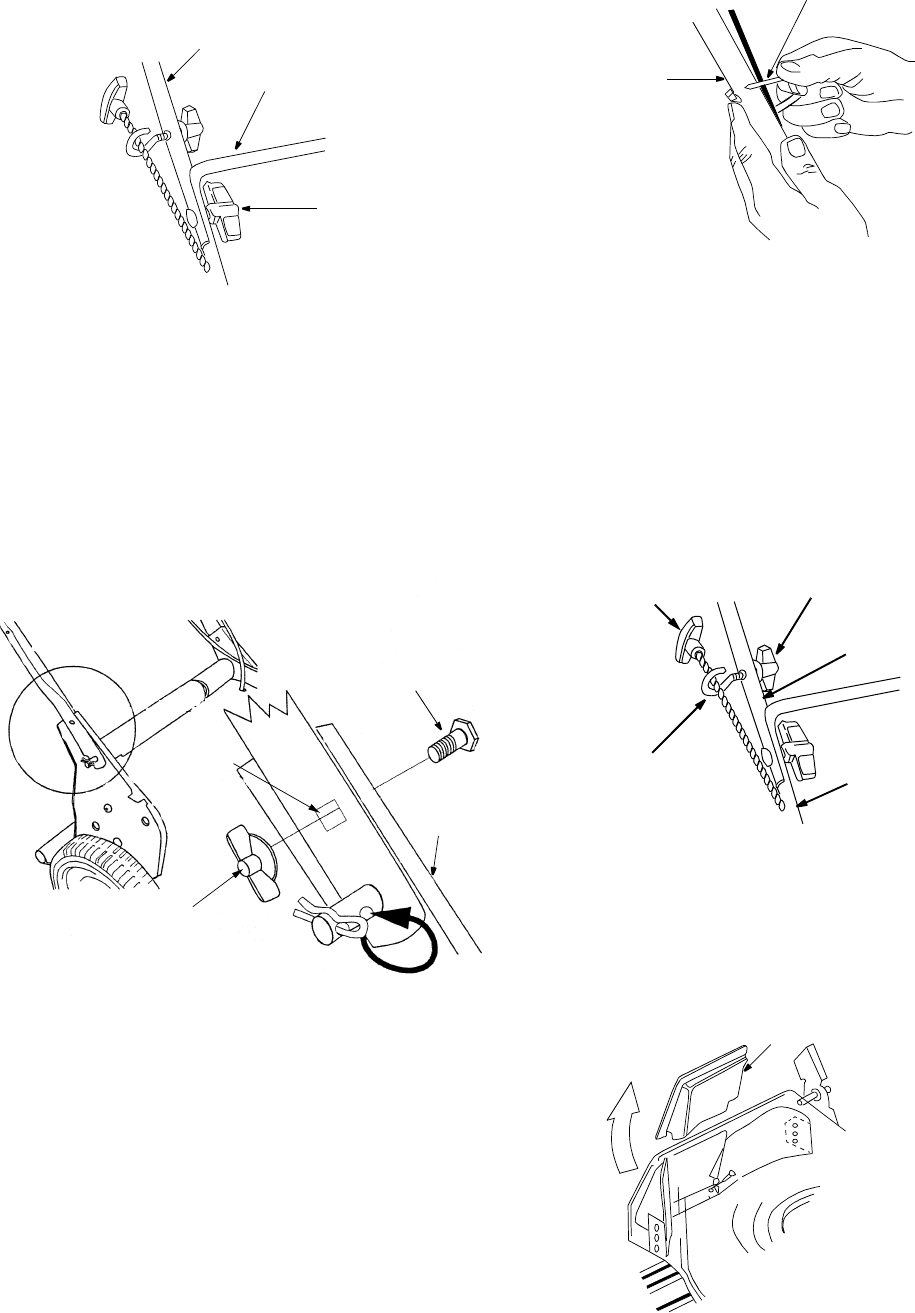
• For shipping purposes, the hairpin clip is placed in
the outer hole of the weld pin on the lower handle.
Remove the hairpin clip from the outer hole of the
weld pin.
• Using a pair of pliers, insert the hairpin clip into the
inner hole in the weld pin. Repeat on other side.
See Figure 5.
Figure 5
• After you have moved the hairpin clip, install the
carriage bolt, (carriage bolt must go to the inside of
handle) included in the hardware pack, in the upper
hole on the handle mounting bracket. Secure with
one plastic wing nut, also included in the hardware
pack. Repeat process on other side.
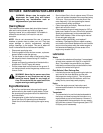
• Attach the cables to the lower handle with the two
cable ties already on the lower handle, insert pegs
on cable ties into the holes on the lower handle.
Pull cable ties tight and cut off the extra. See Figure
6 .
Figure 6
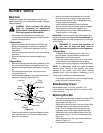
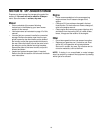
Attaching Starter Rope
The rope guide is already attached to the right side of
the upper handle of your mower. See Figure 7.
• With the spark plug wire disconnected and
grounded, hold the blade control handle against the
upper handle, and pull the starter rope out of the
engine.
• Slip the rope through the rope guide as shown
below. Tighten the wing nut holding the rope guide
to the upper handle.
Figure 7
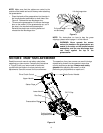
NOTE: Leave rear mulching baffle in if your want to use
your mower as a mulcher.
Attaching Grasscatcher
• Lift the rear discharge door and remove the rear
mulching baffle from the mower. See Figure 8.
Figure 8
Tighten
Lower Handle
Upper Handle
wing nut
Carriage Bolt
Wing Nut
Upper Hole
Move Hairpin Clip
Handle
Mounting
Brkt.
Cable Tie
Lower
Handle
Wing Nut
Starter
Rope Guide
Upper Handle
Lower Handle
Rope
Rear Mulching Baffle