


15
Choosing an Eyepiece
A telescope’s eyepiece magnifies the image formed by the telescope’s main optics. Each eye-
piece has a focal length, expressed in millimeters, or “mm.” The smaller the focal length, the
higher the magnification. For example, an eyepiece with a focal length of 9mm has a higher
magnification than an eyepiece with a focal length of 25mm.
Your telescope comes supplied with two standard eyepieces.
Low power eyepieces offer a wide field of view, bright, high-contrast images, and excellent eye
relief dur
ing long observing sessions.To find an object with a telescope, always start with a low
power eyepiece. When the object is located and centered in the eyepiece, you may wish to
switch to a higher power eyepiece to enlarge the image as much as practical for prevailing see-
ing conditions
.
Note: Seeing conditions vary widely from night-to-night and site-to-site. Turbulence
in the air, even on an apparently clear night, can distort images. If an image
appears fuzzy and ill-defined, back off to a lower power eyepiece for a more well-
resolved image (
Fig. 18a and 18b, page 18).
The power, or magnification of a telescope is determined by the focal length of the telescope
and the focal length of the eyepiece being used. To calculate eyepiece power, divide the tele-
scope's focal length by the eyepiece's focal length. E.g., Assume you are using a 25mm eye-
piece. The focal length of the ETX-80AT-BB is 400mm (see
SPECIFICATIONS, page 36).
Telescope Focal Length ÷ Eyepiece Focal Length = Magnification
400mm ÷ 25mm = 16
The eyepiece power, or magnification is therefore 14x. However, your telescope also contains
a built-in 2 times Barlow. This means you also have to multiply magnification figure by two.
16 x 2 = 32
So your telescope has a 32 times magnification.
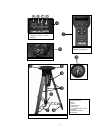
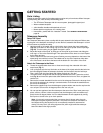
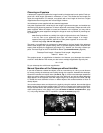
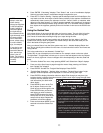
Manual Operation of the Telescope without AutoStar
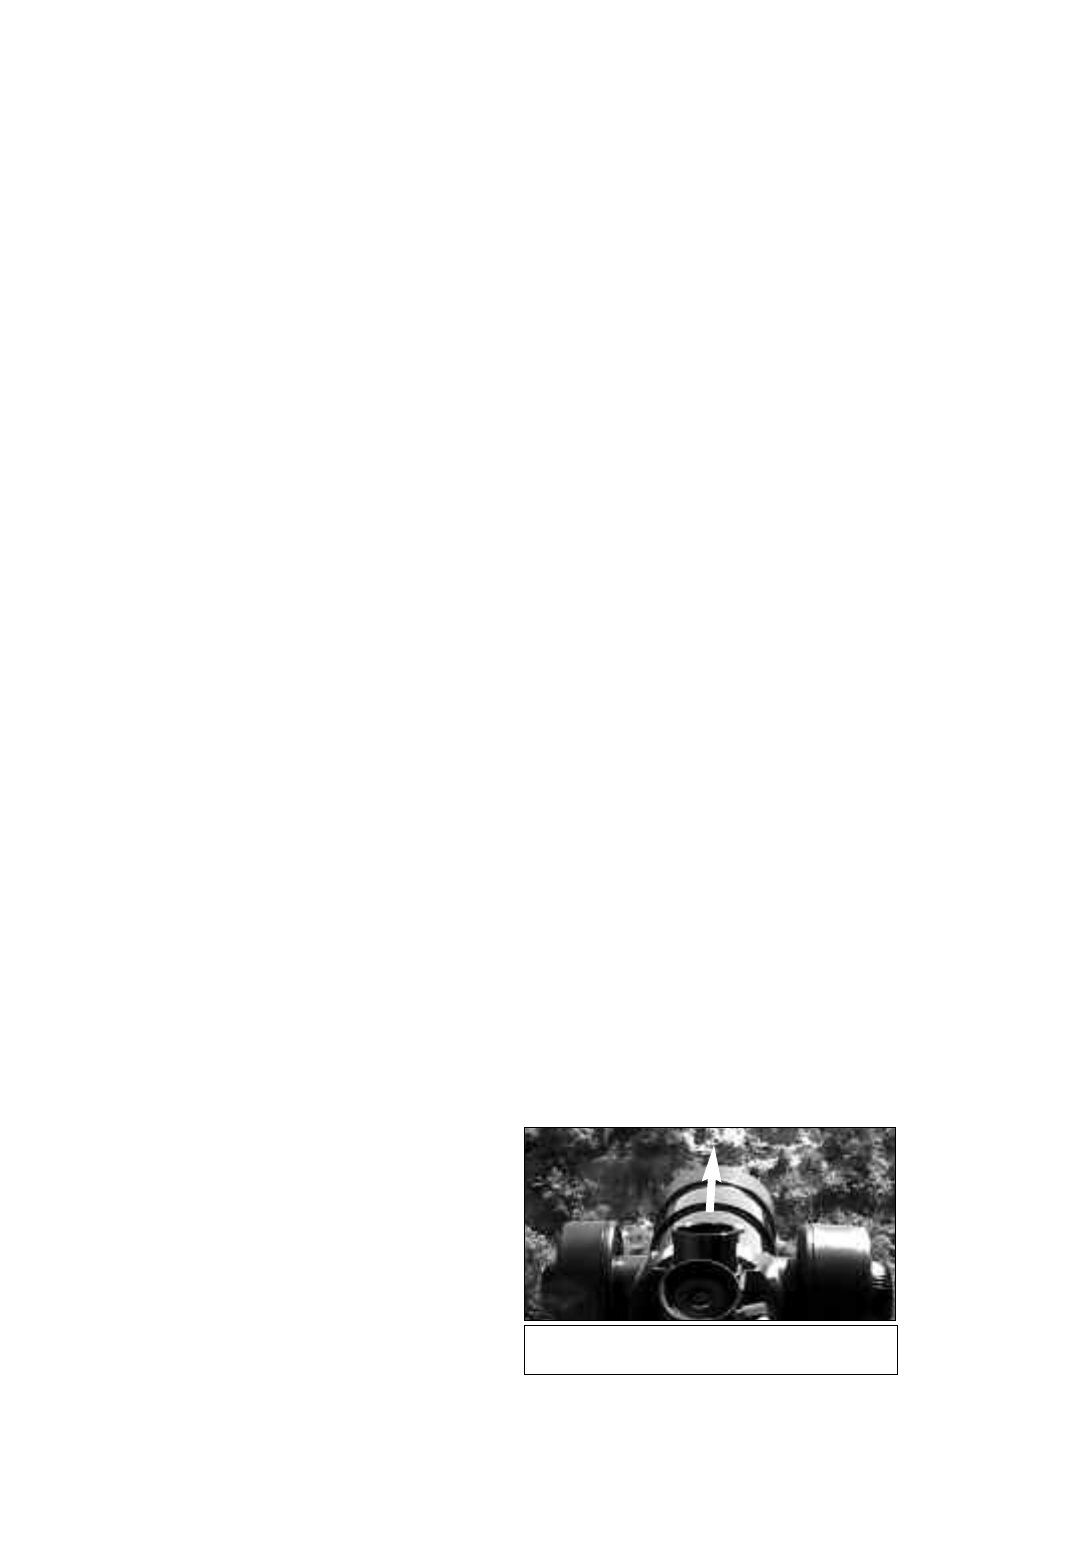
If you wish to observe a distant land object, such as a mountain top or a bird, you can observe
by merely pointing the telescope and looking through the eyepiece. Assemble the telescope,
loosen the horizontal and vertical locks (
13 and 14, Fig. 1), and turn the telescope towards the
object you wish to observe. Sight along the top of the tube until you find the object. When the
object appears in the eyepiece, focus the image using the by turning the focus knob (
15, Fig.
1).
Rotate the knob cloc
kwise to focus on distant objects and counterclockwise to focus on
nearby objects.
You can also observe stars and objects in the night sky using this method, but note that objects
begin to slowly drift across the eyepiece field.This motion is caused by the rotation of the Earth.
As you become familiar with AutoStar operation, you can counteract the drift using the auto-
matic tracking feature in the Setup menu (see
TO TRACK AN OBJECT AUTOMATICALLY, page
17), or by using AutoStar's GO TO capabilities (see
GO TO SATURN, page 19).
Fig.
16:
Sight along the top of the optical
tube.