


16
MAINTENANCE
The life span of the machine can be reduced
and the risk of accidents can increase if ma-
chinemaintenanceisnotcarriedoutcorrectly
and if service and/or repairs are not carried
out professionally. If you need further infor-
mation, please contact your nearest autho-
rised service dealer.
WARNING: Disconnect the spark
plug before performing maintenance except
for carburetor adjustments.
CHECK FOR LOOSE
FA STENERS AND PARTS
S Spark Plug Boot
S Air Filter
S Housing Screws
S Handlebar Screws
S Debris Shield
CHECK FOR DAMAGED OR
WORN PARTS
Contact an authorized service dealer for re-
placement of damaged or worn parts.
S Fuel Tank -- Discontinue use of unit if fuel
tank shows signs of damage or leaks.
S Debris Shield -- Discontinue use of unit if
debris shield is damaged.
INSPECT AND CLEAN UNIT AND
LABELS
S After each use, i nspect complete unit for
loose or damaged parts. Clean the unit and
label s using a dam p cloth with a m ild deter-
gent.
S Wipe off unit with a clean dry cloth.
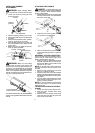
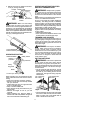
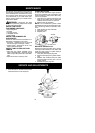
CLEAN AIR FILTER
A dirty air filter decreases engine perform-
ance and increases f uel consumption and
harmful emissions. Always clean after every
5 hours of operation.
1. Clean thecover and t hearea around it to
keep dirt from falling into the carburetor
chamber when the cover is removed.
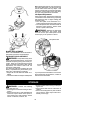
2. Remove parts as illustrated.
NOTE: Do not clean filter in petrol or other
flammablesolventtoavoidcreatingafirehaz-
ard or producing harmful evaporative emis-
sions.
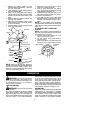
3. Wash the filter in soap and water.
4. Allow filter to dry .
5. Replace parts.
A
ir
f
ilter
Air filter cover
Knob
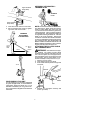
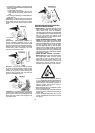
REPLACE SPARK PLUG
Replace the spark plug each year to ensure
the engine starts easier and runs better. Set
spark plug gap at 0,6 mm. Ignition timing is
fixed and nonadjustable.
1. Twist, then pull off spark plug boot.
2. Removespark plugfromcylinderanddis-
card.
3. Replace with Champion RCJ-6Y spark
plug and tighten securely with a 19 m m
socket wrench.
4. Reinstall the spark plug boot.
SERVICE AND ADJUSTMENTS
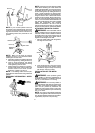
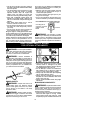
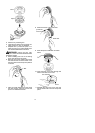
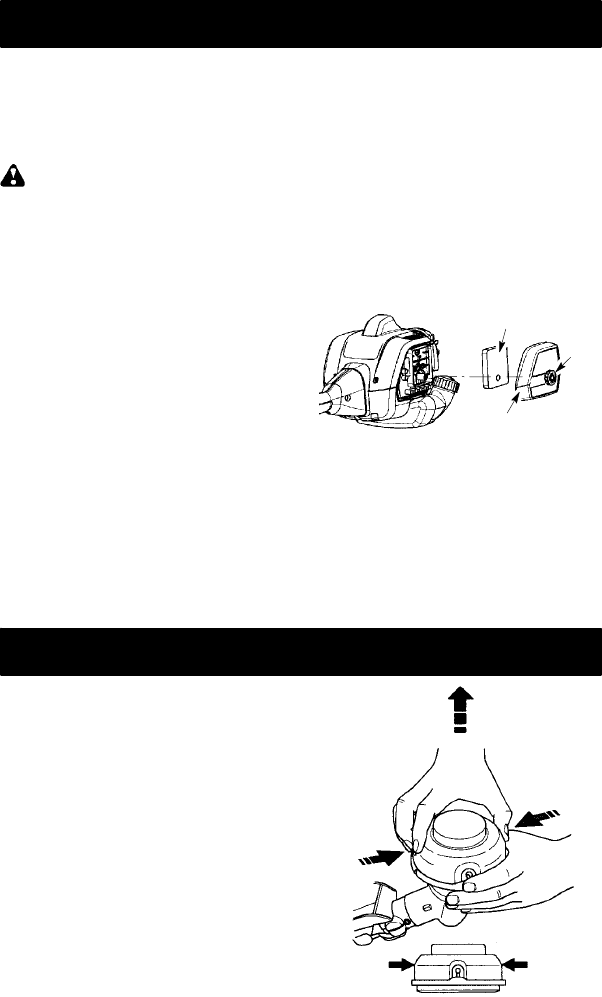
REPLACING TH E LINE
1. Press the tabs on the side of t hetrimmer
head and remove cover and spool.
Tab
Tab