


7
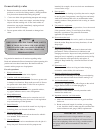
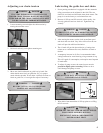
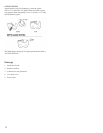
Check the balance of the assembled unit. The handles and
shoulder harness have been assembled at the factory and set
according to the average size person. This can be adjusted to
the operator’s preference by simple loosening the screws and
sliding handles up or down the shaft. Re-tighten the screws.
Balancing the unit
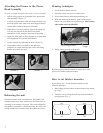
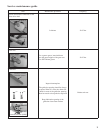
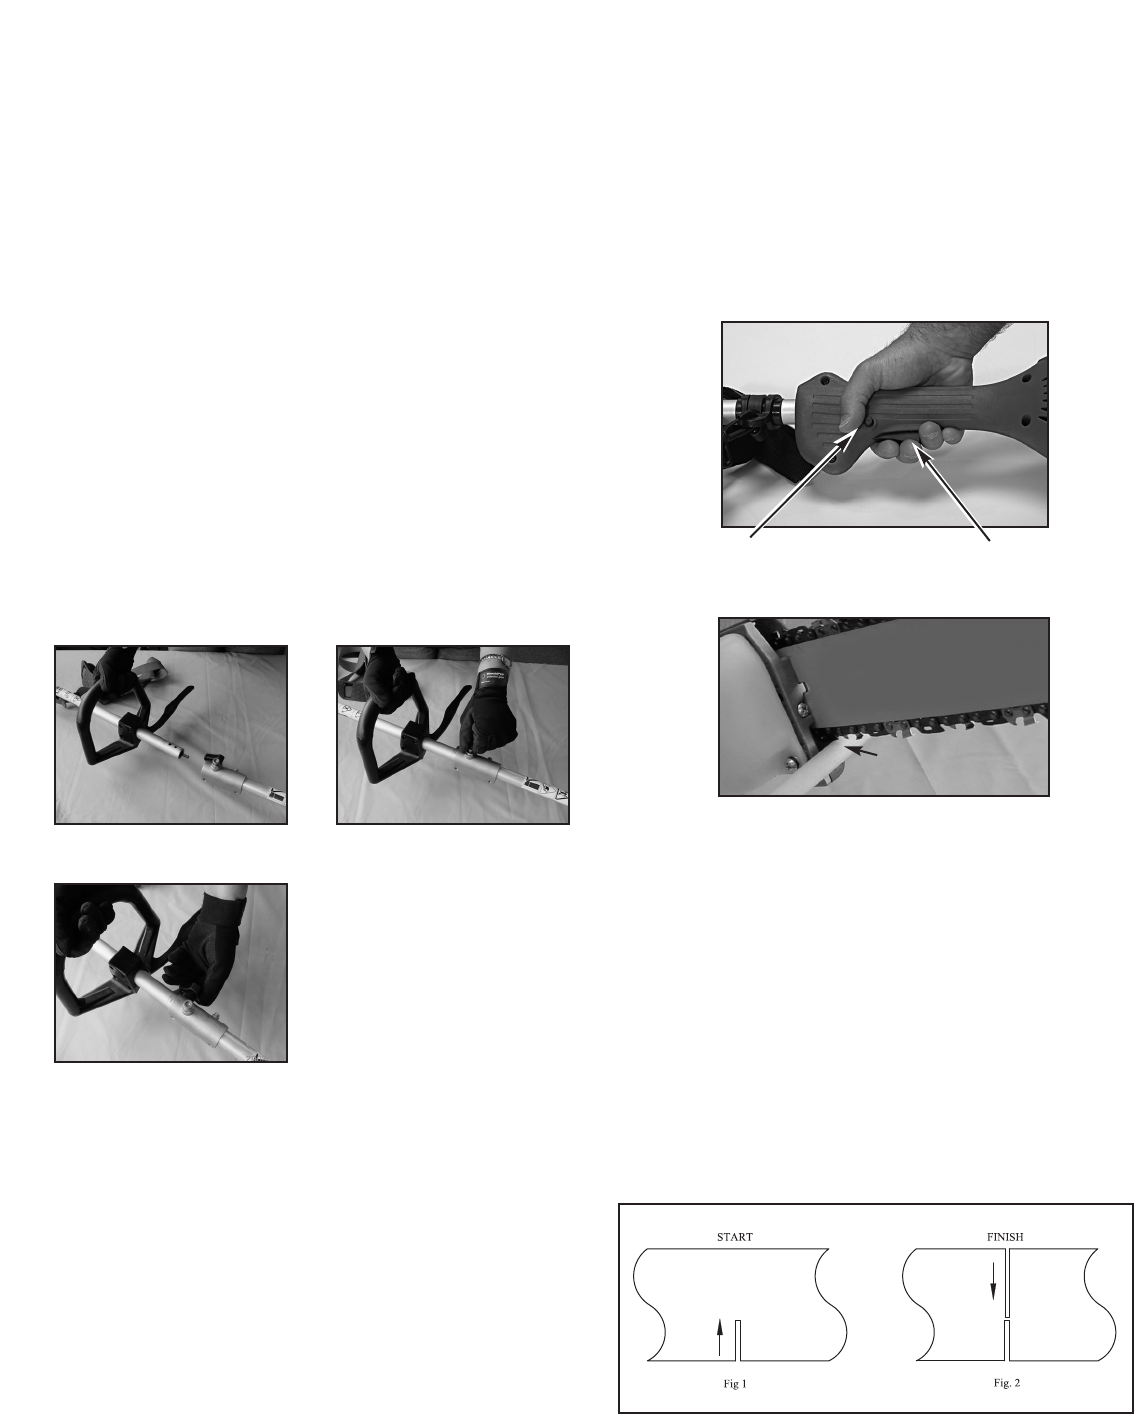
If you need to cut 7-10 cm diametre branches use the
following technique:
1. Start cutting from the bottom of the branch moving pruner
up. (Fig 1)
2. Finish the cut by starting from the top of the branch and
moving down. (Fig. 2)
How to cut thicker branches
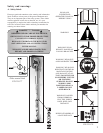
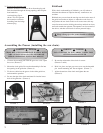
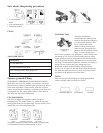
No tools are required to attach the pruner to the power head.
1. Pull the spring pin up on the adapter of the power head
shaft assembly. (Picture 7)
2. Carefully fit pruner drive shaft into adapter, making sure
that male spline of the inner drive shaft engages into the
female spline socket of the power head shaft.
3. When the drive shaft is properly aligned, the spring pin
will drop into the hole on the shaft of the pruner
attachment. A click should be heard when completed.
4. Insure two shaft parts are fully engaged by twisting them.
Full engagement will prevent shaft rotation.
5. Secure assembly by tightening the knob. (Picture 8)
6. Unit handles can be re-adjusted to the operator’s
preference by simple loosening the screws and sliding
handles up or down the shaft.
Attaching the Pruner to the Power
Head Assembly
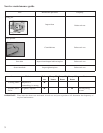
1. Check direction branch will fall.
2. If branch is long, remove it in several pieces.
3. Do not stand directly under the branch being cut.
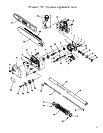
4. With both hands on the handles, push lockout trigger
button with your thumb and squeeze trigger. Start cutting
when chain rotates at full RPM.
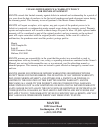
5. Proper cutting position of the pruner:
Hold the pruner against the branch as shown above. This
position will reduce branch movement.
Pruning techniques
Picture 6
Picture 7
Picture 8
branch
Lockout trigger button
Trigger