


8
FUNCTIONAL
DESCRIPTION
CAUTION:
• Always be sure that the tool is switched off and the
battery cartridge is removed before adjusting or
checking function on the tool.
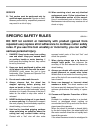
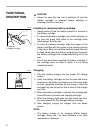
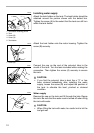
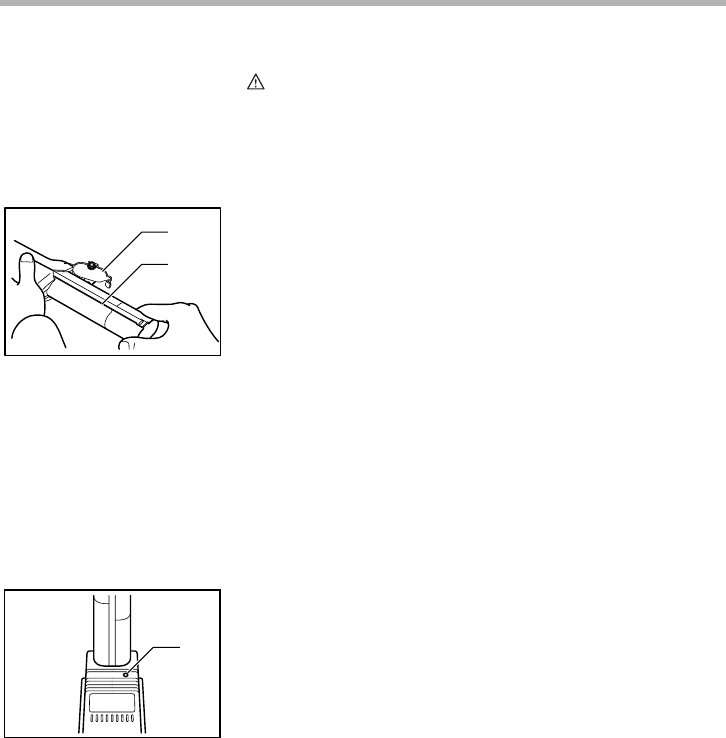
Installing or removing battery cartridge
• Always switch off the tool before insertion or removal of
the battery cartridge.
• To remove the battery cartridge, pull out the set plate on
the tool and grasp both sides of the cartridge while
withdrawing it from the tool.
• To insert the battery cartridge, align the tongue on the
battery cartridge with the groove in the housing and slip
it into place. Snap the set plate back into place. Be sure
to close the set plate fully before using the tool to prevent
the battery cartridge from accidentally falling out of the
tool.
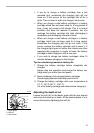
• Do not use force when inserting the battery cartridge. If
the cartridge does not slide in easily, it is not being
inserted correctly.
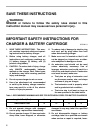
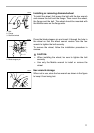
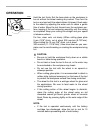
Charging
1. Plug the battery charger into the proper AC voltage
source.
2. Insert the battery cartridge so that the plus and minus
terminals on the battery cartridge are on the same sides
as their respective markings on the charger. Insert the
cartridge fully into the port so that it rests on the charger
port floor.
3. When the battery cartridge is inserted, the charging light
color will flash in red color and charging will begin.
4. When the charging light goes out after about one hour,
you may remove the fully charged battery cartridge.
5. After charging, unplug the charger from the power
source.
NOTE:
• The battery charger is for charging Makita battery
cartridge. Never use it for other purposes or for other
manufacturer’s batteries.
1. Set plate
2. Battery cartridge
1
2
003507
1. Charging light
1
001332