13
Section 2: Assembly & Set-Up (Optional)
4/03/08
PS2096 Series Primary Seeders 313-308M
Land Pride
Table of Contents
Pull Tongue Assembly
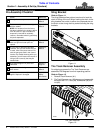
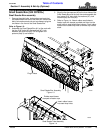
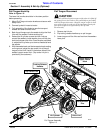
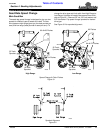
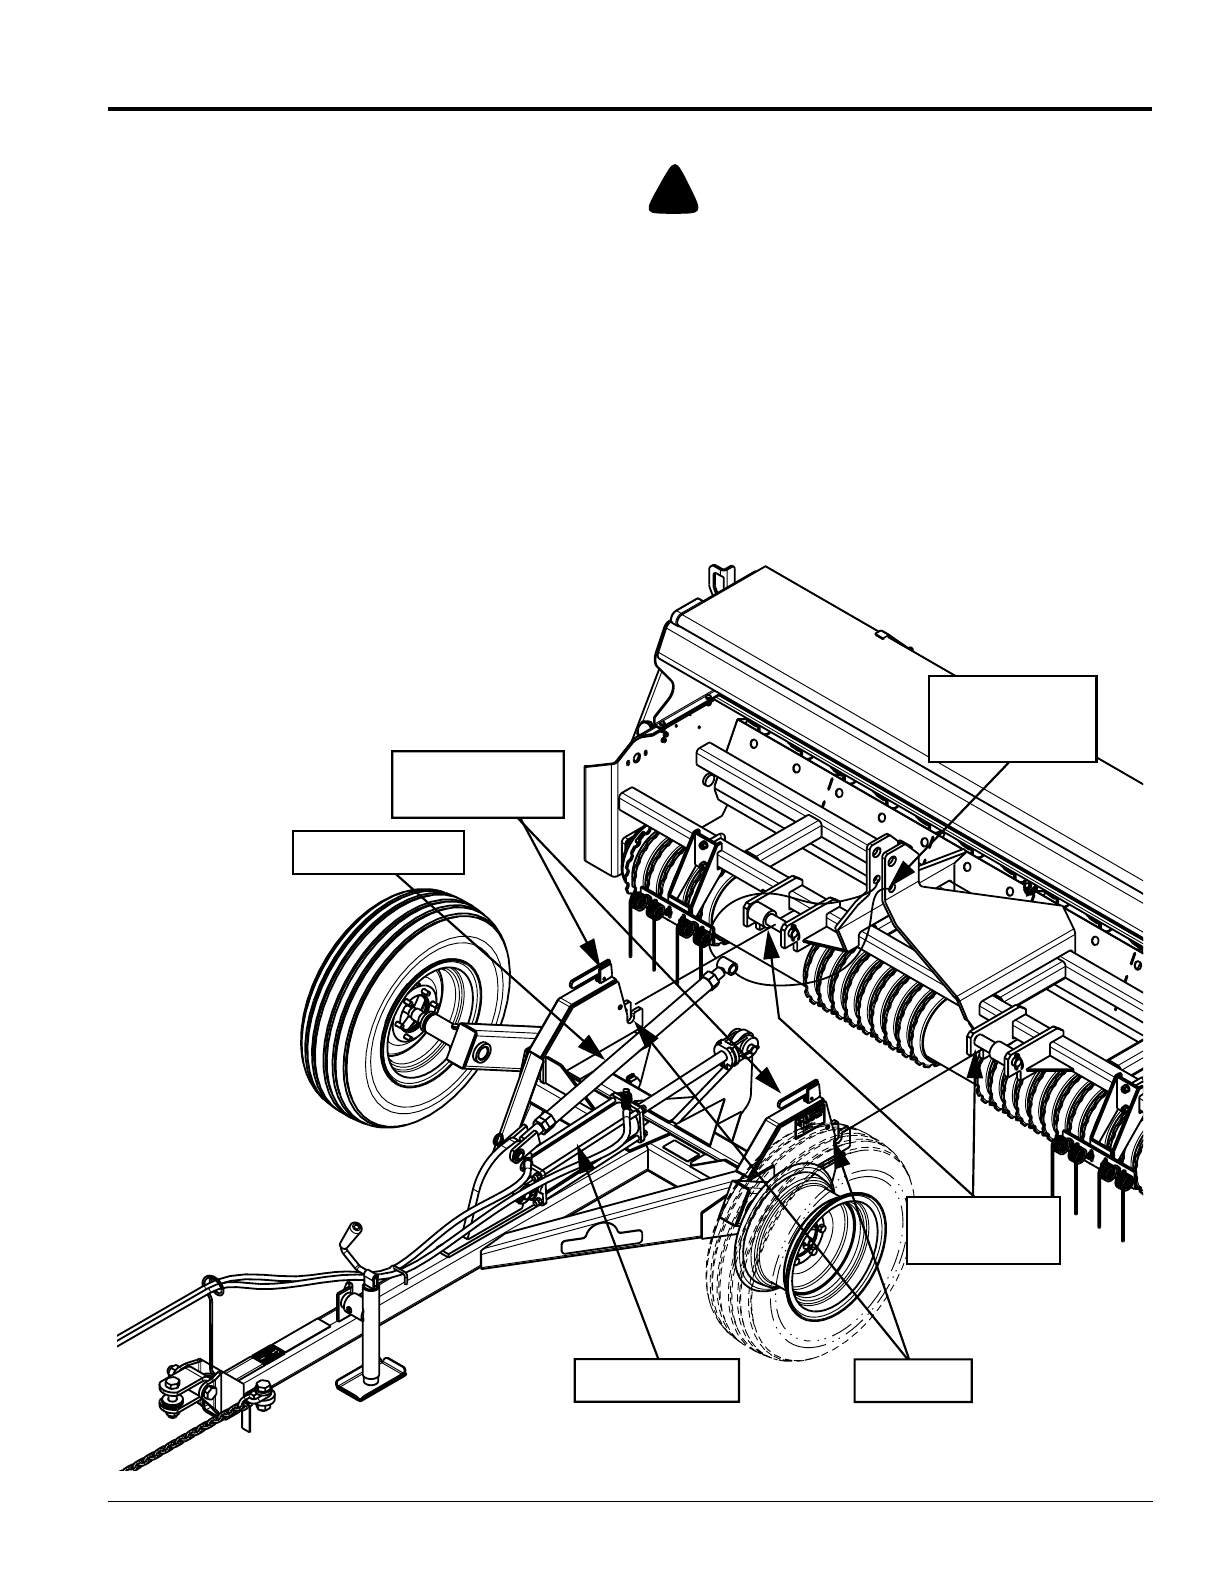
Figure 1-9
20740
Top Center Link
Locking Release
Handles
Bottom Holes of
Upper Center
Hitch
Lift Cylinder
Hitch Link
Inside Smaller
Pins
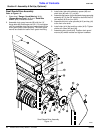
Pull Tongue Hook-Up
Refer to Figure 1-9:
The lower link handles should be in the down position
before preceding.
1. Mount Pull Tongue to tractor drawbar and secure with
safety chain.
2. Connect hydraulic hoses to tractor.
3. Fully extend the lift cylinder to rase the transport
wheels and lower the hitch links.
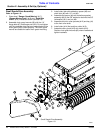
4. Back the pulltongue up to the seeder to align the hitch
links with the seeder’s inside smaller pins.
5. Retract the lift cylinder to rase the hitch links up
around the seeder’s inside smaller pins until the pins
lockinto the lowerhitch links.Once the pinsare locked
in, adjust thelift cylinder up ordown as neededto level
the seeder.
6. With the seeder level and the transport wheelsresting
on the ground, adjust the top center link of the pull
tongue so that it will install in the bottom holes of the
seeder’s upper center hitch. (Top center link pin is
provided by the customer)
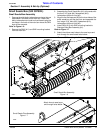
Pull Tongue Disconnect
!
CAUTION
The seeder will have negative tongue weight when it is lifted off
the ground. Lower the seeder to the ground before proceeding
with Pull Tongue disconnect. (Negative tongue weight is when
most of the weight is to the rear of the implement causing the
front of the tongue to be light and may rise up when
disconnected.)
1. Remove top link pin.
2. Flip locking release handles up on pull tongue.
3. Lower tongue until the links are free from the seeders
lower pins.


