


9
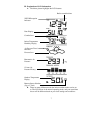
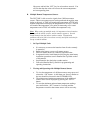
C. Time Zone Setting
1. Press and hold the “SET” button for
five seconds.
2. “lcd” will appear at the top of the
display and a number will flash next to
it.
3. Press and release the “SET” button
once more to advance to the Time Zone
setting.
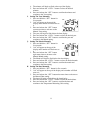
4. A number will flash to the left of the letter “h” at the top of the
display just below the time display.
5. Press and release the “OUT+” button to select the desired time
zone.
6. Press and release the “SET” button to confirm the Time Zone
setting and continue to the DST ON/OFF setting.
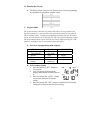
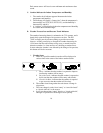
D. DST ON/OFF Setting
1. Press and hold the “SET” button for
five seconds.
2. “lcd” will appear at the top of the
display and a number will flash next to
it.
3. Press and release the “SET” button
twice more to advance to the DST
ON/OFF setting.
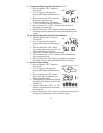
4. “DST” will appear above the indoor temperature/humidity display
and “ON” or “OFF” will flash above that.
5. Press and release the “OUT/+” button to select DST ON/OFF.
Note:
Some locations (Arizona and parts of Indiana) do not follow Daylight
Saving Time.
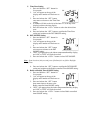
6. Press and release the “SET” button to confirm the DST ON/OFF
setting and continue to the Radio-controlled Time ON/OFF setting.
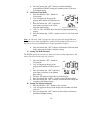
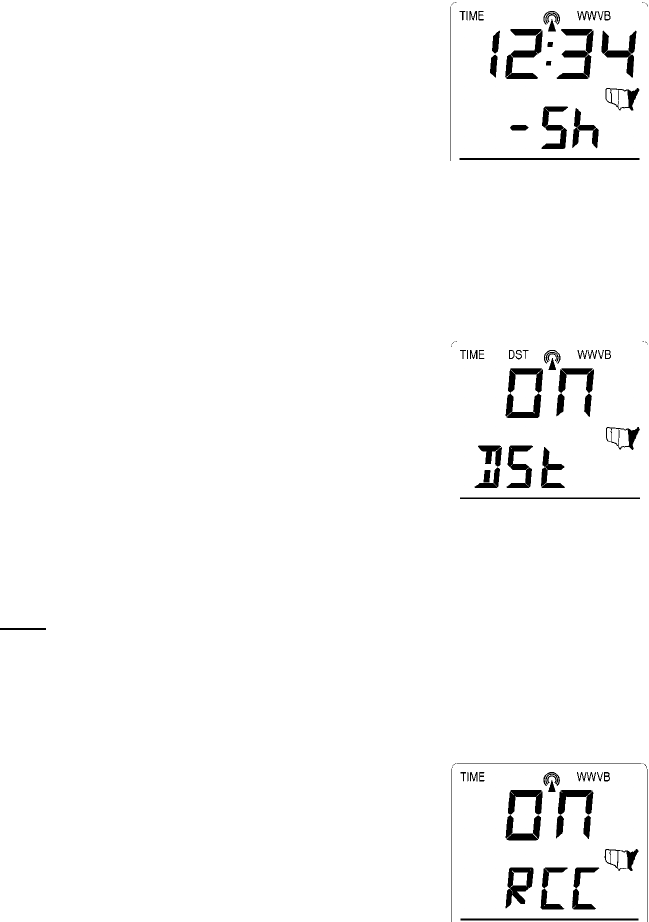
E. Radio-controlled Time ON/OFF Setting
1. Press and hold the “SET” button for
five seconds.
2. “lcd” will appear at the top of the
display and a number will flash next to
it.
3. Press and release the “SET” button
three more times to advance to the
Radio-controlled time ON/OFF setting.
4. “RCC” will appear above the indoor temperature/humidity display
and “ON” or “OFF” will flash above that.
5. Press and release the “OUT/+” button to select Radio-controlled
time ON/OFF setting.