


10
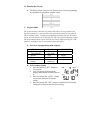
6. Press and release the “SET” button to confirm the Radio-
controlled time ON/OFF setting and continue to the 12/24-hour
Time Mode setting.
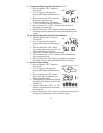
F. 12/24-hour Time Mode
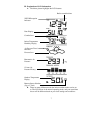
1. Press and hold the “SET” button for
five seconds.
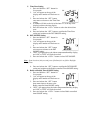
2. “lcd” will appear at the top of the
display and a number will flash next to
it.
3. Press and release the “SET” button four
more times to advance to the 12/24-
hour time mode setting.
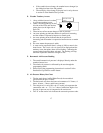
4. “12h” or “24h” will flash above the indoor temperature/humidity
display.
5. Press and release the “OUT/+” button to select 12 or 24-hour time
mode.
Note:
In 12h mode “PM” will appear to the left of the time during PM hours.
If the time is not within the PM hours nothing will be displayed. Be sure to set
the time to the correct AM/PM time to ensure automatic reception.
6. Press and release the “SET” button to confirm the 12/24-hour time
mode setting and continue to the Hour setting
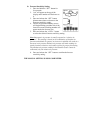
G. Setting The Hour Manually
The WWVB signal will override any manual set time and date information. The
time will be based on the time zone selected.
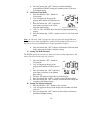
1. Press and hold the “SET” button for
five seconds.
2. “lcd” will appear at the top of the
display and a number will flash next to
it.
3. Press and release the “SET” button five
more times to advance to the Manual
Hour setting.
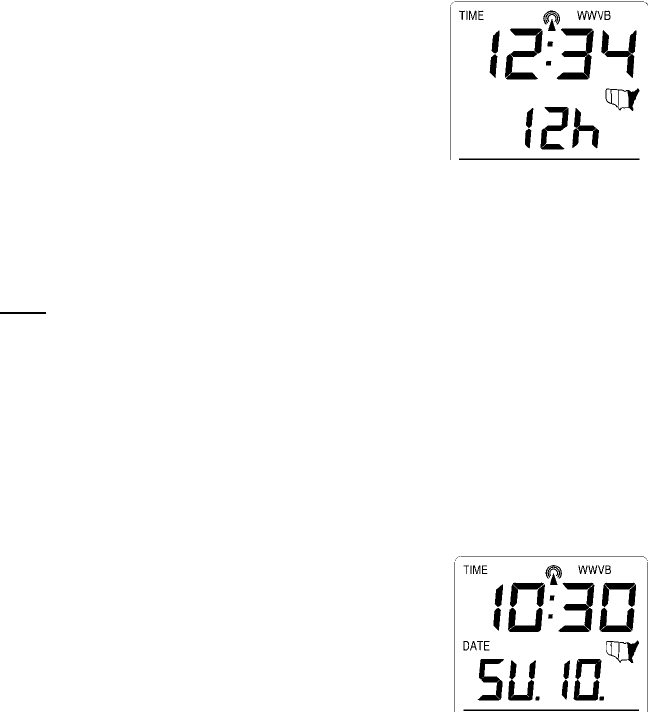
4. The hour will begin to flash at the top of the display.
5. Press and release the “OUT/+” button to select the desired hour.
6. Press and release the “SET” button to confirm the hour setting and
continue to the Minute setting.
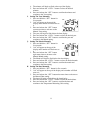
H. Setting The Minutes Manually
1. Press and hold the “SET” button for five seconds.
2. “lcd” will appear at the top of the display and a number will flash
next to it.
3. Press and release the “SET” button six more times to advance to
the Manual Minutes setting.