4-10
375527_0406
from the reservoir and add coolant to the “L” mark. Install
the cap.
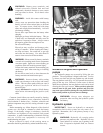
DANGER: Never remove radiator cap or
overflow reservoir cap when engine is hot.
Pressurized hot steam and water may be released,
causing serious burns or possible blindness.
The system should be drained, flushed and refilled with
fresh solution after every 500 hours of operation. To drain
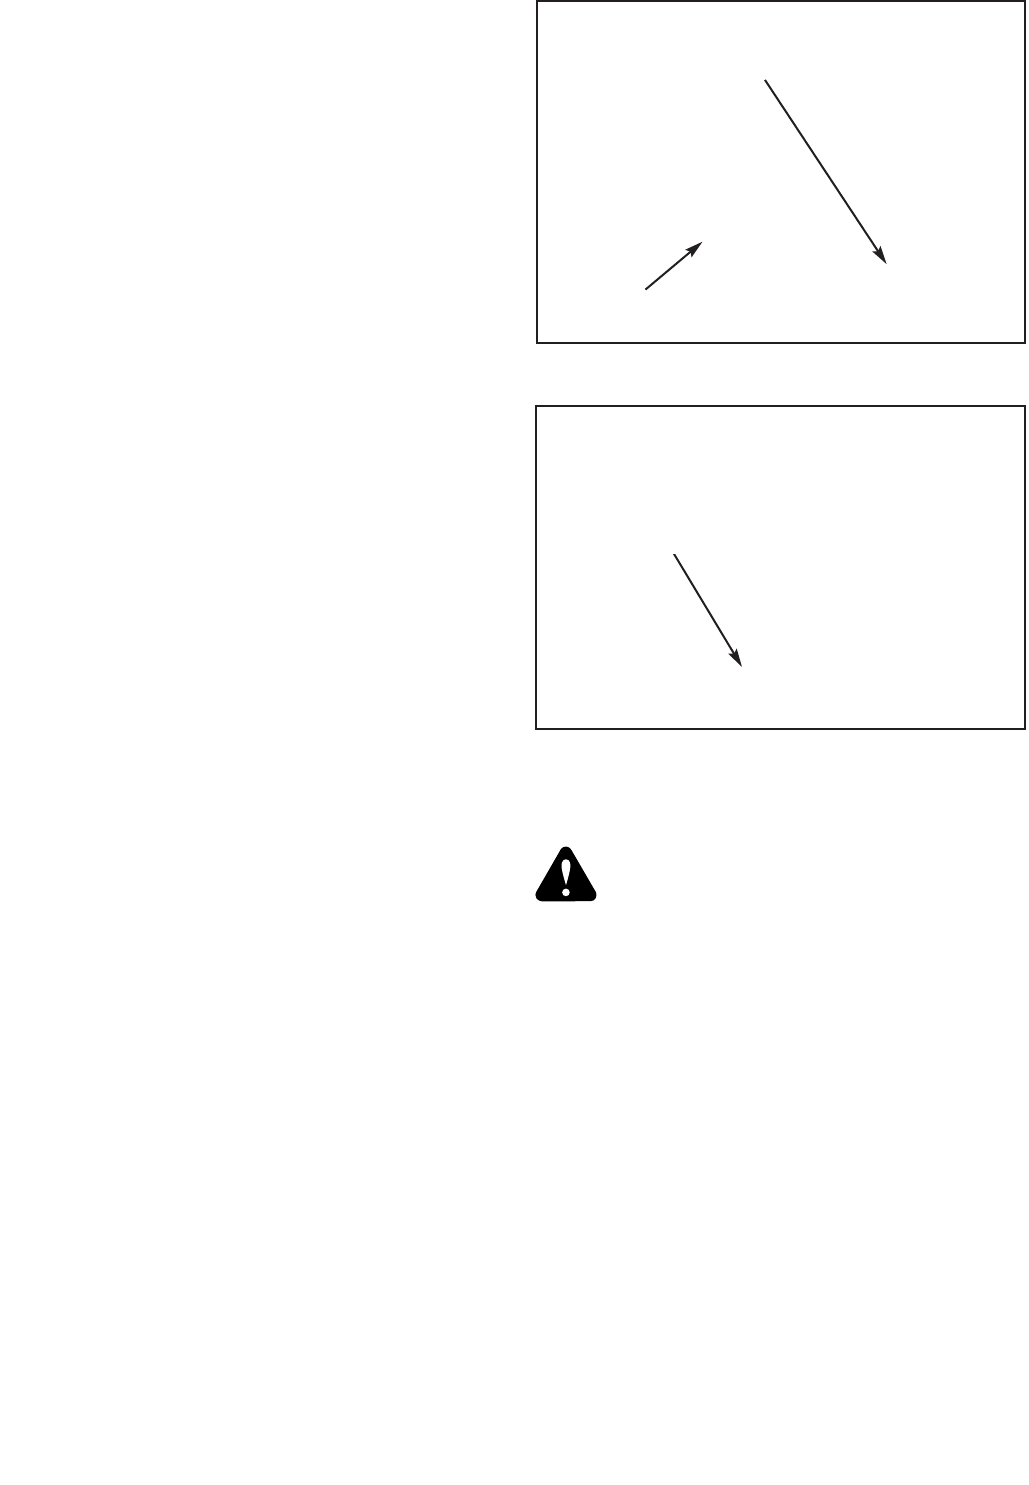
the radiator remove the overflow reservoir cap and remove
the coolant drain plug. When draining the system use a
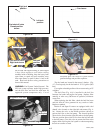
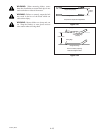
flexible funnel to keep the coolant off the muffler. Fig. 4-14
If frequent refilling is necessary or if coolant appears
rusty, thoroughly check the system. Refer to the engine
manual for information on checking and cleaning system.
The engine cooling fan draws air through the engine
cooling radiator. This is protected by a screen shroud.
Keep the screen clean at all times and make sure trash is not
allowed to accumulate on the radiator, nor allow the fins and
cores to become plugged.
The radiator screen can be removed by disengaging the
latch at the rear of screen and pulling the screen towards the
rear of tractor. IMPORTANT: Take special care not to
bend the screen mount.
Never force anything into the radiator fins which may
bend or distort them. For cleaning, use compressed air or
pressurized water only.
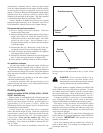
Figure 4-13
Overflow reservoir
Radiator
Screen
construction to withstand stresses, caused by rapid cycling
of the air volume demanded by the engine, without cracking
or tearing under fatigue and pressure (especially diesel
engines). Therefore, Hustler Turf Equipment and the engine
manufacturers have carefully selected a reliable filter
designed to fit the needs of the engines. The filter specified
is a Donaldson filter, Hustler part number 785261.
Owners should be reminded that failure to use original
equipment replacement parts is an “alteration” and will not
be considered for warranty in the event of engine damage.
Recommended service procedure
1. Release clamps and remove element. Clean the
canister with a damp cloth.
2. Before installing a new element, inspect it by placing a
bright light inside and rotate the element slowly,
looking for any holes or tears in the paper. Also check
gaskets for cuts or tears. Do not attempt to use a
damaged element which will allow abrasive particles
to enter the engine.
3. Reinstall the dust cup. Make sure it seals all the way
around the air cleaner body, then tighten the clamps.
4. Check all fittings and clamps periodically for tightness
and inspect hoses for holes or cracks.
5. Periodically check the intake hose for signs of ingested
dust. Locate and repair the source of ingested dirt.
6. Never operate a machine without an air filter installed.
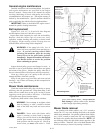
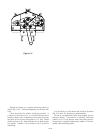
Air restriction indicator
Any unit with a Kohler or Kawasaki engine will have an
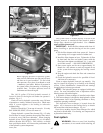
air restriction indicator installed in the air cleaner. Fig. 4-12
Replace the element whenever the restriction indicator
shows reaches the change filter red line. Check the indicator
daily and replace element as needed or annually whichever
occurs first.
Reset the indicator by pushing in on the yellow button
after each element change. Fig, 4-12
A restriction indicator takes the guesswork out of air
cleaner servicing and allows you to safely benefit from the
filter’s optimum performance.
Cooling system
Applies to models 927558, 927566, 927921, 927939,
927947 & 927954 only
Engine cooling is accomplished with circulated water and
Ethylene Glycol mixture. The radiator is equipped with a
pressure cap and overflow reservoir. System capacity is
approximately 2.9 U.S. quart (2.7 liter). Follow the
information found in the engine owner’s manual for the
recommended coolant solution.
Visually inspect the system daily prior to operating
tractor. Be sure the engine is level. Check the coolant level
only when the system is cold. Check the coolant level only
at the overflow reservoir (Fig. 4-13). The cooling system is
a closed type. Never open the radiator cap. Doing so
may induce air into the cooling system and may cause
overheating. The coolant level should be between the “H”
and “L” marks.
If the amount of coolant is insufficient, remove the cap
Figure 4-14
Coolant
drain plug


