1
2
3
4
1
/8 -
3
/16"
MAINTENANCE
42
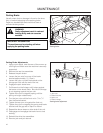
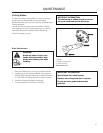
Parking Brake
Visually check that no damage is found on the lever,
links, or switch belonging to the parking brake.
Perform a standstill test and check that there is
sufficient braking action.
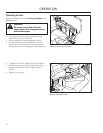
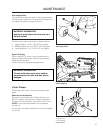
IMPORTANT INFORMATION
The machine must be standing still when
applying the parking brake.
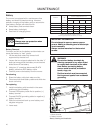
8065-006
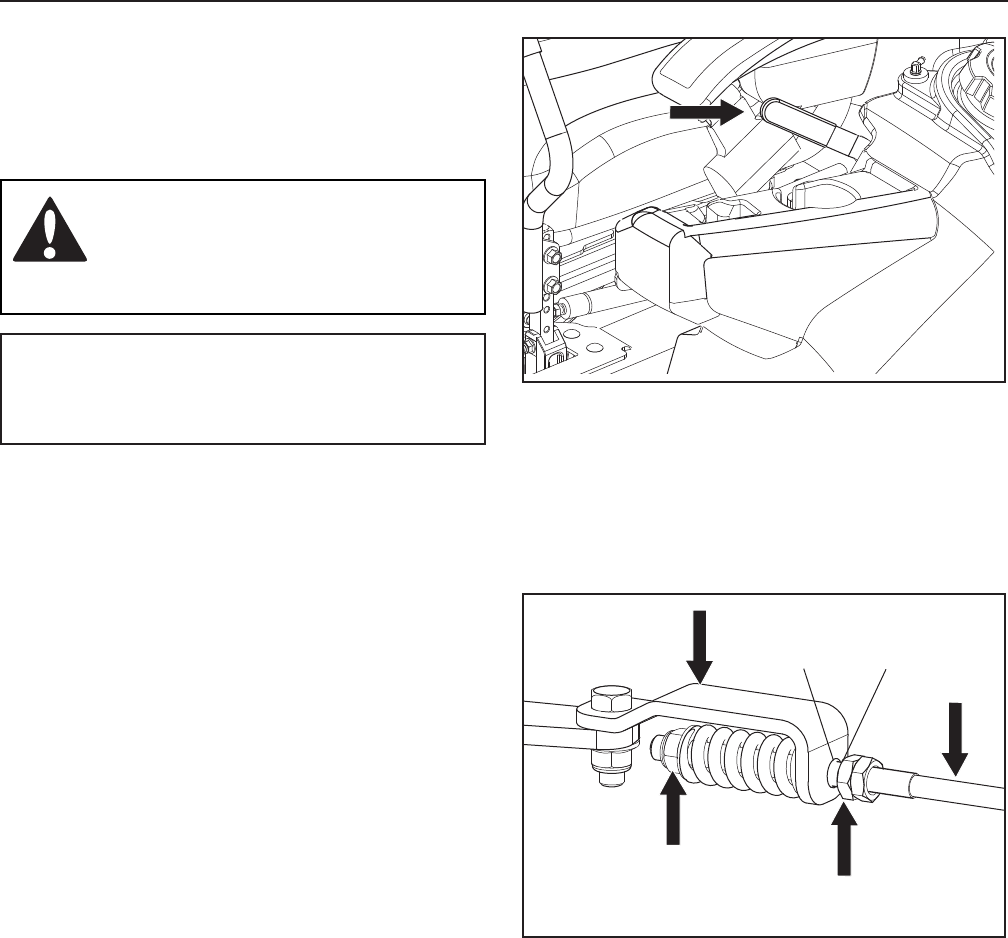
Parking brake
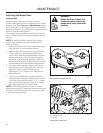
WARNING!
Faulty adjustment result in reduced
braking ability and can cause an
accident.
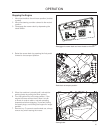
Parking Brake Adjustments
1. Using a jack stand, raise the rear of the mower up
off the ground. Make sure the machine is securely
supported.
2. Remove the rear tire assemblies.
3. Release the park brake.
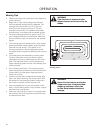
4. Loosen the jam nuts from rear of the brake
bracket approximately ½" (13mm).
5. Loosen the nyloc nut until the threads on the
linkage are flush with the end of the nut.
6. Engage the park brake lever.
7. Pull forward on the linkage until it stops against
the brake on the wheel motor. Be sure the linkage
is not stopping against the jam nuts.
8. Tighten the nyloc nut against spring until the
spring no longer rotates freely.
9. Turn the jam nuts until the front nut is
1
/8" to
3
/16"
from the brake bracket.
10. Tighten the rear jam nut against the front nut.
11. Tighten the nyloc nut against the spring and brake
bracket until the gap set in Step 9 is closed.
12. Repeat the above steps on other side of the unit.
13. Disengage and reengage the brake lever to test
braking.
14. Reinstall the drive tire assemblies.
15. Remove jack and jack stands.
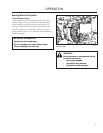
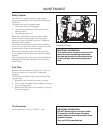
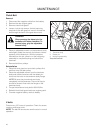
8065-078
1. Jam nuts
2. Brake bracket
3. Nyloc nut
4. Brake linkage
Parking brake adjustment


