


ASSEMBLY
11
1741506
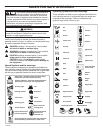
PARTS BAG CONTENTS
1 - Electric Start Cord (Not Shown)
1 - Owner’s Manual
1 - Fuel Stabilizer
1 - Container Oil 5W30
TOOLS REQUIRED FOR ASSEMBLY
1 − Knife
WARNING: Always wear safety glasses
or eye shields while assembling the
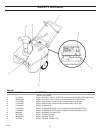
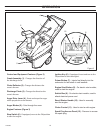
Figure 3 shows the snowthrower in the operating
position.
References to the right or left hand side of the snow
thrower are from the viewpoint of the operator’s
position behind the unit.
HOW TO REMOVE THE SNOWTHROWER
FROM THE CARTON
1. Locate and remove the container of oil.
2. Locate all parts that are packed separately and
remove from the carton.
3. Remove and discard the packing material from
around the snowthrower.
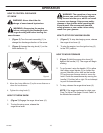
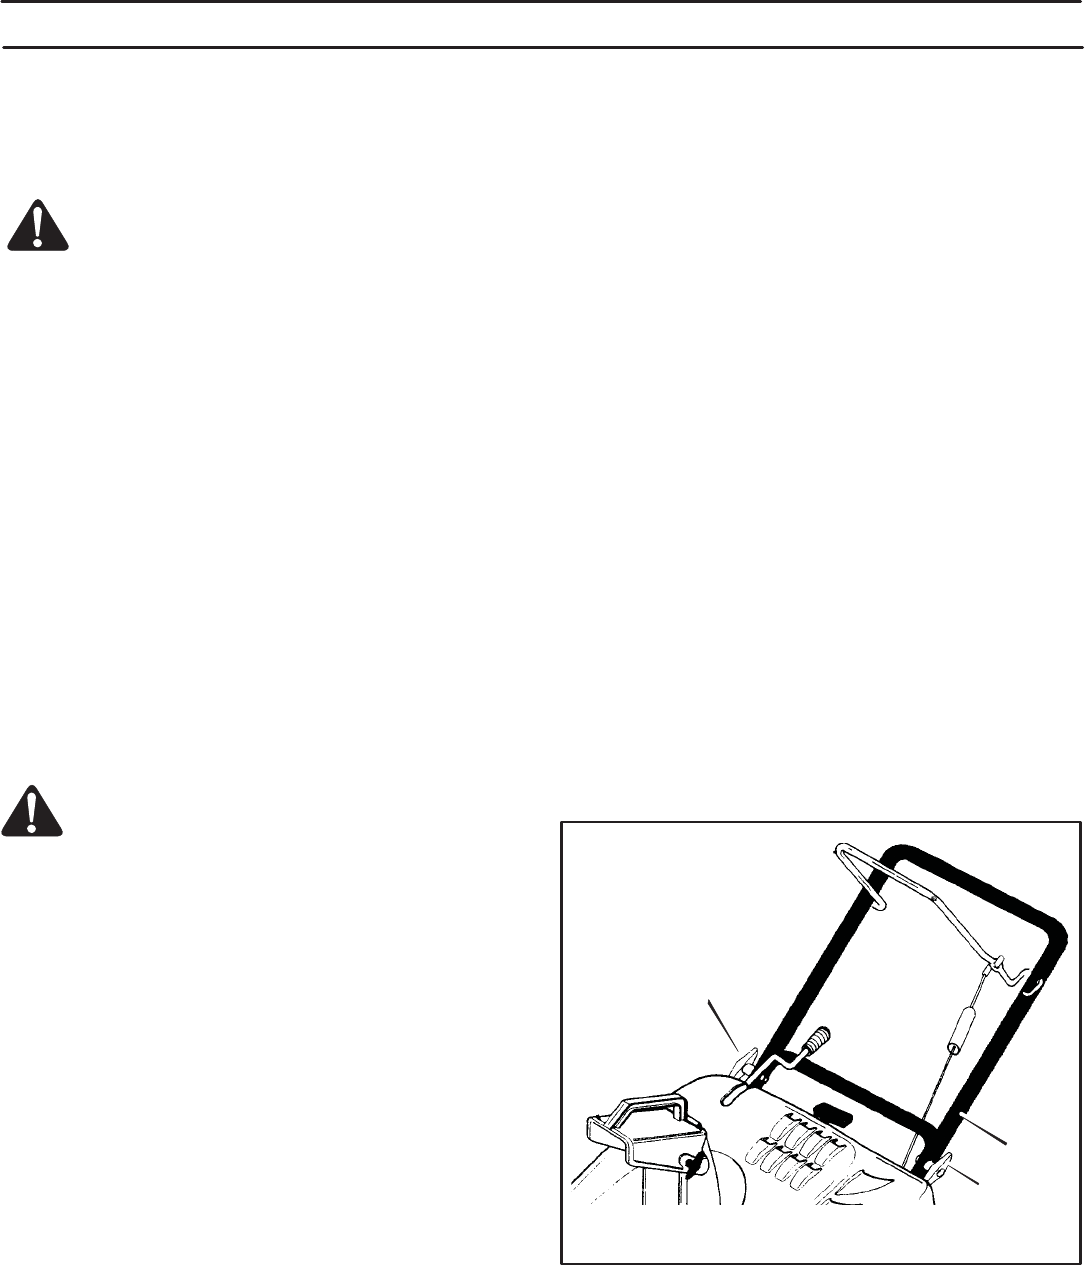
HOW TO ASSEMBLE THE HANDLE
1. Remove the packing material from the upper and
lower handles.
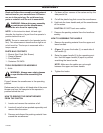
2. (Figure 1) Loosen the knobs (1) on each side of
the handle (2).
3. Raise the upper handle (2) to the operating posi-
tion. Hold the upper handle (2) apart to prevent
scratching the lower handle.
NOTE: Make sure the cables are not caught
between the upper and lower handle.
4. Tighten the knobs.
1
1
2
4. Cut down all four corners of the carton and lay the
side panels flat.
5. Cut off the plastic bag that covers the snowthrower.
6. Hold onto the lower handle and pull the snowthrower
off the carton.
CAUTION: DO NOT back over cables.
7. Remove the packing material from the handle as-
sembly.
snowthrower.
Read and follow the assembly and adjustment
instructions for your snowthrower. All fasten-
ers are in the parts bag. Do not discard any
parts or material until the unit is assembled.
WARNING: Before doing any assembly
or maintenance to the snowthrower,
remove the wire from the spark plug.
NOTE: In this instruction book, left and right
describe the location of a part from the operator’s
position behind the unit.
NOTE: Torque is measured in foot pounds (metric
Nm). This measurement describes how tight a nut
or bolt must be. The torque is measured with a
torque wrench.
Figure 1