


English – 27
Maintenance
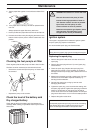
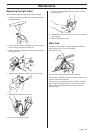
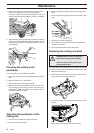
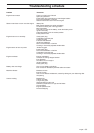
6 Press down the frame and remove the pin.
7 Slide the unit in and insert the pin.
Make sure that the tongue (3) on the cutting unit engages
correctly.
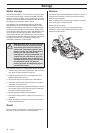
8 Fit the drive belt around the drive wheels of the cutting
unit.
9 Hook up the height adjustment strut.
10 Move the support wheels to their parking position.
11 Fit the front cover.
12 Secure the collet spring.
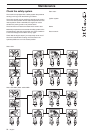
Rider 15V2
Rider 15V2 AWD
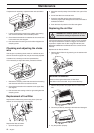
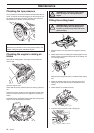
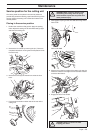
Removing the cutting unit
1 Carry out points 1-9 to put the cutting unit in the service
position, see Service position for the cutting unit.
2 Press down the frame (2) and remove the bolt (3).
3 Pull out the cutting unit.
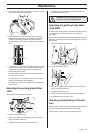
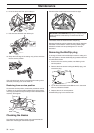
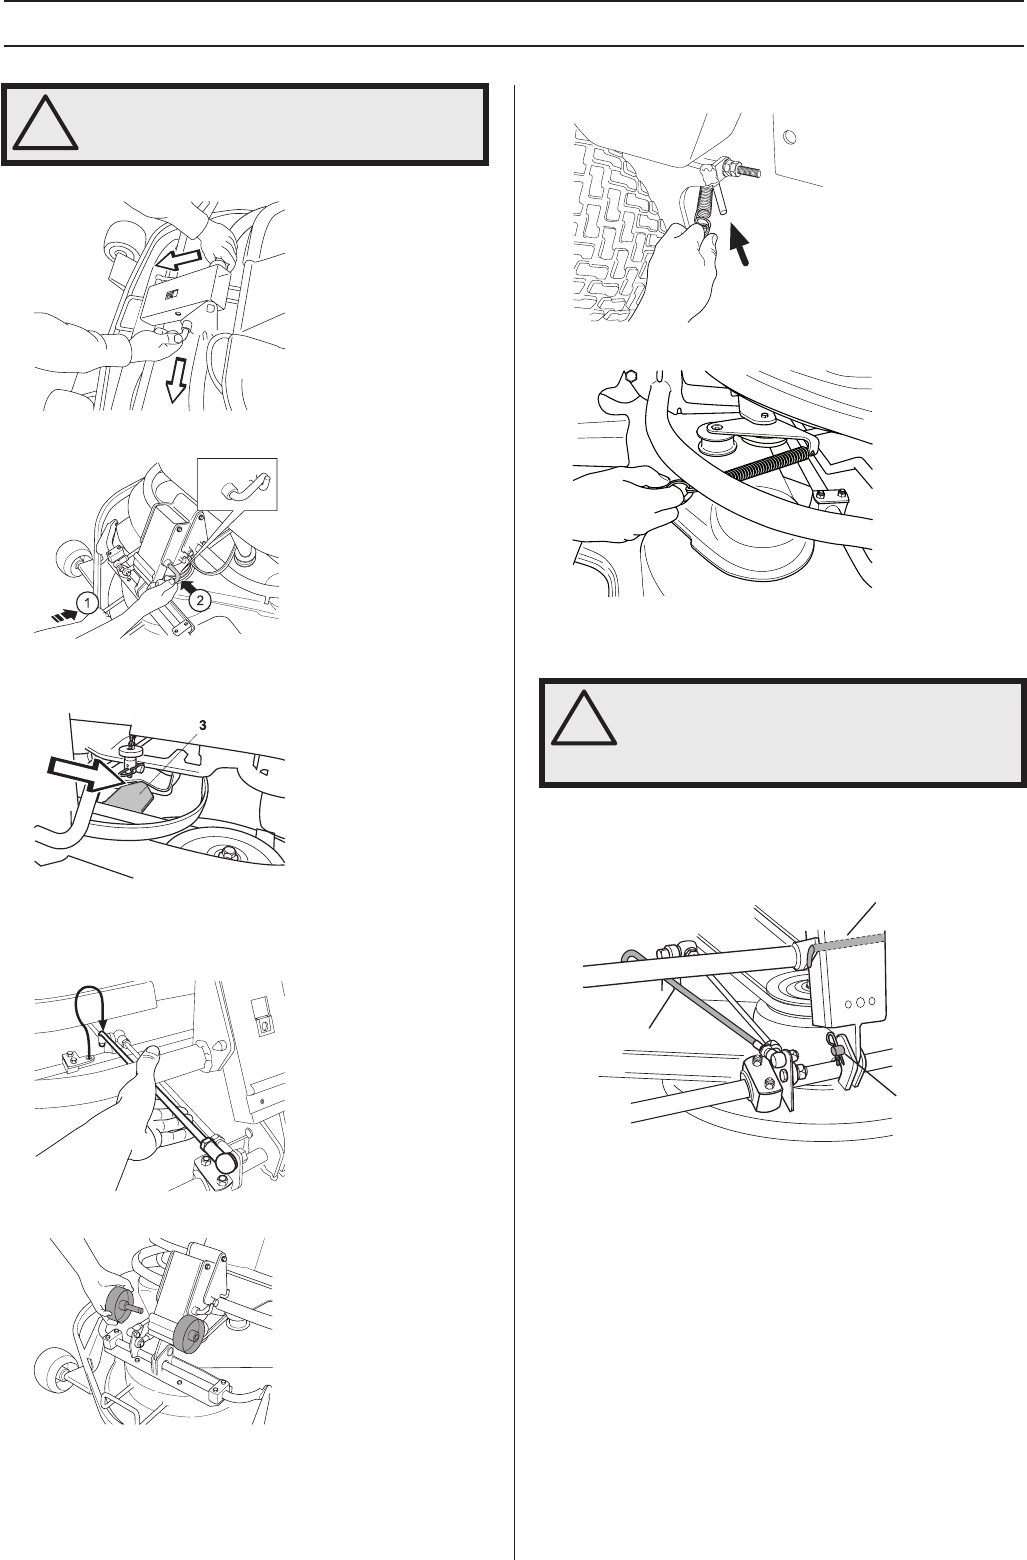
Checking and adjustment of the
cutting unit’s ground pressure
To achieve the best cutting results the cutting unit should
follow the underlying surface without pressing too hard
against it.
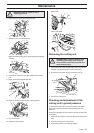
Pressure is adjusted using a screw and spring on each side
of the Rider.
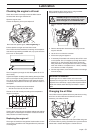
1 Check the air pressure in the tyres 60 kPa/0.6 kp/cm
2
/8.5
PSI.
2 Place the machine on a flat surface.
3 Put the lifting lever in the mowing position.
!
WARNING! Observe caution to avoid
trapping your hand.
!
WARNING! Wear protective glasses when
dismantling the cutting unit. The spring
which tensions up the belt may break and
cause personal injury.
2
3
1