


15 16
1413
NOTE: If the indoor or remote temperature goes above or
below operating range stated in specifications, the main
unit’s display will show dashes “ ”
AUTO-SCANNING
Press and hold the CHANNEL button on the back on the
main unit for 2 seconds – the icon “ ” will appear on the
display’s middle line below the remote temperature channel
number. All 3 remote temperatures will be displayed
one-by-one automatically for 4 seconds each in the
following sequence: Channel 1, Channel 2 and Channel 3.
To exit from scanning mode, press and hold the CHANNEL
button (on the back) for 2 seconds, and the icon “ ” will
disappear, returning the main unit to the default display mode.
CHECKING REMOTE RAINFALL DATA
The remote rainfall information line is located on the top
line of the main unit’s display.
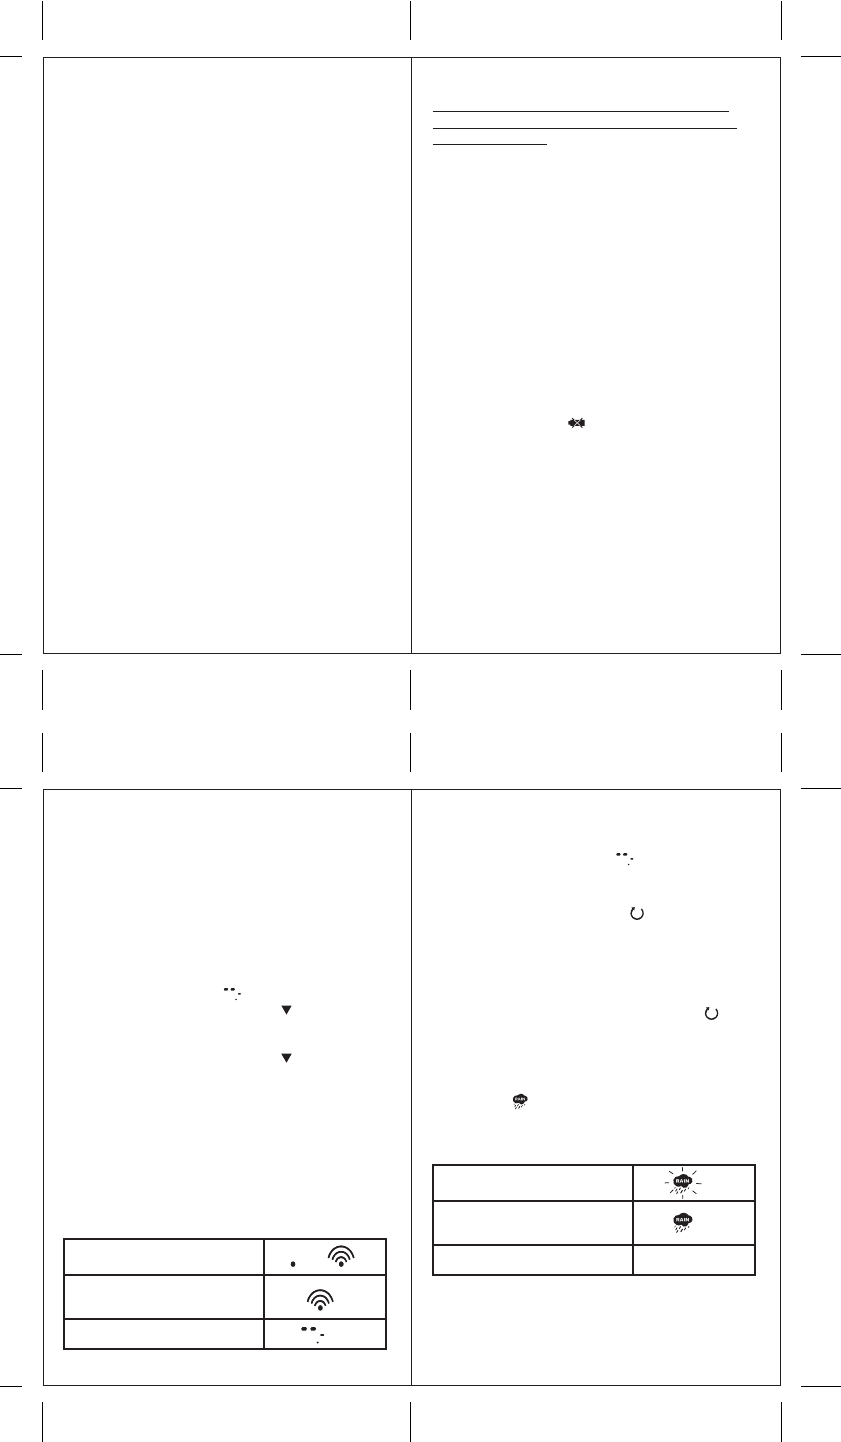
The rain icon “ ” is located to the left of the rainfall reading
and indicates the reception status from the remote rain gauge.
There are three following types of the reception status that
may be displayed:
Press and hold the MODE button on the front panel to
display the rainfall reading in inches or mm.
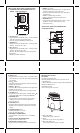
BATTERY INSTALLATION
REMOTE RAIN GAUGE
• Unlock the funnel-shaped top on the rain gauge by
turning both knobs on the sides in an anti-clockwise
direction.
• Remove the funnel-shaped top lifting it off the rain
gauge bucket.
• Remove 7 small screws from the battery compartment
cover using a small Phillips screwdriver.
• Insert 2 “AA” size alkaline batteries (not included),
matching the polarities as shown in the battery
compartment.
• Replace the battery compartment door and secure the
screws.
• Insert the funnel-shaped top into the rain gauge bucket
and secure it into place by turning the knobs clockwise.
RAIN GAUGE PLACEMENT TIPS
• Make sure that the remote rain gauge is level – check if
the ball bearing inside the bucket is at the midpoint of
the leveler.
• Place the protective screen over the top to protect the
rain gauge from the debris.
• Mount the rain gauge using mounting hardware provided.
• Make sure that the rain gauge is in open area where
precipitation falls directly into the gauge’s bucket,
ideally 2-3 feet above the ground.
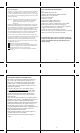
Temperature readings are
securely registered
No signals.
The Unit is in searching mode
˚F
Rainfall readings are
securely registered
No signals detected - - -
The unit is in searching mode
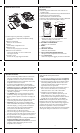
REMOTE TEMPERATURE SENSOR
NOTE: Install the batteries; select the channel and
temperature in C° or F° before mounting the remote
temperature sensor.
• Remove the screws from the battery compartment with
a small Phillips screwdriver.
• Set the channel. The switch is located in the battery
compartment. Channel 1 is typically selected if only one
remote sensor is being used.
• Install 2 “AA” size alkaline batteries (not included)
matching the polarities shown in the battery compartment.
• Replace the battery compartment door and secure the
screws.
• Secure remote temperature sensor in the desired location.
MAIN UNIT
• Open the battery compartment door.
• Install 2 batteries (UM-3 or “AA” size 1.5V) matching
the polarity as shown in the battery compartment.
• Replace the battery compartment door.
LOW BATTERY WARNING
A low-battery indicator [ ] will appear on the remote
rainfall reading line and the indoor or remote temperature
reading line of the main unit, warning that the corresponding
batteries need replacement.
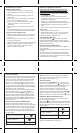
HOW TO USE THE TABLE STAND
The main unit has a removable table stand that supports it
on the flat surface.
Attach table stand to the bottom of the main unit in the slots
provided.
The main unit can also be mounted on the wall using the
recessed screw hole. The table stand must be removed prior
to mounting. The remote temperature sensor can be similarly
mounted or placed on a flat surface.
GETTING STARTED
After batteries are installed; remote temperature sensor will
transmit temperature readings at about 45 second intervals.
The remote rain gauge will transmit rainfall data at about
183 second intervals. The main unit may take up to two
minutes to receive the initial readings. Upon successful
reception, the rainfall reading (0.00) will appear on the top
line of the main unit’s display and the remote temperature
will appear on the line below. The main unit will automatically
update readings at 45-second intervals.
If no signals received from the remote temperature sensor
within two minutes, dashes [ ] will be displayed.
Press and hold the front panel DOWN ( ) button on the
main unit for two seconds or until Rain symbol will start
flashing, to initiate a signal search for the remote rainfall.
Press and hold the back panel DOWN ( ) button on the
main unit for two seconds to initiate a signal search for the
remote temperature.
REMOTE AND INDOOR TEMPERATURES
The remote temperature information is located on the
middle line of the main unit’s display. The indoor temperature
with the icon IN is located next to the remote temperature.
The wave icon above the remote channel number indicates
the reception status from the remote temperature sensor.
There are three following types of the reception status that
may be displayed: