


10
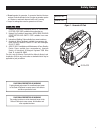
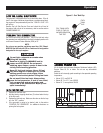
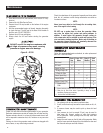
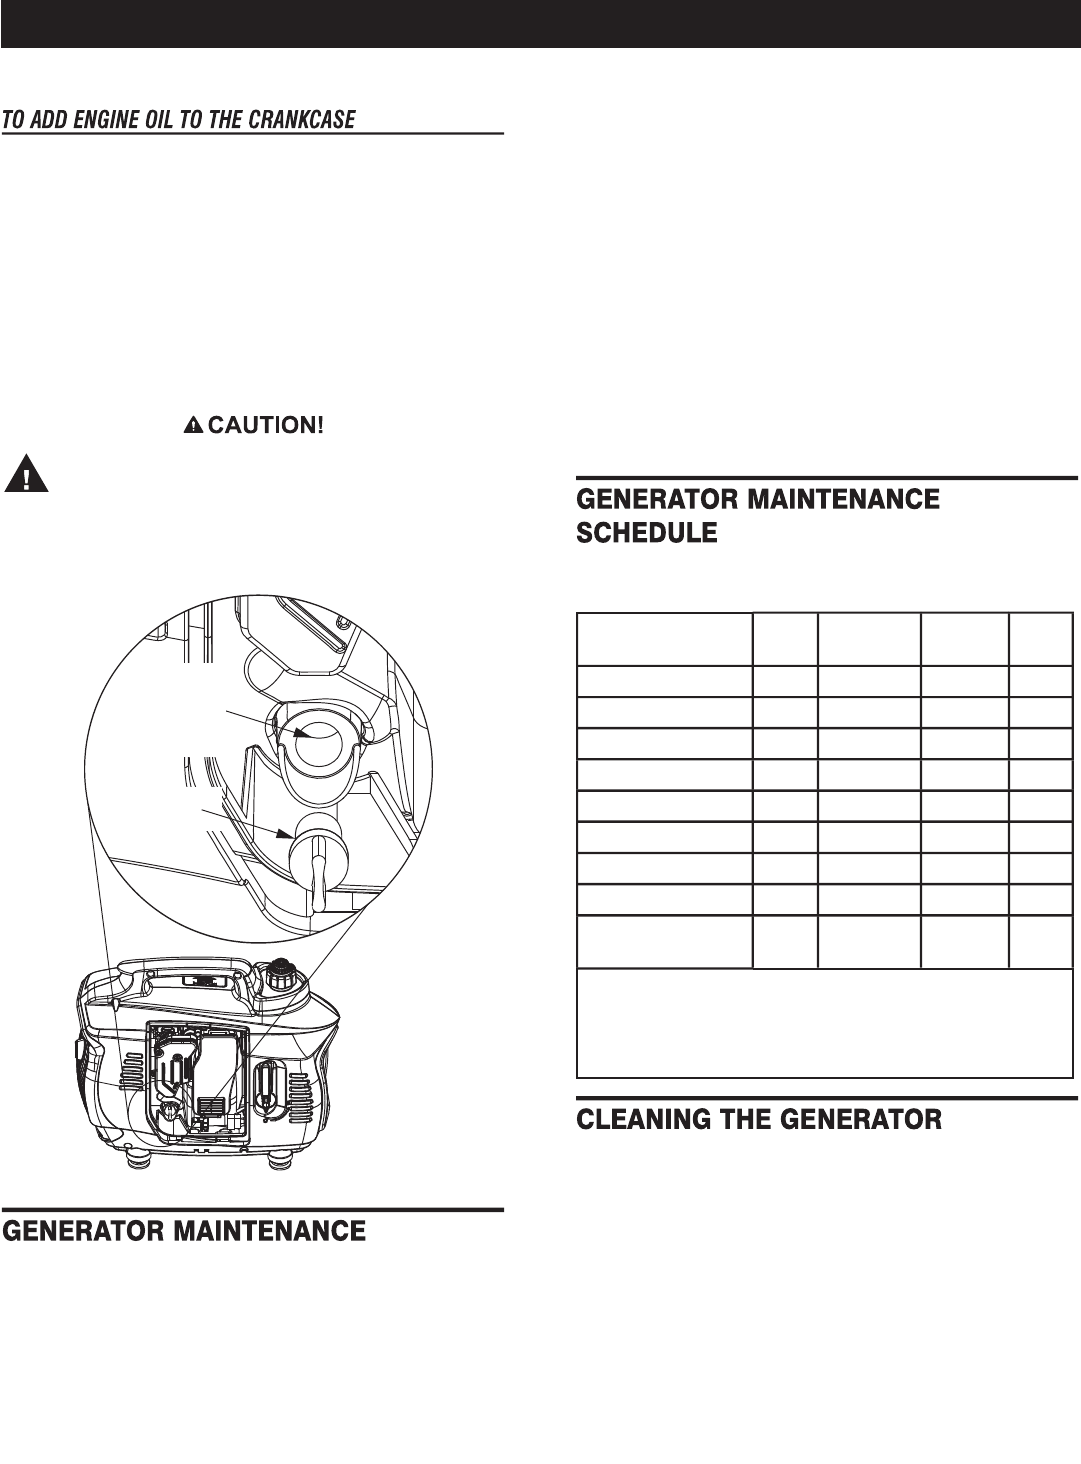
1. Place the unit on a firm, level surface (not to exceed 15° in any
direction)
.
2. Remove the Left Side Service Cover.
3. Remove the oil fill cap located on the bottom of the engine
crankcase.
4. Add the recommended engine oil slowly, stopping frequently
to check the level. The full level is the base of the threads in
the filler neck. DO NOT OVERFILL!
5. Replace the oil fill cap and tighten.
6. Always check the oil level before starting the generator
engine.
DO NOT overfill the engine crankcase with
oil. High oil pressure may result, causing
premature engine wear and damage.
Figure 9 - Oil Fill
*9003-00):)0
-78,)&38831
3*8,)7)
8,6)%(7
3-0*-00
'%4
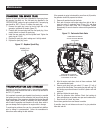
Proper care will ensure maximum performance of your generator.
Generator maintenance consists of keeping the unit clean and dry.
Operate and store the unit in a clean dry environment where it will
not be exposed to excessive dust, dirt, moisture or any corrosive
vapors.
Cooling air slots in the generator must not become clogged with
snow, leaves, or any other foreign material.
Check the cleanliness of the generator frequently and clean when
dust, dirt, oil, moisture or other foreign substances are visible on
its exterior surface.
NOTE:
Never insert any object or tool through the air cooling slots,
even if the engine is not running.
NOTE:
DO NOT use a garden hose to clean the generator. Water
can enter the engine fuel system and cause problems. In
addition, if water enters the generator through cooling air
slots, some water will be retained in voids and crevices of the
rotor and stator winding insulation. Water and dirt buildup on
the generator internal windings will eventually decrease the
insulation resistance of these windings.
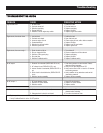
Follow the recommended service schedule; to order replacement
parts call 1-855-436-4636.
Each
Use
Every 100
Hours
Every 6
Months
Each
Year
Fuel Level X
Oil Level X
Check Air Filter X
*Change Engine Oil X
**Clean Air Filter X
Check Spark Plug X
Check Muffler X
Replace Spark Plug X
*** Replace Fuel
Filter
X
* Perform initial oil change after the first five (5) hours of operation
** Clean the air filter more often if operating in dusty or sandy
conditions. Replace as necessary.
*** No fuel filter on 800W models.
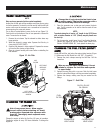
1. Use a damp cloth to wipe exterior surfaces clean.
2. A soft, bristle brush may be used to loosen caked on dirt, oil,
etc.
3. A vacuum cleaner may be used to pick up loose dirt and
debris.
4. Low pressure air (not to exceed 25 psi) may be used to
blow away dirt. Inspect cooling air slots and openings
on the generator. These openings must be kept clean and
unobstructed.
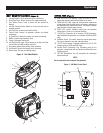
5. Inspect the vent hoses on the left side of the generator. Make
sure the hoses protrude through the slots below the door and
that the ends are open and free of debris.
Maintenance