Balancing the Blade
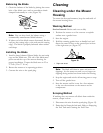
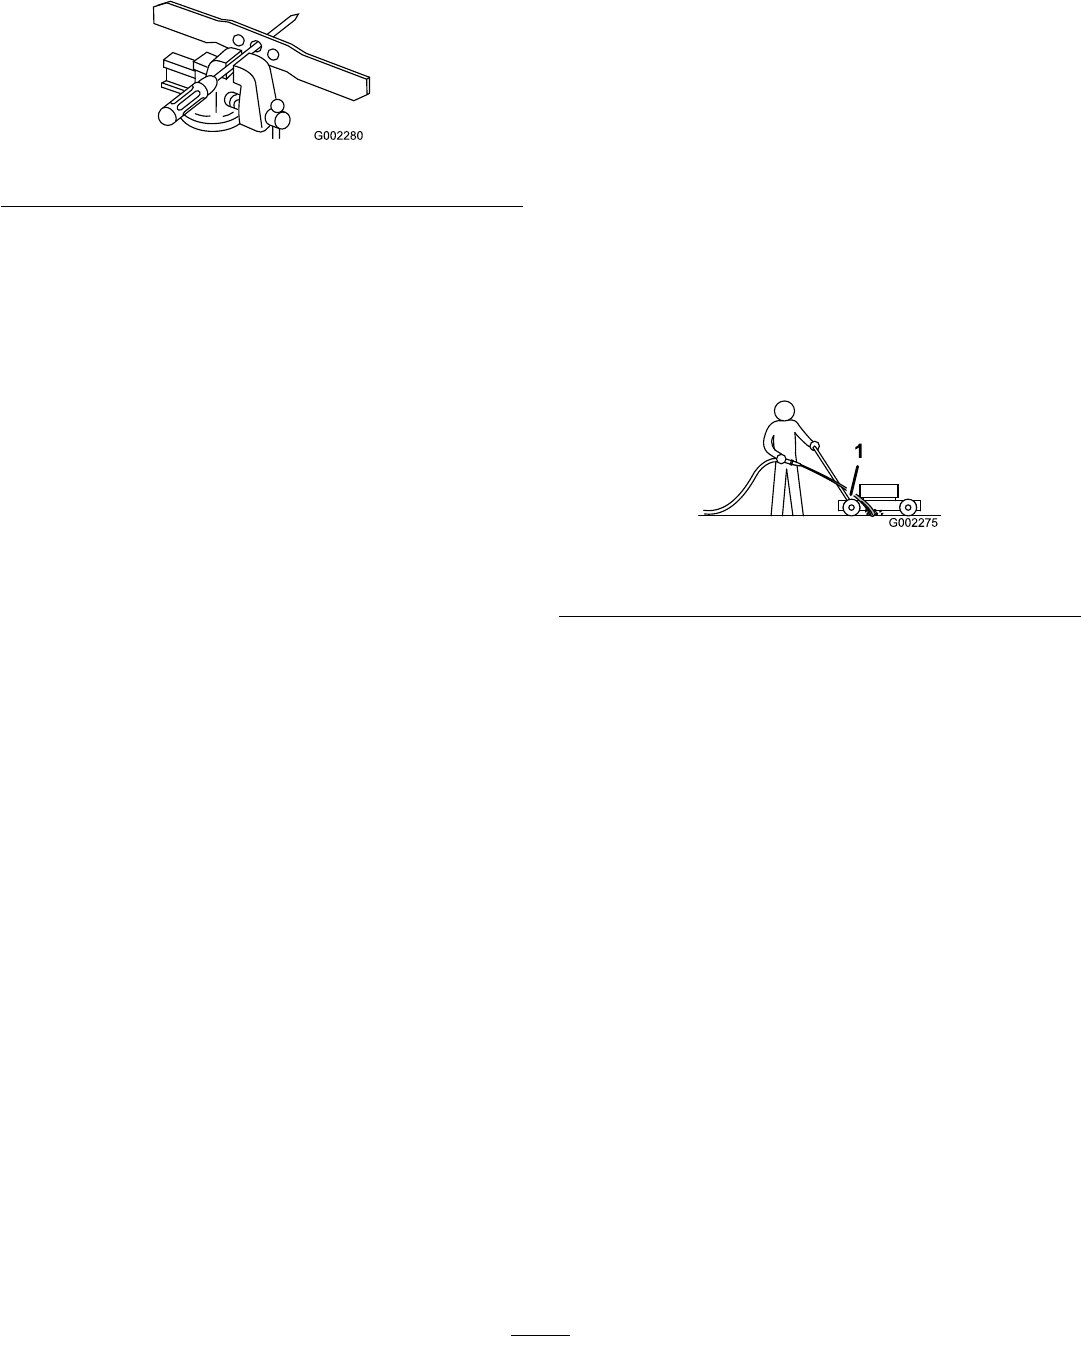
1. Check the balance of the blade by placing the center
hole of the blade over a nail or screwdriver shank
clamped horizontally in a vise (Figure 38).
Figure 38
Note: You can also check the balance using a
commercially manufactured blade balancer.
2. If either end of the blade rotates downward, le that
end (not the cutting edge or the end near the cutting
edge). The blade is properly balanced when neither
end drops.
Installing the Blade
1. Install a sharp, balanced Hayter blade, the anti-scalp
cup, and the blade nuts. The sail of the blade must
point toward the top of the mower housing for
proper installation. Torque the blade nuts to 23 to
27 ft-lb (32 to 37 N•m).
2. Return the mower to its operating position.
3. Connect the wire to the spark plug.
Cleaning
Cleaning under the Mower
Housing
To ensure the best performance, keep the underside of
the mower housing clean.
Washing Method
Service Interval: Before each use or daily
1. Position the mower on a at concrete or asphalt
surface near a garden hose.
2. Start the engine.
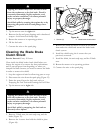
3. Hold the running garden hose at handle level and
direct the water to ow on the ground just in front
of the right rear tyre (Figure 39).
Figure 39
1. Right rear wheel
Note: The blade will draw in water and wash out
clippings. Let the water run until you no longer see
clippings being washed out from under the housing.
4. Stop the engine and wait for all moving parts to stop.
5. Turn off the garden hose.
6. Start the mower and let it run for a few minutes
to dry out the moisture on the mower and its
components.
Scraping Method
If washing does not remove all debris from under the
mower, scrape it clean.
1. Disconnect the wire from the spark plug (Figure 12).
2. Drain the fuel from the fuel tank. Refer to Emptying
the Fuel Tank and Cleaning the Fuel Filter.
25


