


1.20
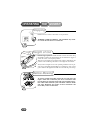
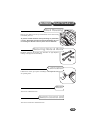
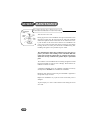
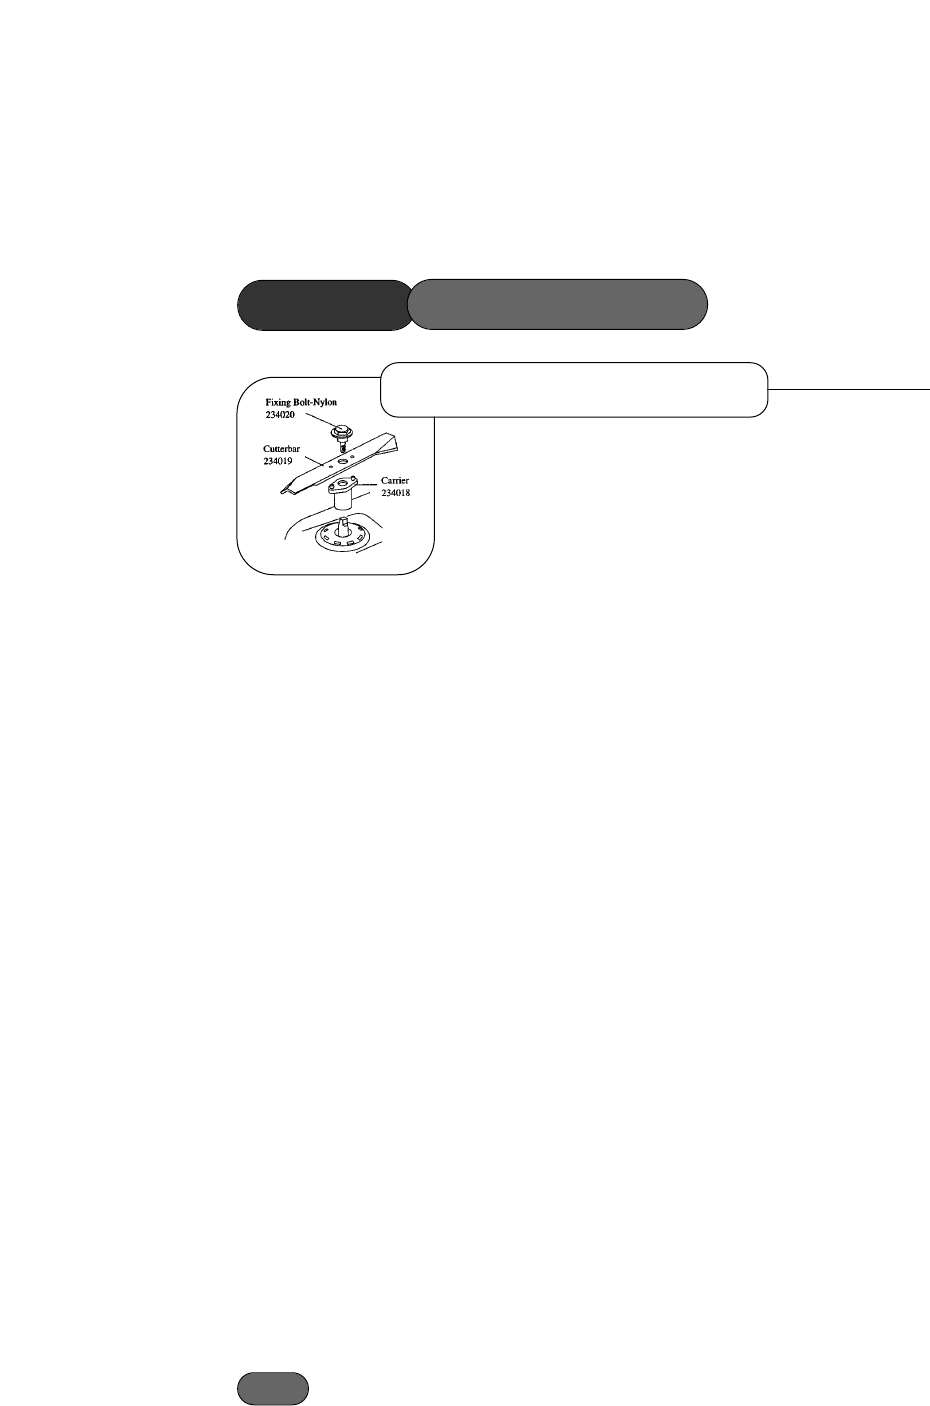
Turn the mower on its side.
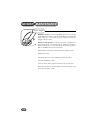
Firmly grip the end of the cutterblade with a gloved hand and remove
the bolt. The carrier may be removed from the shaft. This should be
cleaned and replaced. Ensure that the flats on the shaft locate correct-
ly with the flats on the carrier. Ensure that the new cutterblade is the
correct way up with the turned edges facing towards the motor before
locating onto the two carrier pins. Secure the cutterblade fixing bolt-
insulating and tighten to the specified torque of 27Nm.
The cutterblade has sharp edges. ALWAYS wear strong gloves to
protect your hands when working on the cutterblade. DO NOT
rotate tools towards the cutting edges to avoid the risk of injury
should the tool slip. ALWAYS use genuine Hayter replacement
parts.
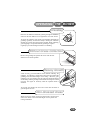
The condition of the cutterblade and its mounting arrangement should
be checked regularly for signs of wear or damage. Ensure that the cut-
terblade is not bent or cracked.
A damaged cutterblade that is out of balance will vibrate excessively
and may break. DO NOT use an unbalanced cutterblade.
Regularly check that the bolt securing the cutterblade is tightened to
the specified torque of 27Nm.
Replace the cutterblade every 2 years of sooner if excessively worn or
damaged.
To prevent injury it is wise to seek assistance when turning the mower
on its side.
MOWER
Cutterblade Removal
MAINTENANCE