


Page 5SKU 99835 For technical questions, please call 1-800-444-3353.
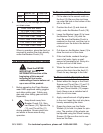
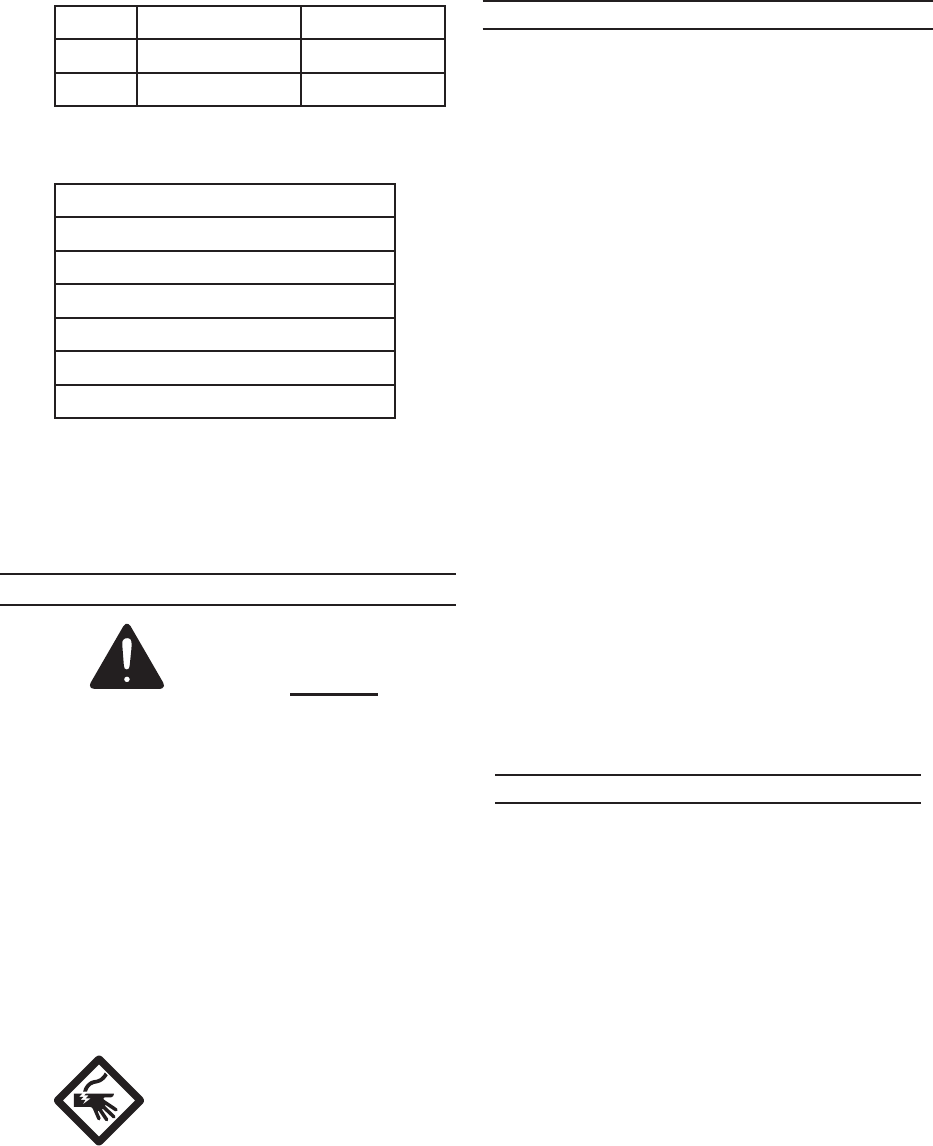
Spinner Die Thrust Die
Small
5/32”W x 7/32”L 7/32” Dia. Cup
Large
7/32” W x 11/32” L 9/32” Dia. Cup
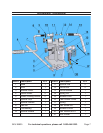
The Anvil (2) has settings for 6 differ-3.
ent chain sizes.
Chain Pitch and Width
1/4” Pitch: 0.233” Wide
0.325” Pitch: 0.255” Wide
3/8” Pitch: 0.297” Wide
0.404” Pitch: 0.326” Wide
7/16” Pitch: 0.345” Wide
1/2” Pitch: 0.389” Wide
When in operation, place the Anvil as
required to position the chain directly
under the Breaker Punch (19).
OPERATING INSTRUCTIONS
Read the ENTIRE
IMPORTANT SAFETY
INFORMATION section at the
beginning of this manual
including all text under
subheadings therein before set
up or use of this product.
Before operating the Chain Breaker, 1.
wear ANSI-approved safety goggles
and other safety gear. Safety gog-
gles and other safety gear are sold
separately.
2. Keep hands away from
Breaker Punch (19), Spin-
ner Sleeve (10), Spinner Die
(11), and Thrust Die (11)
during operation. Severe pinch haz-
ard exists at these areas during
operation.
To Disassemble (Break) the Chain
Fit the chain to the correct notch on 1.
the Anvil (2). Be sure the rivet lines
up under the hole in the bottom of the
slot in the Anvil.
Position the Anvil (2) and chain di-2.
rectly under the Breaker Punch (19).
Lower the Breaker Lever (3) to lower 3.
the Breaker Punch (19) onto the
rivet. Be sure the Breaker Punch is
centered on the rivet, and the rivet is
centered over the hole in the bottom
of the Anvil.
Pull down on the Breaker Lever (3) to 4.
drive the rivet out of the chain.
If the rivet binds, recheck the align-5.
ment of all parts. Apply a small
amount of penetrating oil. Retry driv-
ing the rivet out of the chain.
When the rivet has been driven out, 6.
remove the chain from the Anvil (2).
Check for any damage to the links.
To Reassemble (Spin) the Chain
Select either the Large or the Small 1.
Spinner and Thrust Dies (11 and 12)
and insert into the Spinner Sleeve
(10) and Thrust Handle (13) respec-
tively. Always use a matched set of
dies, do not mix sizes.
Apply a small amount of light grease 2.
to the rivet. Insert the rivet into place,
loosely assembling the chain.
Drape the chain over the Guide 3.
Wheels (4) to hold it in place for spin-
ning. The position of the wheels can
be adjusted using the Wheel Locking
Screws (5). Be sure the rivet is cen-
tered on the Dies.