SKU 43149 For technical questions, please call 1-800-444-3353. Page 5
the battery so that it matches the
polarity symbols (+ and -) that are
marked inside the compartment.
Replace the right battery compart-4.
ment cover.
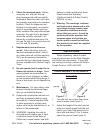
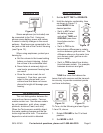
5. Press the left battery compartment
cover’s tab and slide
the cover off in the
direction of the arrow
(see Figure 8).
Place two 9 Volt bat-6.
teries into the bat-
tery compartment on
top of the ribbons,
matching the polarity symbols (+ and
-) marked. Replace the left battery
compartment cover.
Note: The life of the batteries can be
extended by using headphones (not
included), which require less power
than the built-in speaker. See the
section on headphones below.
CAUTION! Always remove old or weak
batteries; old batteries can leak
chemicals that can damage electronic
parts. If you do not plan to use the
Tool for a week or more, remove the
batteries. Use only fresh batteries
of the required size. Do not mix old
and new batteries or different types of
batteries.
Testing Batteries
Test the battery power when the Tool
does not turn on, or has weak volume, or
will not tune properly or operates errati-
cally.
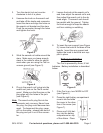
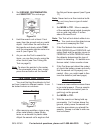
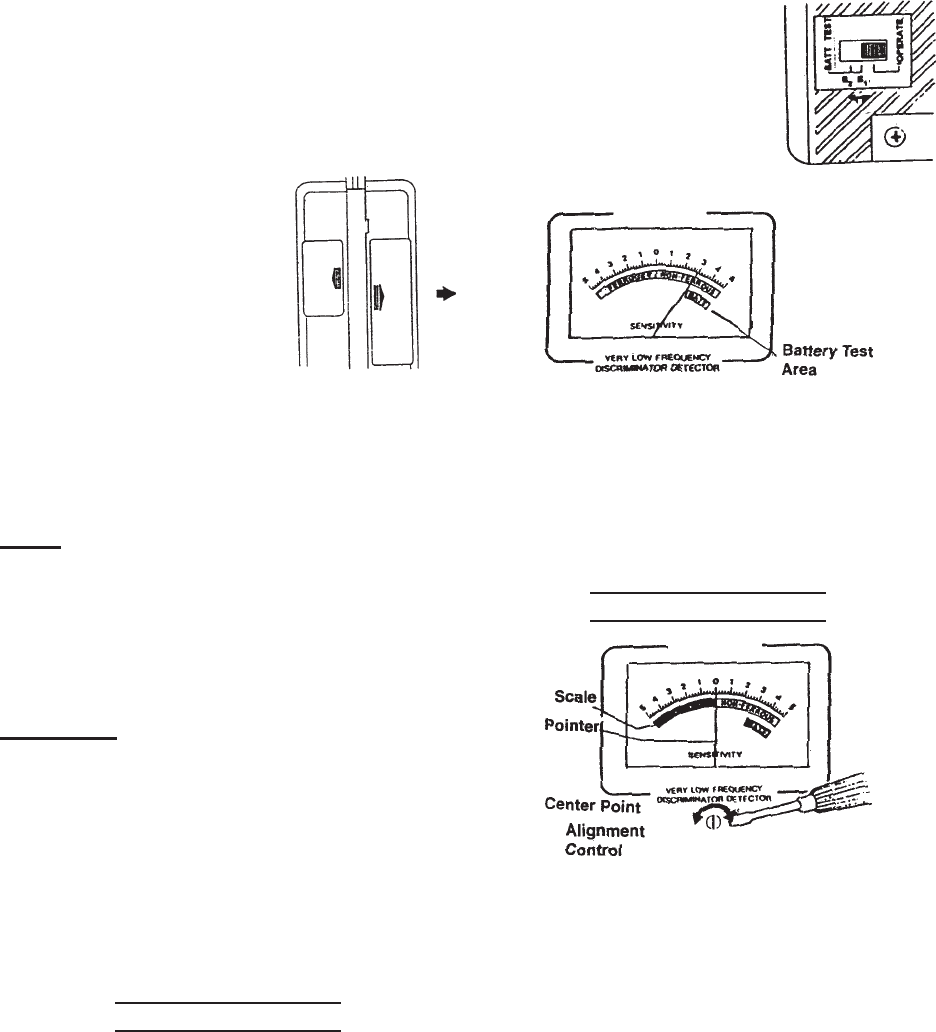
Set the MODE to VLF (very low
frequency). To test the
batteries in the left battery
compartment, set BATT
TEST to B1. To test the
battery in the right battery
compartment, set BATT
TEST to B2 (see Figure 9).
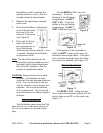
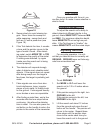
Figure 10
If the pointer on the viewmeter is
within the BATT scale’s green area, the
batteries have enough power. If the point-
er is not within the green area, the batter-
ies need to be replaced (see Figure 10).
Meter Adjustment
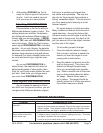
Figure 11
Set MODE to OFF. Using a screw-
driver, adjust the alignment control until the
pointer lines up with O on the scale (see
Figure 11).
Figure 8
Figure 9


