


SKU 43149 For technical questions, please call 1-800-444-3353. Page 4
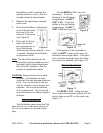
Turn the stem’s lock nut counter-3.
clockwise to lock it in place.
Unscrew the knob on the search coil 4.
and take off the knobs and connector.
Insert the stem and align the holes on
the search coil bracket and the stem.
Push the connector through the holes
and tighten the knob.
Figure 3
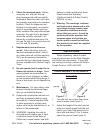
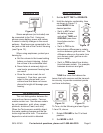
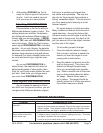
5. Wind the search coil cable around the
stem. Make sure you leave enough
slack in the cable to allow for adjust-
ment when you are using the Tool on
uneven ground (see Figure 3).
Figure 4
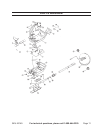
6. Plug in the search coil’s plug into the
search coil jack on the Tool’s control
panel. Make sure that the pins on the
plug align with the holes in the jack
(see Figure 4).
Note: The search coil’s plug ts into the
connector only one way. Never force
the plug; the plug could become dam-
aged. To disconnect the plug, never
pull on the cable; always take hold of
the plug and pull it out of the connec-
tor.
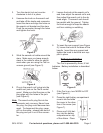
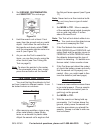
Loosen the knob at the search coil’s 7.
end, then adjust the search coil’s end,
then adjust the search coil to the de-
sired angle. The search coil should
be parallel with the ground. Tighten
the knob enough to keep the search
coil from rotating or wobbling.
Figure 5
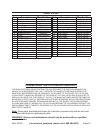
8. To insert the arm support (see Figure
5), loosen the knob at the base of the
handle. Insert the arm support and
tighten the knob to hold the arm sup-
port in place.
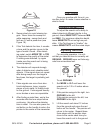
Battery Installation
The Tool is powered by three, 9 Volt
batteries. Battery installation is described
below:
Figure 6
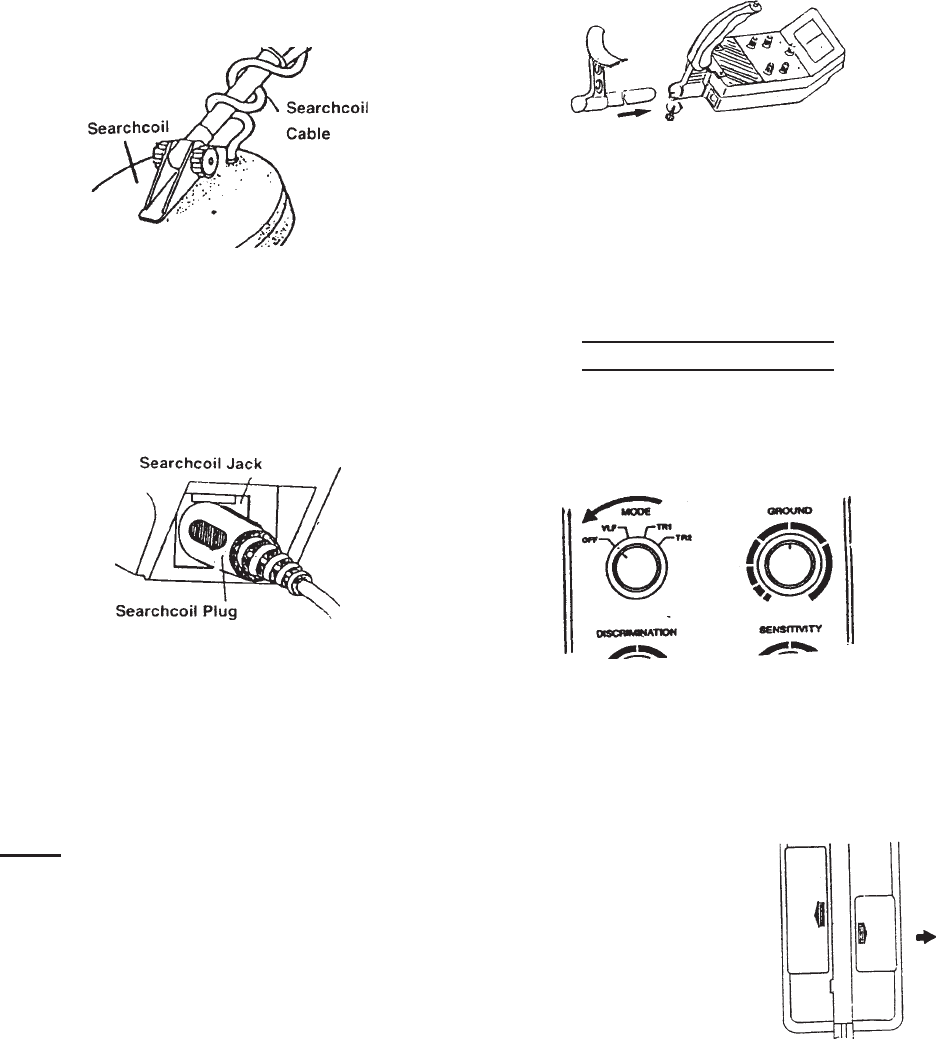
1. If the Tool is on, turn MODE to OFF
(see Figure 6).
2. Press the right battery compartment
cover’s tab and slide
the cover in the direc-
tion of the arrow (see
Figure 7).
Place one 9 Volt bat-3.
tery into the battery
compartment on top
of the ribbon. Place
Figure 7