Service Miscellaneous - 28
SERVICE MISCELLANEOUS
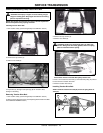
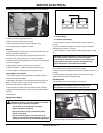
• Check metal clip in fuse window. Discard fuse if clip is broken.
• Install new 20 Amp fuse in socket.
• Install socket with fuse in cover. Ensure that plastic tab of fuse holder is
securely fastened to fuse socket.
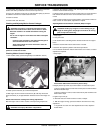
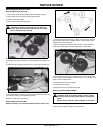
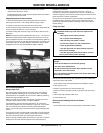
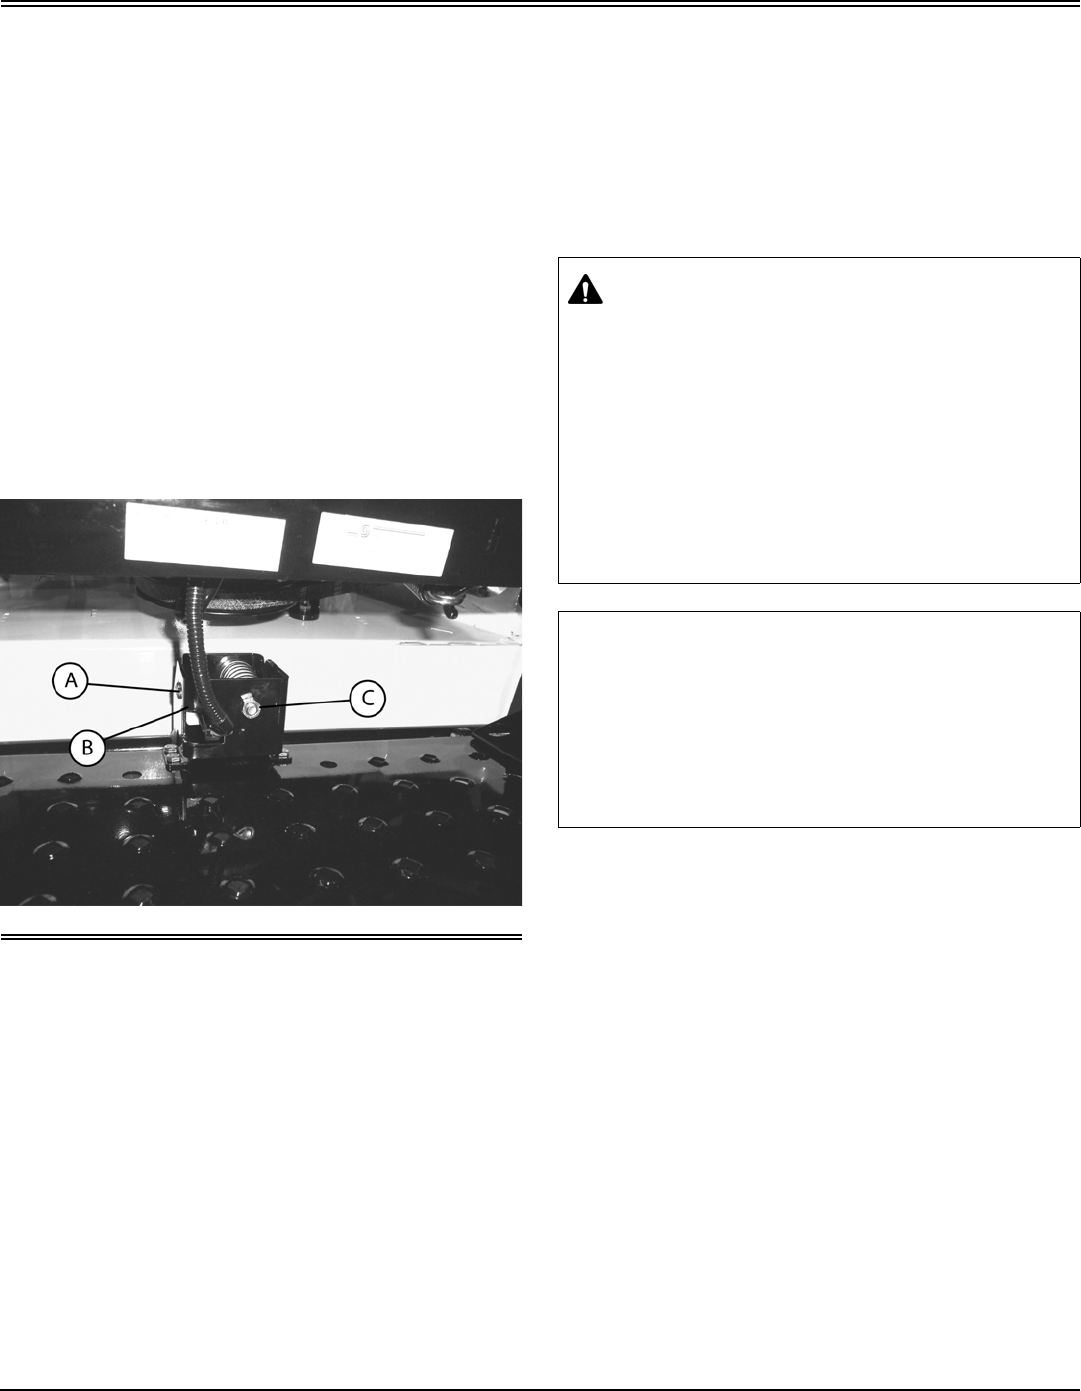
Adjusting Operator Presence Switch
1. Remove the OPC plate covering the operator presence switch by
removing the two 3/8-16 x 1.25 carriage bolts securing it in place.
2. Carefully cut the wire tie securing the harness to the plate.
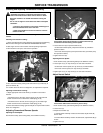
3. Loosen the two # 10 pan head screws (A) securing the safety switch (B)
in place and slide the switch in or out as necessary.
4. Install the safety plate removed in step one and tie the harness to the
plate again.
NOTE: The switch is properly adjusted when there is 3/8” - 1/2” clearance
between the rubber bumper and the support plate when there is not any
pressure applied to the plate. The foot plate can be adjusted by tightening
or loosening the jam nut (C) and either tightening (lower) or loosening the
compression (raise) on the bolt holding the compression spring in place.
Re-tighten the jam nut after desired platform height is attained.
Service Miscellaneous
Using Proper Fuel
Use regular grade unleaded fuel with an octane rating of 87 octane or
higher. Fuel blends containing up to 10% ethanol or up to 15% MTBE
reformulated fuel are acceptable. Do not use fuel or additives containing
methanol as engine damage can occur.
Always use fresh, clean fuel that is purchased in a quantity that can be
used within approximately 30 days, or add fuel stabilizer.
Fuel is blended to give best seasonal performance. To avoid engine
performance problems such as hard starting or vapor lock, use in-season
fuel. Use fuel during warm weather that was purchased during that
season, and use fuel during cold weather that was purchased during that
season.
Fuel can become stale in machines with engines that are used seasonally
or infrequently during a season. Stale fuel can produce varnish and plug
carburetor components which can affect engine performance.
Keep fuel storage container tightly covered and in a cool area out of direct
sunlight. Fuel can break down and degrade if not sealed properly or
exposed to sun and heat.
Condensation may collect in the fuel tank because of a variety of
operating or environmental conditions and, over time, may affect your
machine’s operation. Fill fuel tank at the end of daily use and store fuel in
plastic containers to reduce condensation.
For best year-round performance and fuel-handling, add stabilizer to fuel
immediately after fuel purchase. Such practice helps prevent engine
performance problems and allows fuel storage in the machine all year
without draining.
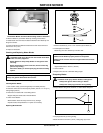
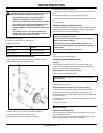
Filling Fuel Tank
c
c
Fill fuel tank at the end of each day’s operation to prevent condensation
and freezing during cold weather.
1. Park machine safely. (See Parking Safely in the SAFETY section.)
2. Allow engine to cool.
3. Remove any trash from area around fuel tank cap.
4. Remove fuel tank cap slowly to allow any pressure built up in tank to
escape.
5. Fill fuel tank only to bottom of filler neck.
6. Install fuel tank cap.
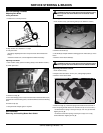
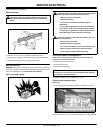
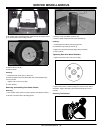
Removing and Installing Rear Drive Wheels
Removing:
1. Park machine safely. (Refer to Parking Safely in the SAFETY section.)
CAUTION: Avoid injury! Fuel vapors are explosive and
flammable:
• Shut engine off before filling fuel tank.
• Do not smoke while handling fuel.
• Keep fuel away from flames or sparks.
• Fill fuel tank outdoors or in well ventilated area.
• Clean up spilled fuel immediately.
• Use clean approved non-metal container to prevent
static electric discharge.
• Use clean approved plastic funnel without screen or
filter to prevent static electric discharge.
Important: Avoid damage! Dirt and water in fuel can cause engine
damage:
• Clean dirt and debris from the fuel tank opening.
• Use clean, fresh, stabilized fuel.
• Fill the fuel tank at the end of each day’s operation to keep
condensation out of the fuel tank.
Use a non-metallic funnel with a plastic mesh strainer when filling
the fuel tank or container.


