Service Electrical - 40
SERVICE ELECTRICAL
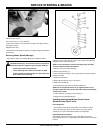
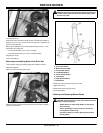
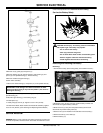
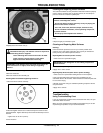
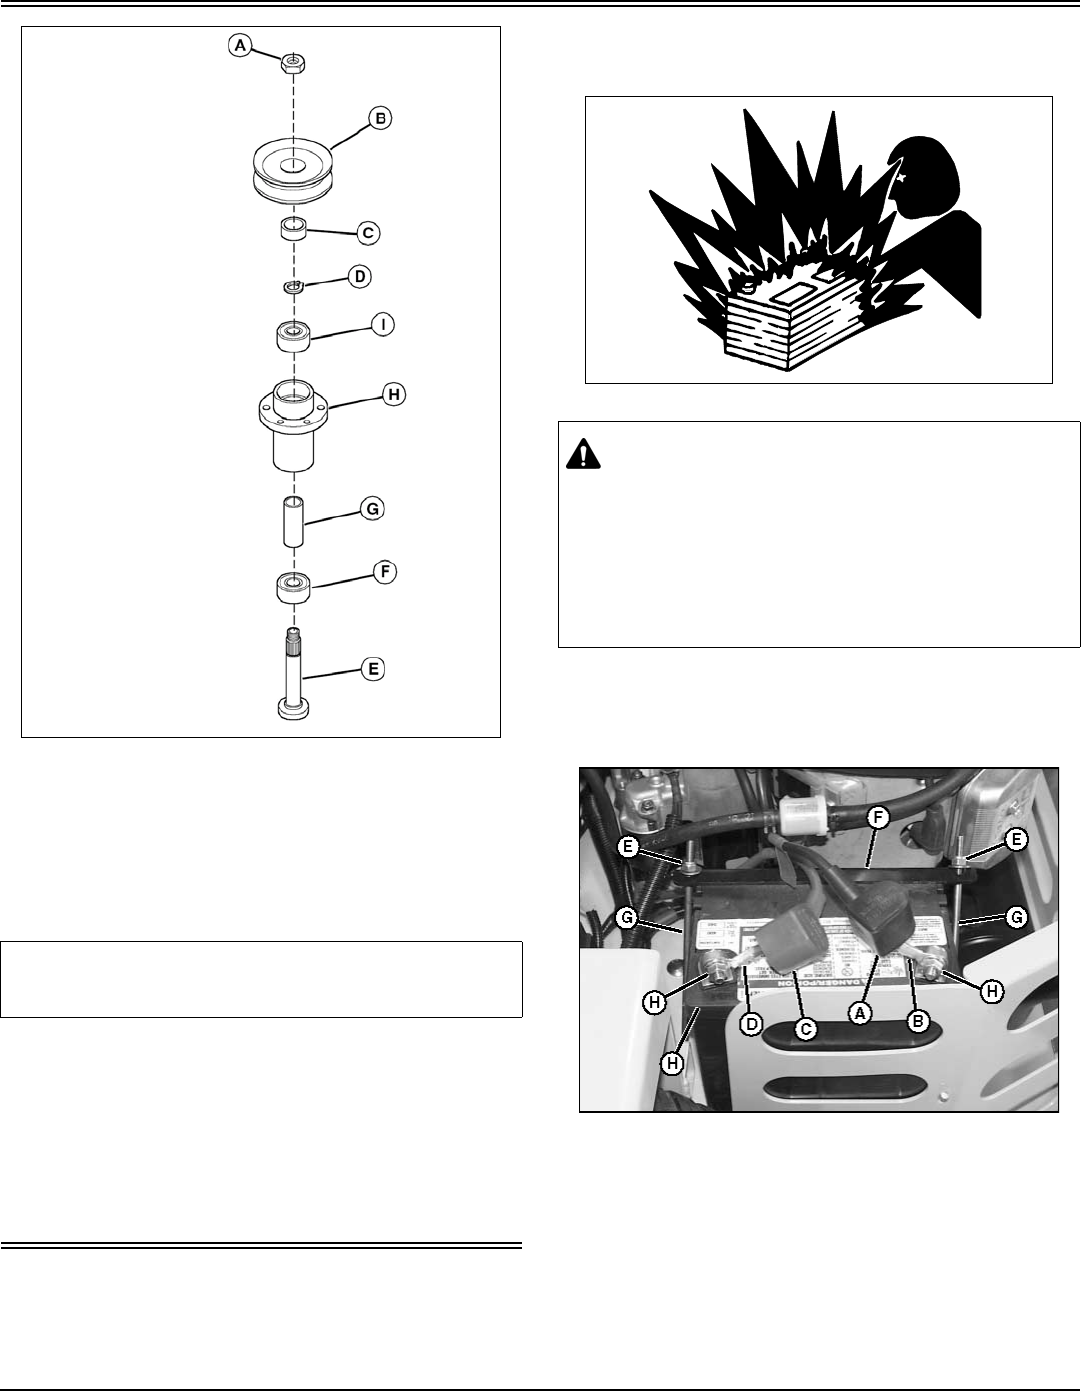
3.Remove nut (A), pulley (B) and spacer (C).
4.Remove retaining ring (D), spindle shaft (E), lower bearing (F) and
spacer (G) from spindle housing (H). Discard bearing.
5.Remove and discard upper bearing (I).
6.Clean entire assembly.
7.Install a new lower bearing (F) and spacer (G) on the spindle shaft (E).
8.Install the spindle shaft (E), lower bearing (F) and spacer (G) into the
spindle housing (H).
9.Install the upper bearing (I) and retaining ring (D).
10.Install spacer (C).
11.Install pulley (B) and nut (A). Tighten nut to 61 N•m (50 lb-ft).
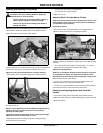
12.Install mower blade, blade washers and blade bolt assembly. Tighten
nut to 81 N•m (60 lb-ft). (See Checking and Replacing Mower Blades.)
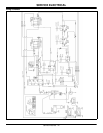
Service Electrical
WARNING: Battery posts, terminals and related accessories contain lead
and lead components, chemicals known to the State of California to cause
cancer and reproductive harm. Wash hands after handling.
Service the Battery Safely
Removing and Installing the Battery
Removing:
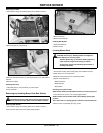
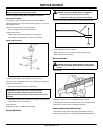
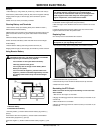
1.Park machine safely. (See Parking Safely in the SAFETY section.)
2.Slide black cover (A) away from the negative battery terminal and
disconnect the negative battery cable (B).
3.Slide red cover (C) away from the positive battery terminal and
disconnect the positive battery cable (D).
4.Remove nuts (E) and washers from both sides of the bracket (F).
5.Remove bracket (F) and J-bolts (G).
6.Remove battery (H).
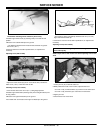
IMPORTANT: Avoid damage! The clearance between the lower
bearing and the housing is only 0.05 mm (0.002 in.). Do not force
bearing into housing.
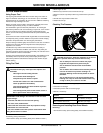
CAUTION: Avoid injury! The battery produces a flammable
and explosive gas. The battery may explode:
•Do not smoke near battery.
•Wear eye protection and gloves.
•Do not allow direct metal contact across battery posts.
•Remove negative cable first when disconnecting.
•Install negative cable last when connecting.


