12 13
OPERATING INSTRUCTIONS
Start-Up
Refer to the “Safety Precautions” pgs. 3-5 before start-
ing the unit.
Locate the Safety Decals on your unit and heed their
warnings.
Never look directly into the nozzle. High pressure water
creates a risk of severe injury.
1. With the gun locked in the “OFF” position, point the
trigger gun away from yourself or anyone else. Ensure
the water supply is completely turned on.
2. Disengage the safety lock-off on the gun and squeeze
the trigger. Low pressure water will begin owing from
the nozzle.
3. Be certain the trigger gun remains in an open position
while starting the engine. Brace yourself as the gun
will kickback from the high pressure created by the
pump once the engine has started.
4. Steady the unit during engine start-up. (Refer to the
engine manual accompanying this pressure washer for
the correct procedures needed to start the engine.)
5. Once the engine has started, perform the following
procedures with the gun open:
Inspect for system oil leaks and fuel leaks. If a fuel leak
is found, turn unit off immediately. See “Fire & Ventila-
tion Precautions” pg. 4. Be sure that all damaged parts
are replaced and that the mechanical problems are
corrected prior to operation of the unit. If you require
service, contact Graco Customer Service.
Inspect high pressure hoses for kinking, cuts and
leaks. If a cut or leak is found, do not touch hose at
leak. Turn unit off immediately. Replace hose before
restarting the unit. See “Miscellaneous Safety Pre-
cautions” pg. 5. Be sure that all damaged parts are
replaced and that the mechanical problems are cor-
rected prior to operation of the unit. If you require
service, contact Graco Customer Service.
6. Trigger the gun several times. Be certain to lock the
trigger gun in the “OFF” position whenever changing
the quick connect nozzles.
NOTICE
Do not allow unit to operate in bypass mode (with
trigger closed) for more than three minutes without
triggering the gun. Failure to follow this simple rule
can cause premature failure of pump packing seals,
resulting in costly pump repair.
Because your pressure washer delivers a high pressure
spray and a variety of spray patterns, there are many
cleaning jobs that can be done without the use of de-
tergents. If a cleaning agent is required, see “Cleaning
With Detergents” pg. 13 for the correct procedures.
NOTICE
Do not allow spray pattern to remain on a xed area
for an extended period of time. Possible damage
may occur to the area.
OPERATING INSTRUCTIONS
Cleaning with Detergents
Refer to “Detergent Cleaning Precautions” pg. 4 before
working with detergents. Be certain to wear protective
safety attire.
Prepare detergent solution according to label directions.
Never pump acids, alkaline, abrasive uids or solvents
through the unit.
Some units are equipped with adjustable detergent
knobs. Locate the clear vinyl hose which leads to the
pump head.
• If your injector is equipped with an adjustment knob
on the pump head, you may adjust the amount of
detergent desired by turning the knob completely
counterclockwise to set at the maximum siphon rate.
• If your injector is not equipped with an adjustment
knob, the detergent ratio is preset and cannot be
adjusted.
1. Immerse the detergent strainer into the detergent
solution to allow detergent to siphon.
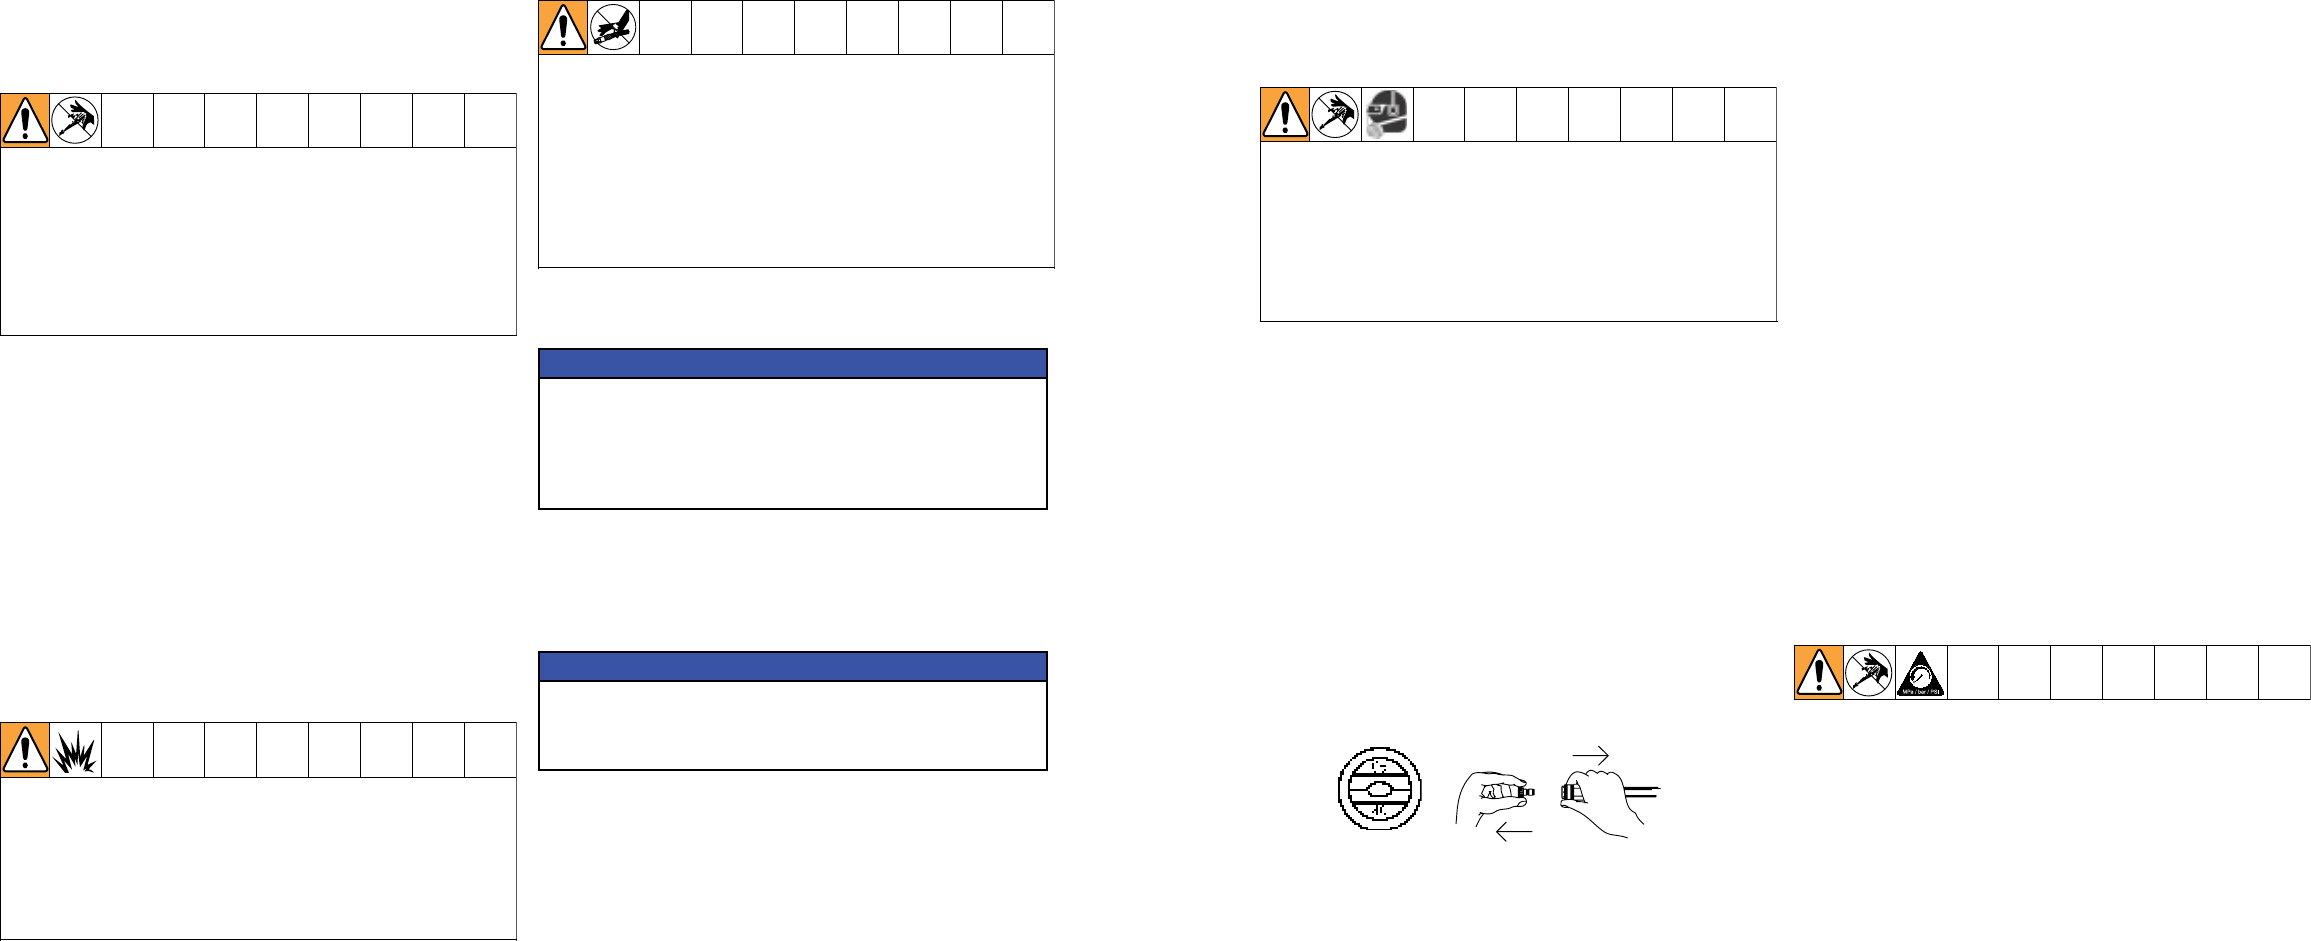
2. With the trigger gun locked in the “OFF” position,
secure quick-connect the detergent spray nozzle
(#6540° BLACK) into the end of the wand.
Note: This injection system is designed to apply deter-
gents under low pressure only. It will not allow deter-
gent solutions to be introduced into the system unless
the nozzle assembly is in the low pressure detergent
mode.
3. To apply solution; unlock the trigger gun and squeeze
the trigger. In a few moments a detergent/water mixture
will exit the low pressure nozzle. Start spraying the
lower portion of the surface being cleaned and move
up, using long overlapping strokes. Applying from the
bottom up helps avoid streaking. Allow to soak briey.
Do not allow detergent solution to dry on the surface.
(Avoid working on hot surfaces or in direct sunlight to
minimize the chances of the detergent drying, which
may result in damaging painted surfaces.) Be certain
to rinse a small section at a time.
4. To rinse; lock the trigger gun in the “OFF” position,
securely quick-connect the desired high pressure
nozzle into the end of the wand. Unlock the trigger gun
and spray. It will take about 30 seconds to purge all
detergent from the line. For best rinsing results, start
at the top and work down.
5. Siphon a gallon of water through the low pressure
detergent injection system after each use. This
prevents the possibility of corrosion or detergent
residue causing mechanical problems during the next
use.
Shutdown
1. Turn engine “OFF” as directed in the engine manual.
2. Turn the water supply “OFF”.
3. Pointing the gun in a safe direction, trigger gun
momentarily to relieve any trapped pressure.
4. Once pressure is relieved, disconnect the nozzle
assembly.
5. Disconnect and drain gun, wand and hoses.
6. Wipe unit clean and store with gun, wand and hoses
in a safe, non-freezing area.


