


16
NOTE:
Synthetic oil meeting ILSAC GF-2, API certification mark
and API service symbol with “SJ/CF ENERGY CONSERVING”
or higher, is an acceptable oil at all temperatures. Use of
synthetic oil does not alter required oil change intervals.
NOTE:
The engine is equipped with an "Oil Alert System". This
system will automatically stop the engine before the oil level
falls below a safe limit. To avoid the inconvenience of an
unexpected shutdown, always check the engine oil level before
startup.
CHECK OIL LEVEL
Oil level should be checked prior to each use or at least every 8
hours of operation. Keep oil level maintained.
1. Make sure power washer is on a level surface.
2. Clean area around oil fill and wipe dipstick clean remove oil fill
cap (Figure 30).
3. Verify oil is at the proper level on the dipstick.
4. Insert the dipstick into filler neck but do not screw it in.
5. Replace and tighten oil fill cap.
ADDING ENGINE OIL
1. Make sure power washer is on a level surface.
2. Check oil level as described in Checking Oil Level.
3. If needed, slowly pour oil into oil fill opening until the proper
level on the dipstick is reached (Figure 30).
4. Insert the dipstick into filler neck but do not screw it in.
5. If level is low, fill to the upper marks on the dipstick.
6. Replace and tighten oil fill cap.
CHANGING ENGINE OIL
If you are using your power washer under extremely dirty or dusty
conditions, or in extremely hot weather, change the oil more often.
Avoid prolonged or repeated skin contact with used
motor oil.
• Used motor oil has been shown to cause skin cancer in certain
laboratory animals.
• Thoroughly wash exposed areas with soap and water.
KEEP OUT OF REACH OF CHILDREN.
• Don’t pollute. Conserve resources. Return used oil to collection
centers.
Change oil while engine is still warm from running, as follows:
1. Make sure unit is on a level surface.
2. Disconnect the spark plug wire from the spark plug and place
the wire where it cannot contact spark plug.
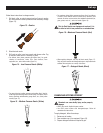
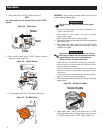
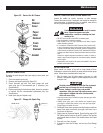
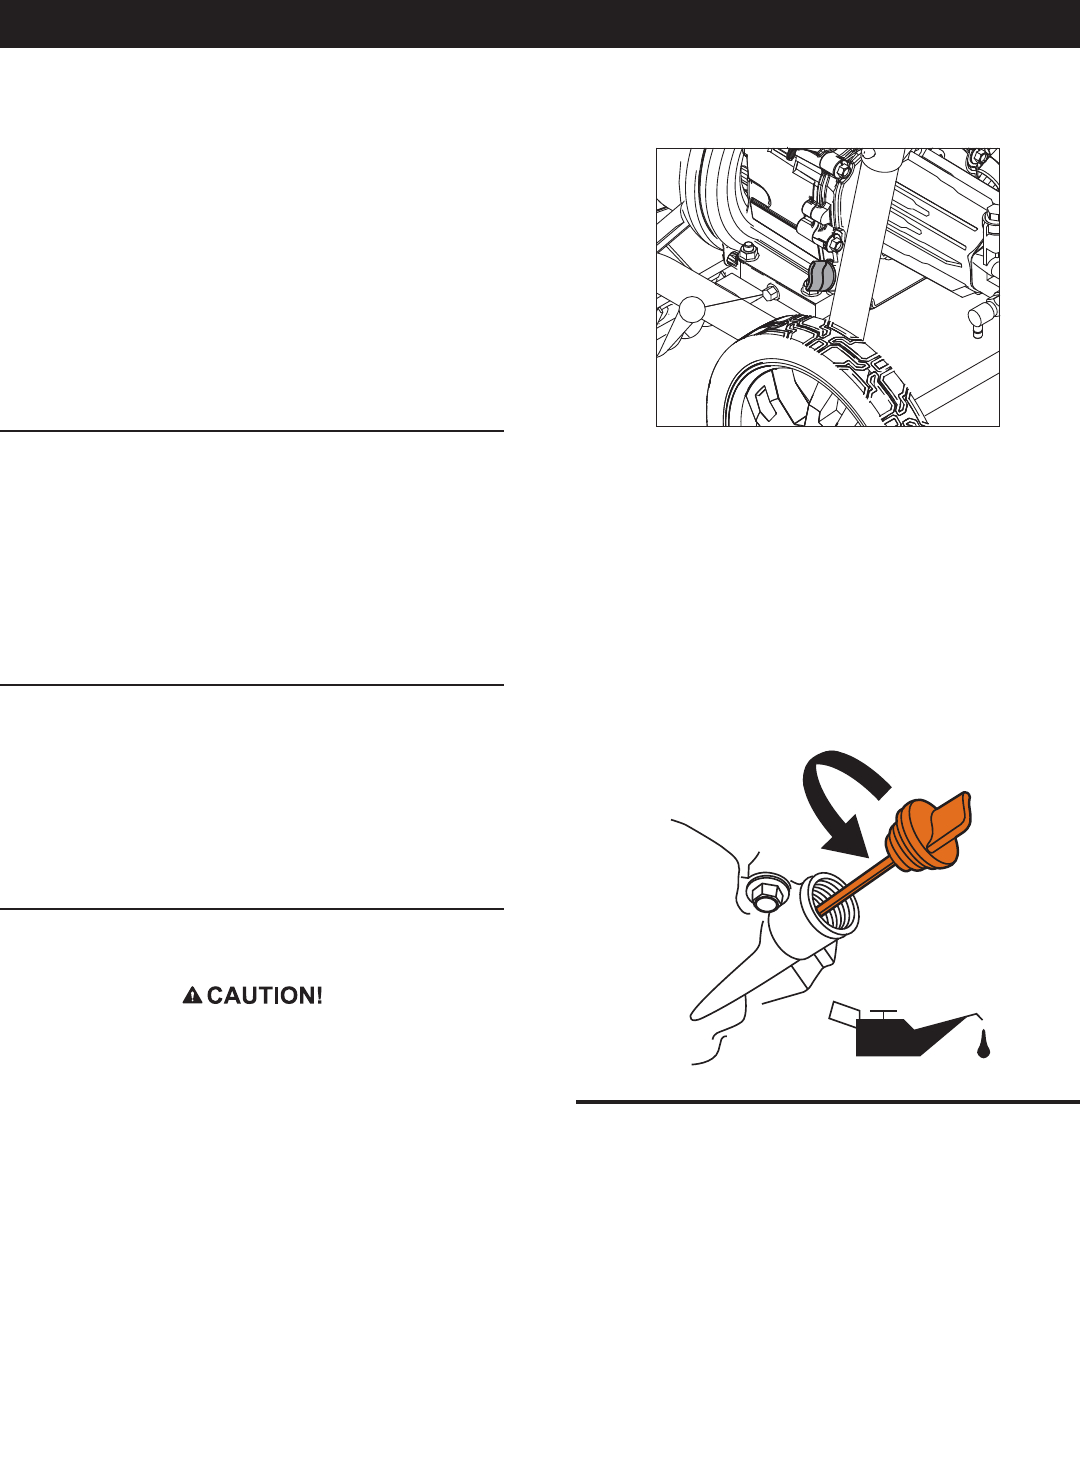
3. Clean area around oil drain plug (A) (Figure 30). The oil drain
plug is located at base of engine, opposite carburetor.
Figure 30 – Oil Drain Plug
A
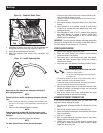
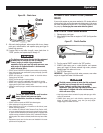
4. Remove oil fill cap (Figure 31).
5. Remove oil drain plug and drain oil completely into a suitable
container.
6. Reinstall oil drain plug and tighten securely.
7. Slowly pour oil (about 20 oz.) into oil fill opening to the proper
level on the dipstick. DO NOT overfill.
8. Reinstall oil fill cap. Finger tighten cap securely.
9. Wipe up any spilled oil.
10. Properly dispose of oil in an accordance with all local
regulations.
Figure 31 – Fill Engine Oil
SERVICE AIR CLEANER
Your engine will not run properly and may be damaged if you run it
with a dirty air cleaner. Service more often if operating under dirty
or dusty conditions.
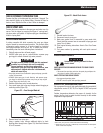
To service the air cleaner, follow these steps:
1. Loosen screw and remove cover (Figure 32).
2. Carefully remove filter assembly.
3. Remove foam filter
4. To clean cartridge, gently tap on a flat surface.
5. Reinstall foam filter.
6. Reinstall clean or new cartridge assembly.
7. Install cover and tighten screw securely.
Maintenance