7
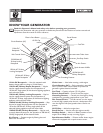
7500EXL Extended Life Generator
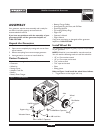
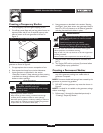
2. Slide axle through both mounting brackets.
3. Slide a wheel over the axle.
NOTE: Be sure to install both wheels with the air
pressure valve on the outboard side.
4. Place a washer on axle and then place an e-ring in axle
groove.
5. Install e-ring with pliers, squeezing from top of e-ring
to bottom of axle.
6. Repeat step 3 thru 5 to secure second wheel.
7. Tip generator so that engine side is down.
8. Attach the vibration mounts to the support leg with
1/4-20 x 1” capscrews and 1/4-20 lock nuts.
9. Line up holes in support leg with holes in generator
frame.
10. Attach support leg using 2 capscrews (M8 x 20 mm)
and 2 hex nuts (M8).Tighten with a 1/2” or 13mm
socket wrench and 1/2” or 13mm wrench.
11. Return generator to normal operating position (resting
on wheels and support leg).
12. Check each fastener to ensure it is secure.
Check Battery / Attach Negative
Battery Wire
The sealed battery on the generator is fully charged and
pre–installed except for the negative (black) battery cable.
To install:
1. Cut off tie wrap securing loose end of negative (black)
cable.
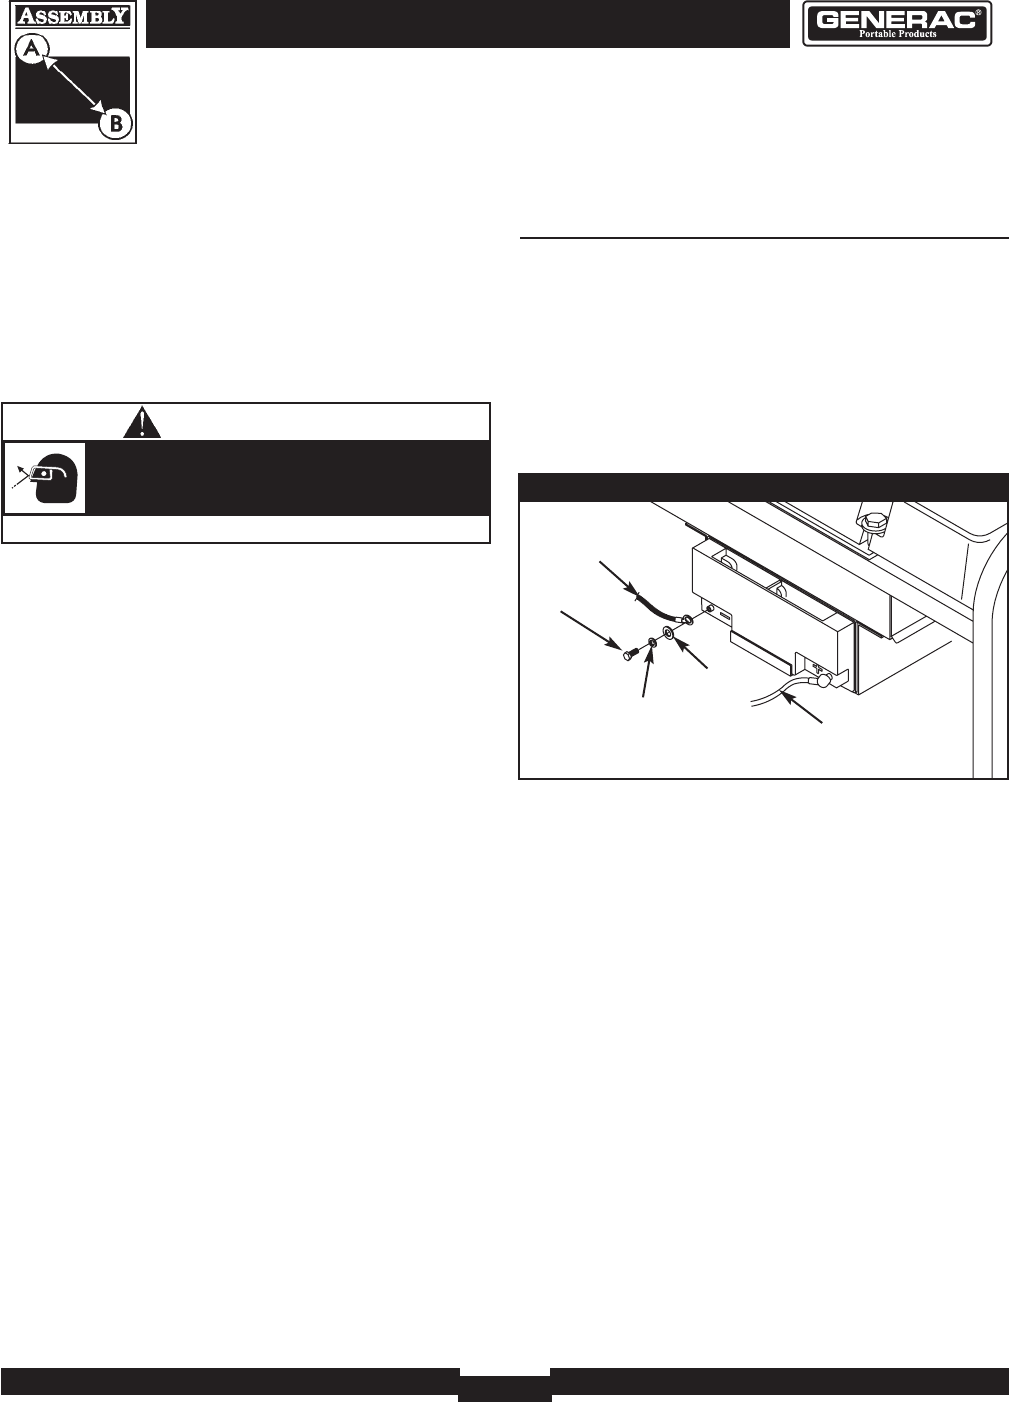
2. Remove screw, lock washer and flat washer on
negative battery terminal.
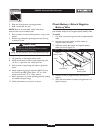
3. Slide lock washer, flat washer and negative battery
cable over screw (Figure 2).
4. Reattach screw to negative battery terminal and
tighten.
5. Verify that connections to battery and generator are
tight and secure.
Figure 2 — Negative Battery Connection
Negative
Battery Cable
Screw
Flat Washer
Lock Washer
Positive
Battery Cable
• Always wear eye protection when installing/removing e-rings.
E-rings can cause eye injury.
E-rings can spring back and become airborne
when installing or removing.
CAUTION


