


4
(GB) ASSEMBLY
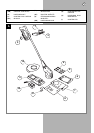
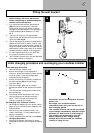
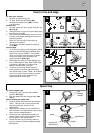
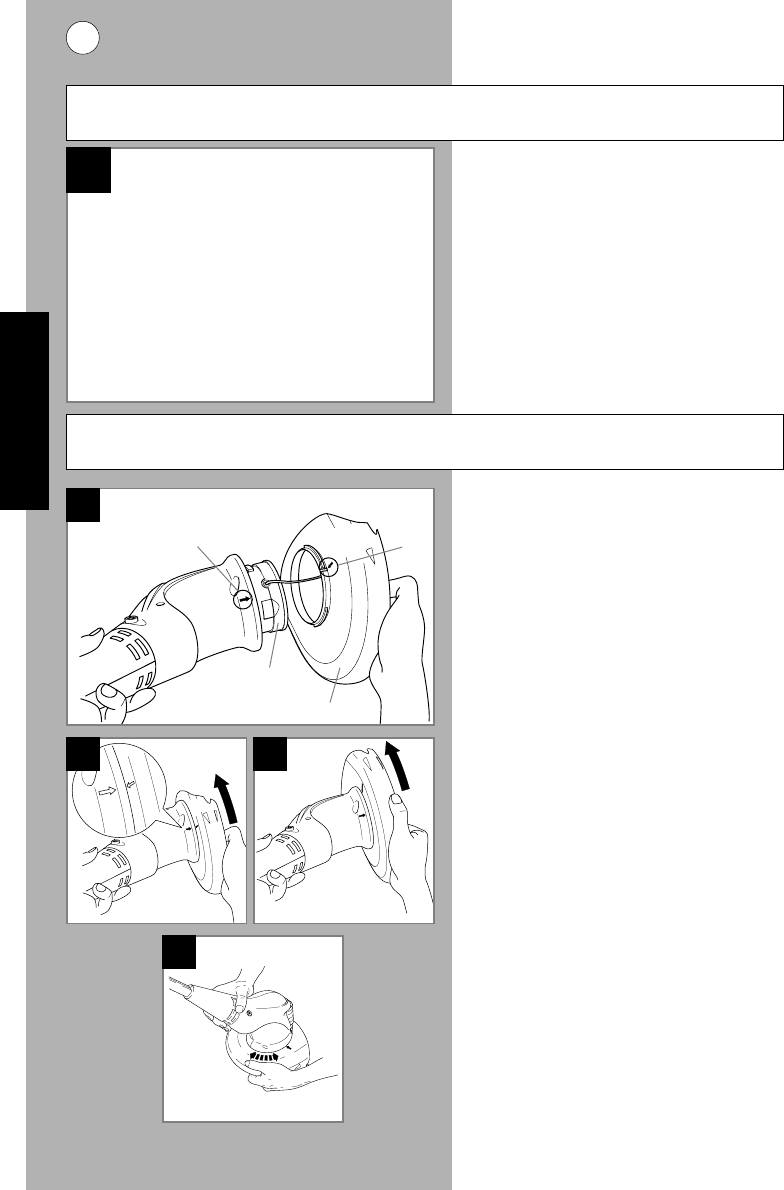
Safety Guard Assembly (C), (D), (E & F)
1. Locate the safety guard (C1) over the
cutting head (C2). Ensure the nylon line
is fed through the hole in the safety
guard as illustrated in fig C.
2. Align the arrow on the top of the safety
guard (C3) with the arrow on the side of
the trimmer (C4). See figs C & D.
3. Push into location and turn safety guard
anti-clockwise, as illustrated in Fig D until
a click is heard and the safety guard is
securely locked in position. See fig E.
• ENSURE THE SAFETY GUARD IS
SECURELY IN PLACE BY ATTEMPTING
TO TWIST GUARD.
See fig F.
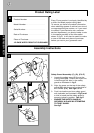
Product Rating Label
Product Number . . . . . . . . . . . . . . . . .
Model Number . . . . . . . . . . . . . . . . . . .
Serial Number . . . . . . . . . . . . . . . . . . .
Date of Purchase. . . . . . . . . . . . . . . . .
Place of Purchase . . . . . . . . . . . . . . . .
•PLEASE KEEP PROOF OF PURCHASE•
Every Flymo product is uniquely identified by
a silver and black product rating label.
To ensure you have full product information
when obtaining spares or advice from one of
our approved service centres, or if you need
to contact Flymo/Partner's own customer
service department, you should make a note
in the space provided of the information
shown in fig.B. It will also be useful to make
a note of the date and place of purchase
before you return your guarantee card.
B
Assembly Instructions
C
D E
F
1
2
4
3