


22
BATTERY REPLACEMENT
Two 9-volt transistor batteries are located in separate compartments
at the rear of the housing of the 1236-X2. When it’s time to replace
the batteries, always replace both of them.
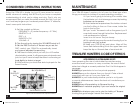
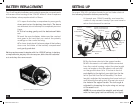
1. To open the battery compartments, press gently
down and out on the battery door latch. The doors
are tethered; do not attempt to completely remove
them.
2. Tilt the housing gently and the batteries will slide
out.
3. Insert the new batteries. Make sure the contact
end goes in rst and that you match the polarity
markings on the control housing.
4. To close, simply hook the lower edge of the battery
door over the inside of the battery compartment
and gently push shut.
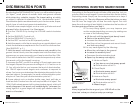
Battery replacement is simple with the 1236-X2’s drop-in battery
compartments: just pop the doors open, slide the old batteries
out and drop the new ones in.
Figure 10. Battery replacement
7
SETTING UP
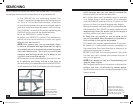
2. Slip the lower stem into the upper handle.
3. With the search coil cable still disconnected
from the control housing, adjust the stem length
and coil angle so that the search coil rests at
on the ground about 6 to 12 inches in front of
and slightly to the right of your right foot (to the
left of your left foot for left handers). The stem
length is adjusted by loosening the lower lock nut
and allowing the spring lock to snap into one of
the holes in the upper handle. The coil angle is
adjusted by loosening the nylon wing nut on top
of the search coil.
NOTE: Your arm should be straight and relaxed
with the hand grip held comfortably (not tight).
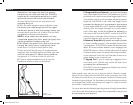
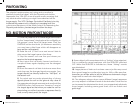
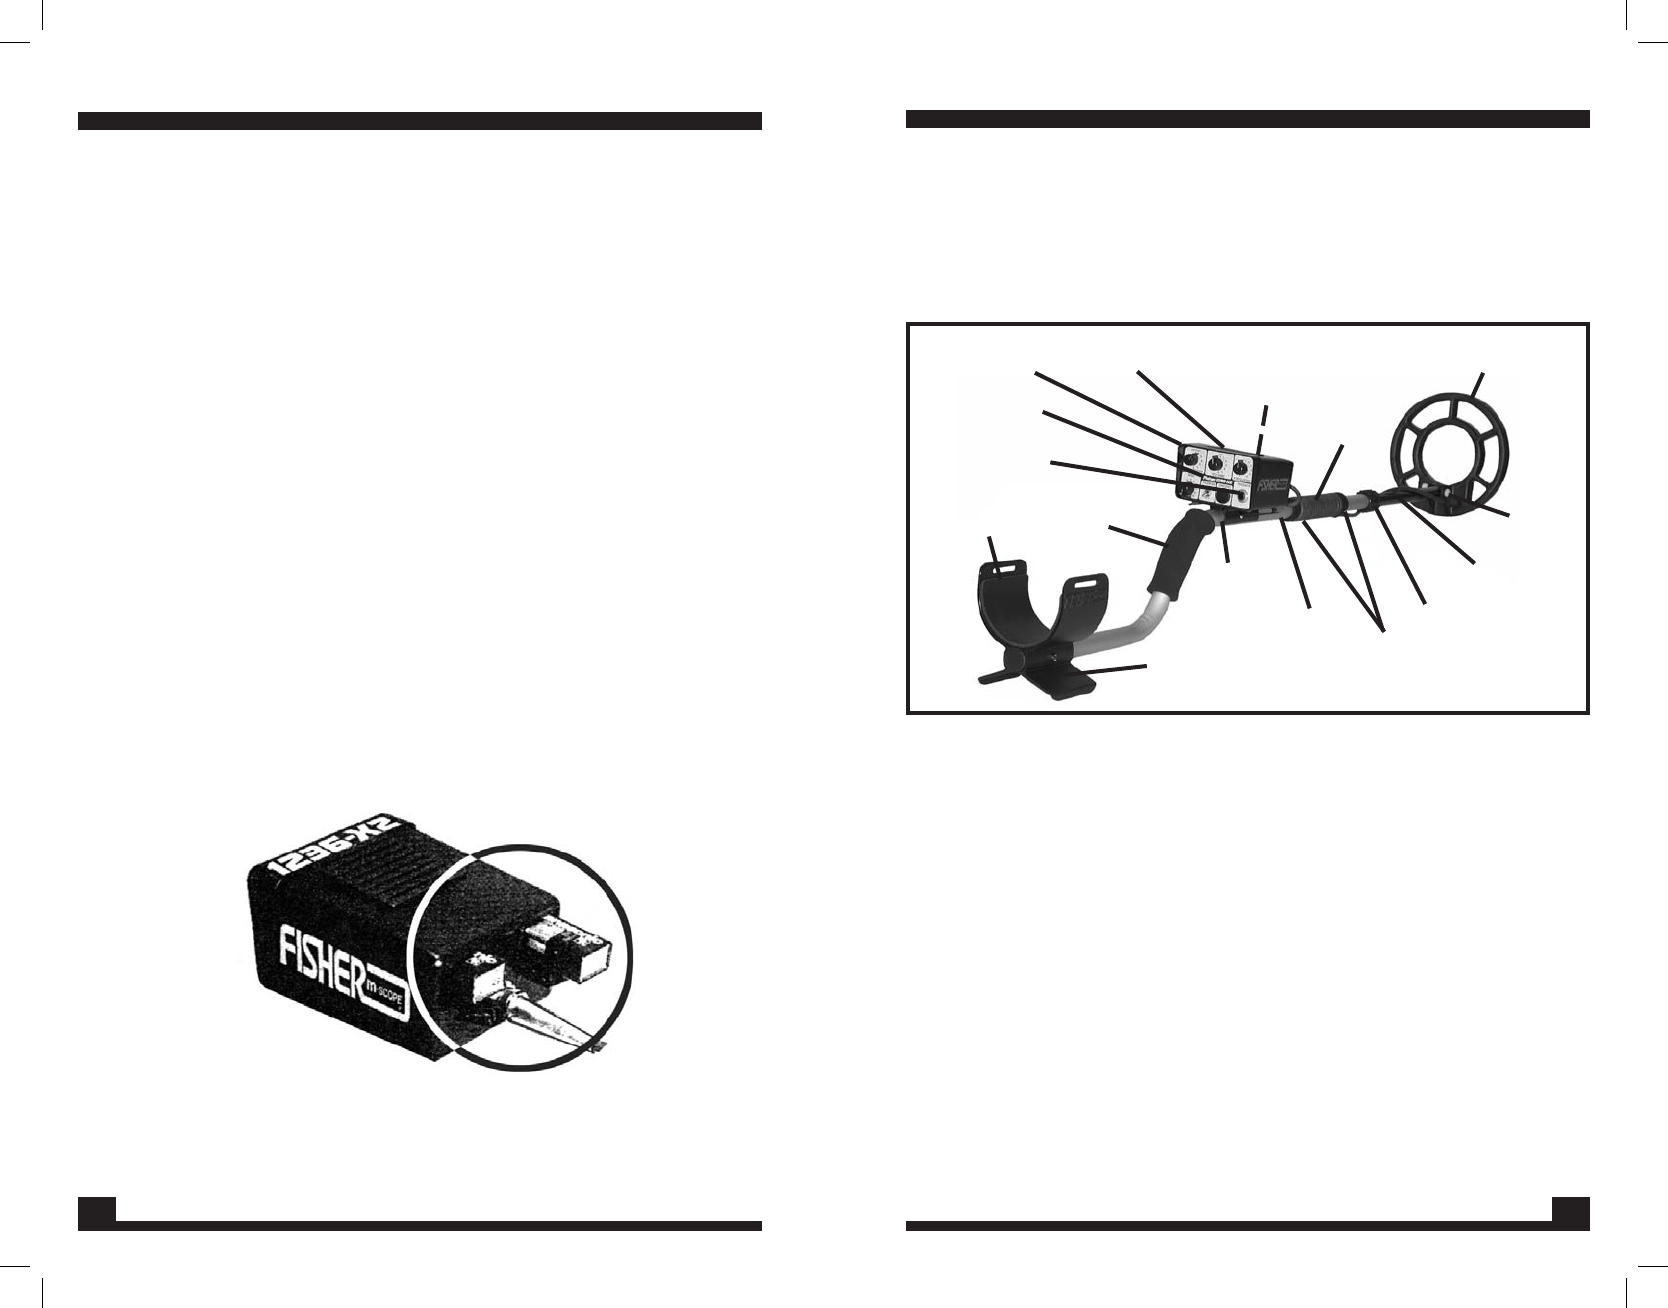
Your new 1236-X2 is just about ready to go, but take a look at
the following illustration before proceeding.
1. Unpack your 1236-X2 carefully, and save the
carton: it may come in handy if you ever have to
return the instrument for service.
Arm rest
Hand
grip
Headphone
Jack
Control Panel
Built-in Detector
Stand
Upper
Handle
Spring Lock
Lock nut
Velcro® straps
Lower stem
Search coil
Search coil
wing nut
Control
Housing
Speaker
Cable connector and
battery compartments
(on back)
Search
cable
Figure 2. 1236-X2
1236x2 manual-8704810.indd 7 6/9/06 10:08:57 AM