


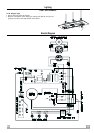

12 EN
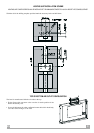
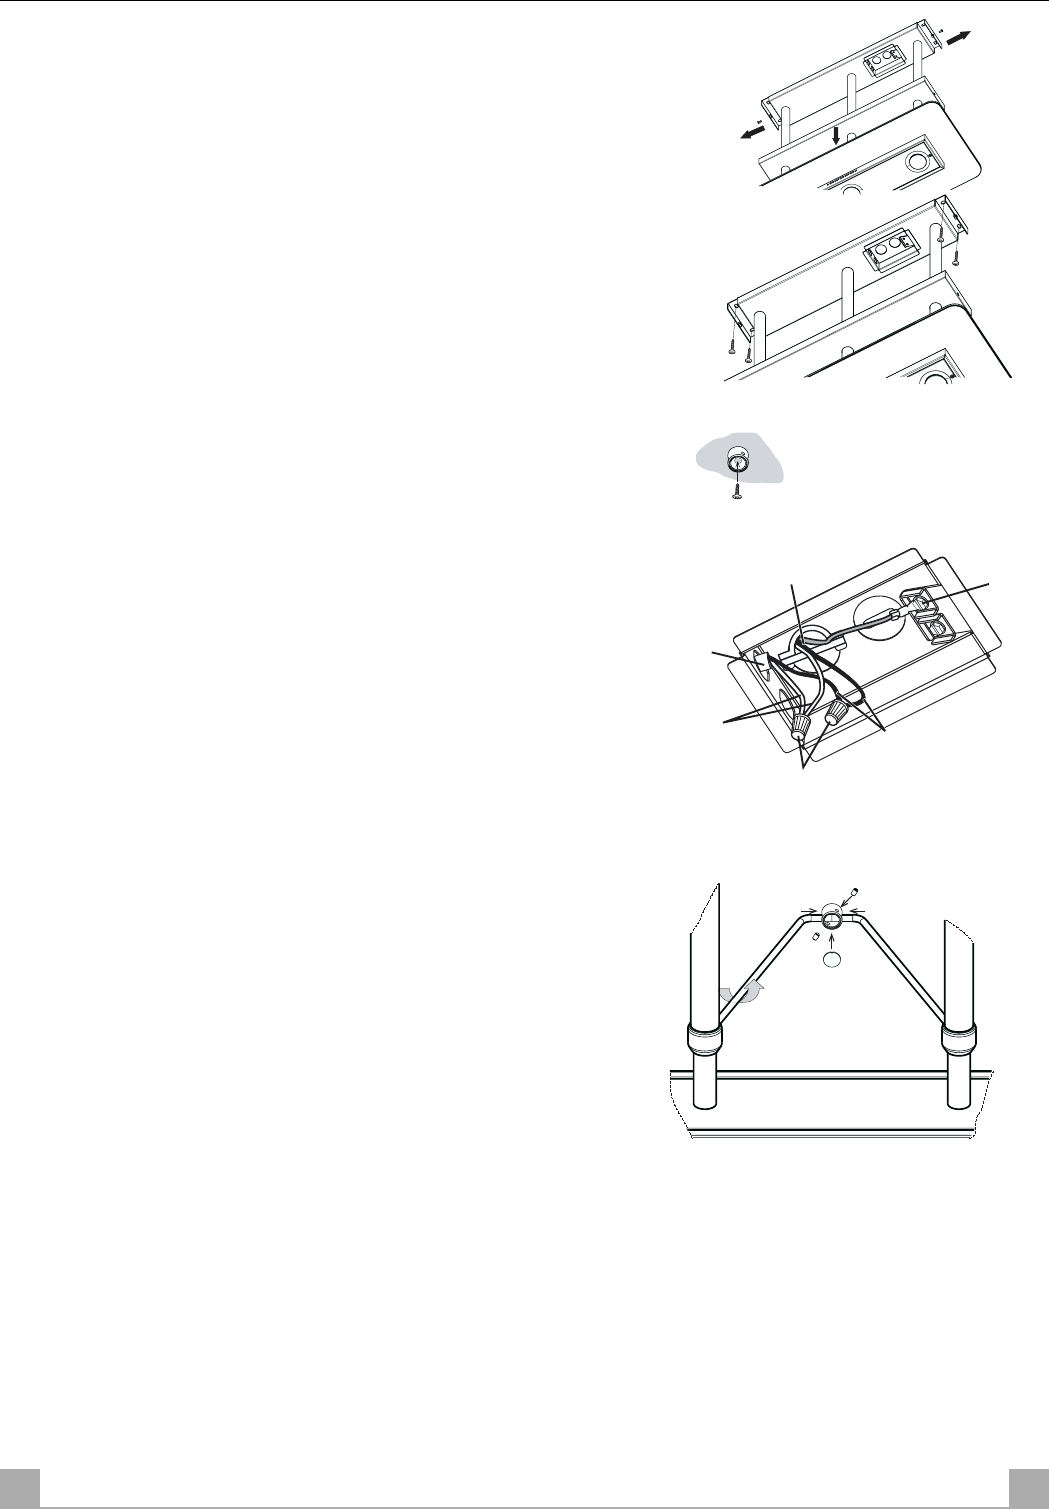
Lighting unit installation
• Provide for passage of the electrical connection wires with the hood
body.
• Slide the top cover downwards, unfastening the two side screws and taking
care not to scratch the tubular support members.
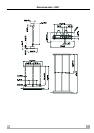
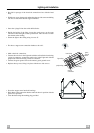
• Insert the 4 plugs D into the earlier drilled holes.
• Decide the height of the light; loosen the grub screws on the outer
columns to allow the light to slide up and down. Take care not to scratch
the columns when sliding.
• Fasten the light to the ceiling using 4 screws C.
• Fix the two support arm connection bushes to the wall..
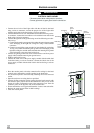
• Make electrical connection:
• Connect the red wire in the Light-unit with the red lead in the hood using
a twist-on connector; connect the purple wire in the Light-unit with the
purple lead in the hood using a twist-on connector.
• Connect the green ground wire to the unused, green ground screw.
• Replace the top cover, fixing it in place with the two side screws.
• Screw the support arms into their housings.
• Hook them to the connection bushes and lock them in position with the
grub screws provided.
• Close the bush using the masking plug provided
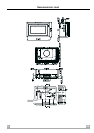
hood wiring
light wiring
green
ground
screw
purple wiring
red wiring
twist-on
connectors