


10 EN
REAR AIR OUTLET CONFIGURATION
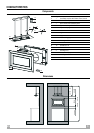
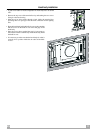
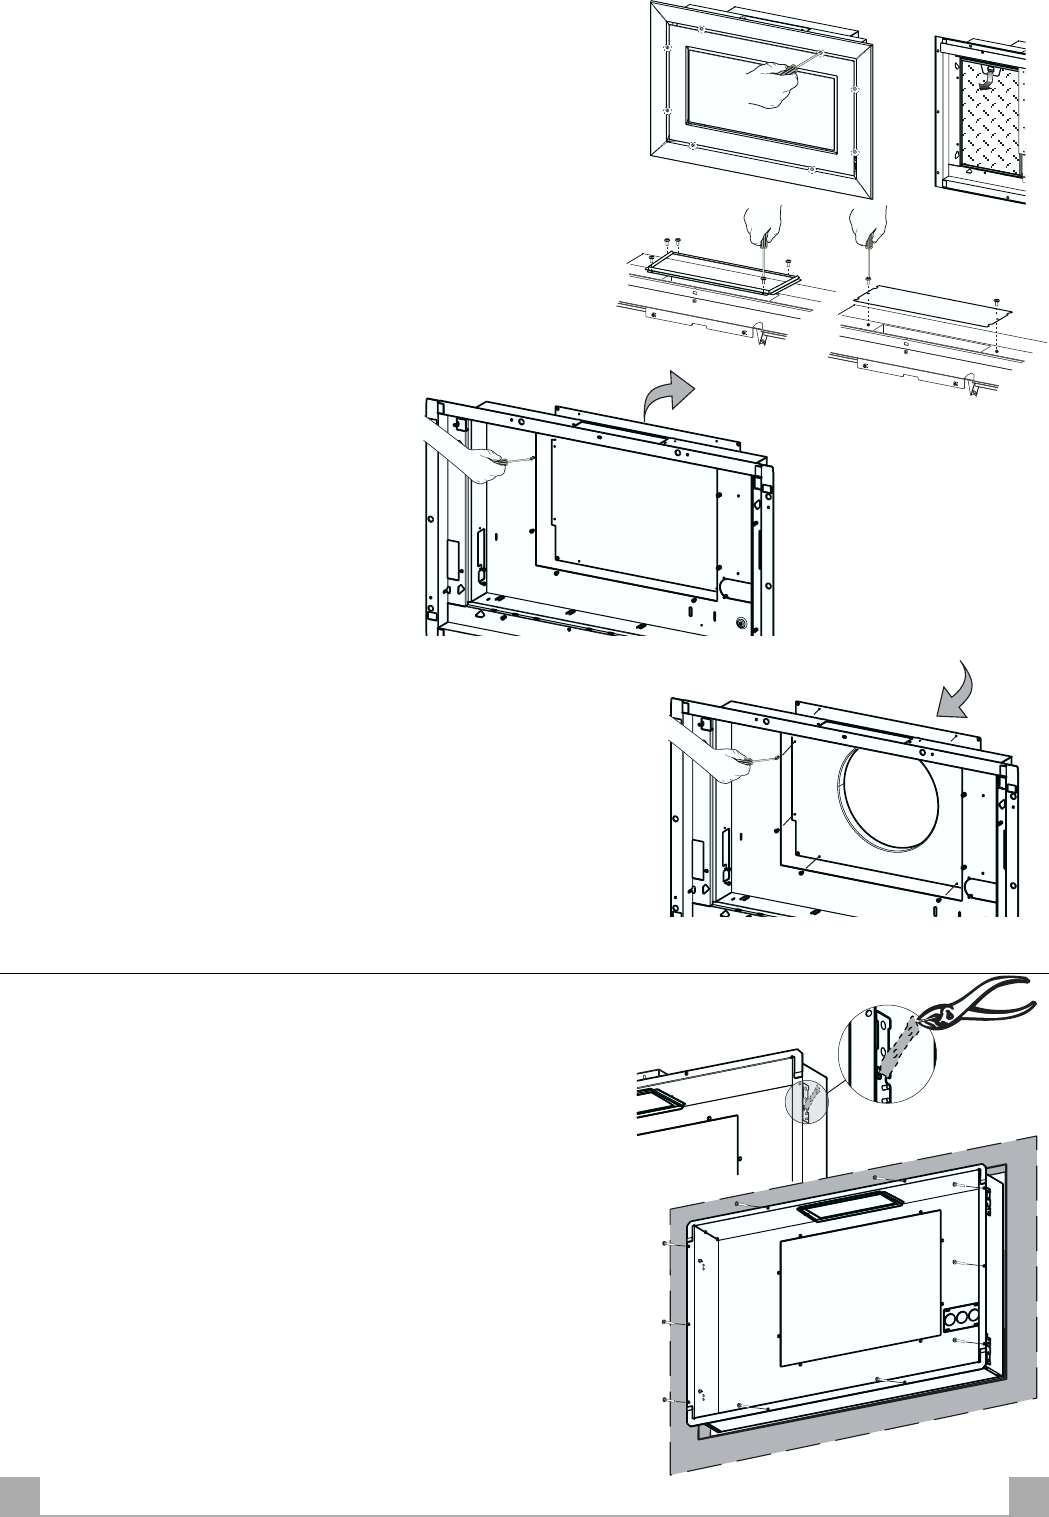
• Remove the suction panel by unfastening the 8 screws around the frame.
• Remove the metal grease filters.
• Remove the metal profile fixed to the flange by unfastening the 5 screws.
• Fit the air outlet plug into the top air outlet.
• Remove the rear air outlet plug .
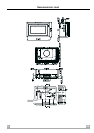
Built-in hood body case installation
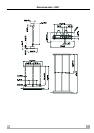
FIXING INTO THE BRICK WALL
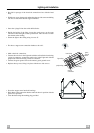
• With the aid of pliers bend the lateral metal tongues of the built-in case.
• It is necessary to wall the built-in hood body case inside the hollow in
the wall paying attention that the external edge of the built-in case adheres
perfectly to the wall. It is necessary that the built-in case is precisely
levelled both horizontally and vertically, and that the air outlet flange is
correctly placed inside the ductrun.
BEFORE INSTALLING THE HOOD IT WILL BE NECESSARY TO WAIT
UNTILL THE BUILT-IN HOOD BODY CASE WALLING PROCESS IS
COMPLETELY TERMINATED.
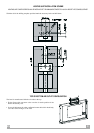
FIXING INTO THE WOODEN WALL
• Insert the built-in hood body case inside the wall paying attention that
the built-in case is precisely levelled both horizontally and vertically.
• Fix the built-in case to the wall using the 10 screws A (3,5x16) provided.
• Fit the rear air outlet flange in place of the plug