- 26 -
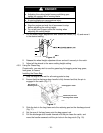
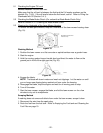
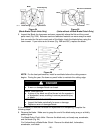
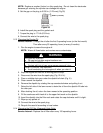
Bolt and Lock Washer
Blade
Accelerator
Figure 25
(Units without a Blade Brake Clutch Only)
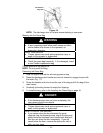
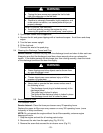
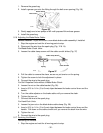
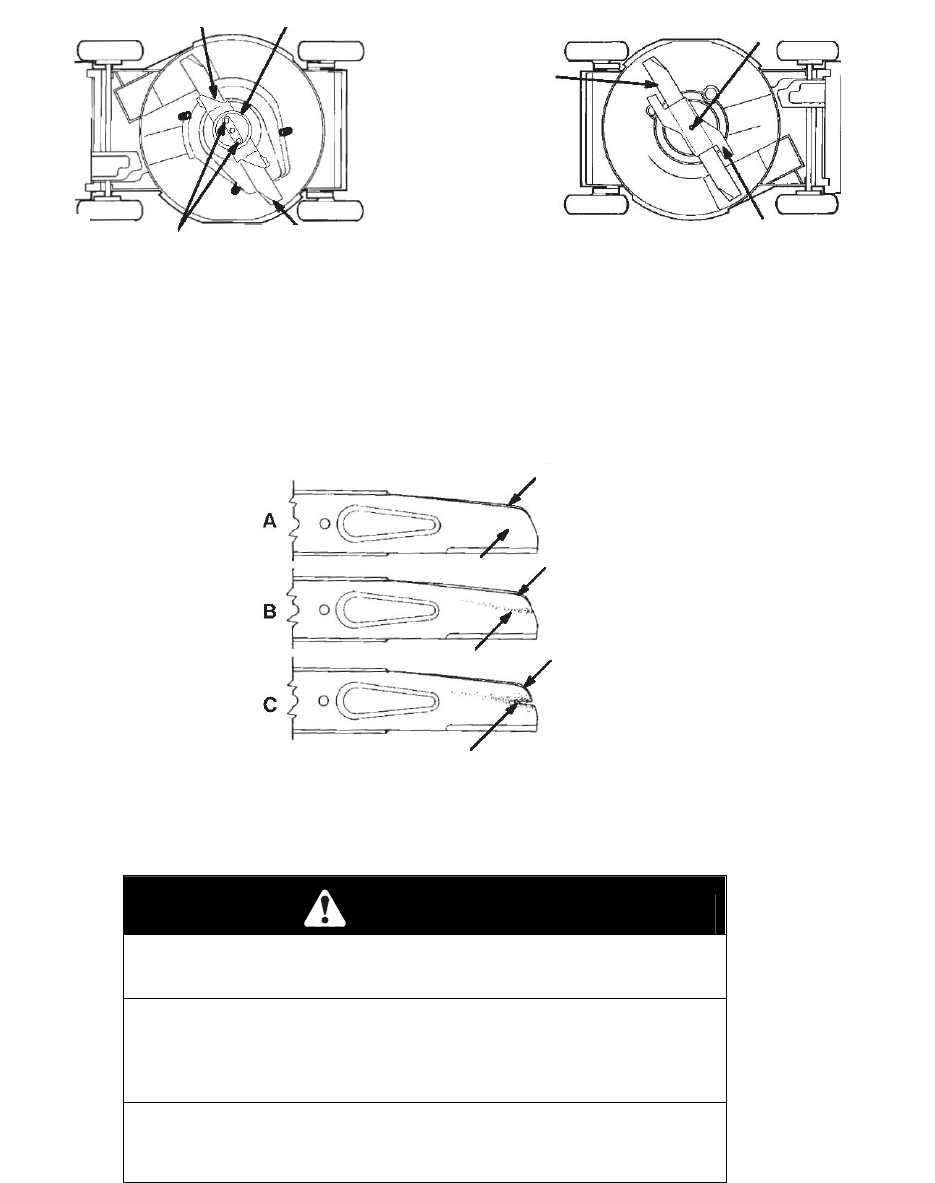
5. Inspect the Blade for sharpness and wear, especially where the flat and the curved
parts meet (Fig. 26A). Because sand and abrasive material can wear away the metal
that connects the flat and curved parts of the blade, check the blade before using the
lawn mower. If you notice a slot or wear (Fig. 26B and 26C), replace the blade.
NOTE: For the best performance, install a new blade before the cutting season
begins. During the year, file down any small nicks to maintain the cutting edge.
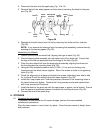
DANGER
POTENTIAL HAZARD
♦ A worn or damaged blade can break.
WHAT CAN HAPPEN
♦ A piece of the blade could be thrown into the operator’s
or bystander’s area, resulting in serious personal injury
or death.
HOW TO AVOID THE HAZARD
♦ Inspect the blade periodically for wear or damage.
♦ Replace a worn or damaged blade.
If it is necessary to remove the blade for replacement or sharpening, complete the
following steps:
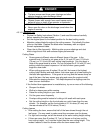
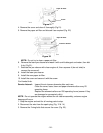
6. Remove the blade. Make sure to grasp the end of the blade using a rag or a thickly
padded glove.
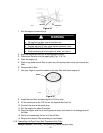
For Blade Brake Clutch Units: Remove the blade nuts, anti-scalp cup, accelerator,
and the blade (Fig. 24)
For Units without a Blade Brake Clutch: Remove the blade bolt, lockwasher,
accelerator, and blade.
Figure 24
(Blade Brake Clutch Units Only)
Blade
Anti-Scalp Cup
Blade Nuts Accelerator
G0218
G0233
Figure 26
Sail
Sail
Sail
Flat
Wear
Slot
G0219


