Operation
Operating Instructions
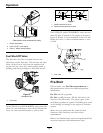
Handle Adjustment
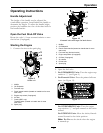
The height of the handle can be adjusted for
comfortable operation. Stand behind the handle to
determine the height. To adjust the handle height,
position the hardware into one of the three holes in
the handle bracket.
Open the Fuel Shut-Off Valve
Rotate the valve 1/4 turn counterclockwise to turn
the fuel on (if equipped).
Starting the Engine
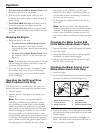
1. Connect the wire to the spark plug.
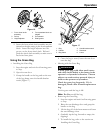
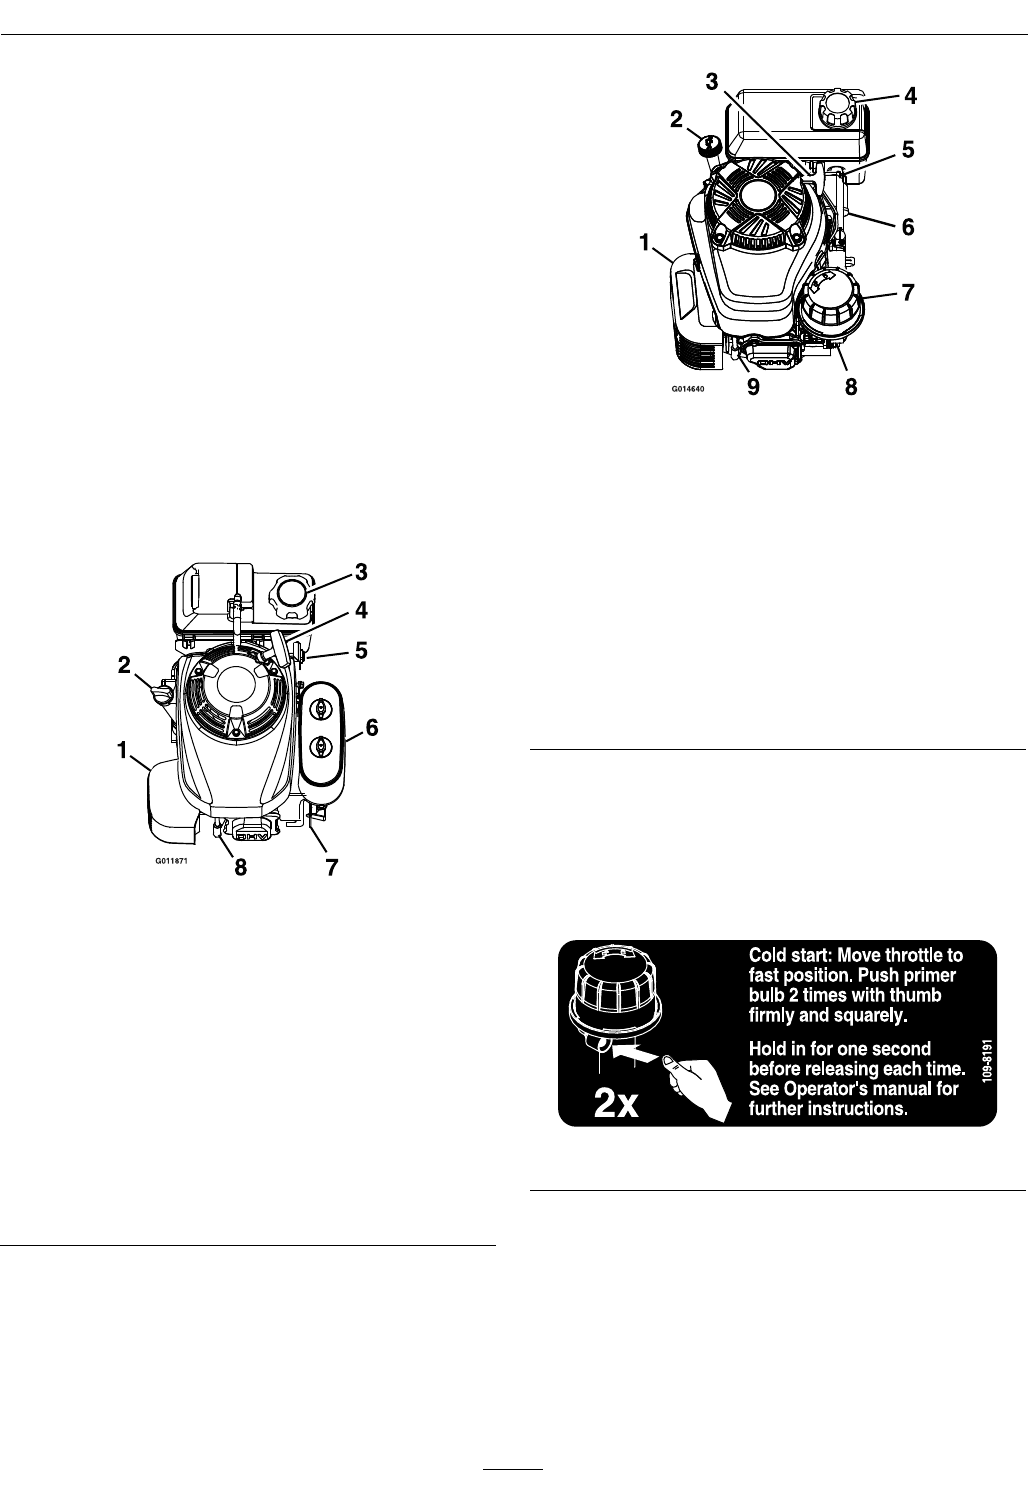
Figure 9
Honda unit
1. Mufer
2. Oil ll/dipstick
3. Fuel tank cap
4. Recoil starter handle (located on handle bar for zone
start units)
5. Engine stop switch (if equipped)
6. Air lter
7. Choke (BBC only)
Throttle/Choke (located on handle bar for zone
start units)
8. Spark plug
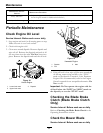
Figure 10
Kawasaki units with large fuel tank shown
1. Mufer
2. Oil ll/dipstick
3. Recoil starter handle (located on handle bar for zone
start units)
4. Fuel tank cap (fuel tank varies)
5. Engine stop switch (if equipped)
6. Oil lter (if equipped)
7. Air cleaner
8. Primer bulb
9. Spark plug
2. Open the fuel valve.
3. For ECXKABBC21 Units: Turn the engine stop
switch to “|” (see
Figure 5).
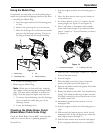
4. For Kawasaki Units: Press the primer bulb two
times (see Figure 11).
Figure 11
For ECXHNBBC21 Units: Turn the engine
stop switch to “|” and pull outward on the choke
control.
For ECXHN21 Units: Move the choke/throttle
control forward to the choke position.
Note: Do Not use the choke when the engine
is warmed up.
15


